2 user right setup – DVR systems WatchNET Software User Manual
Page 70
NDVR Server Manual
70
【Password Confirm】Confirm password again.
【Note】Input your description of this user.
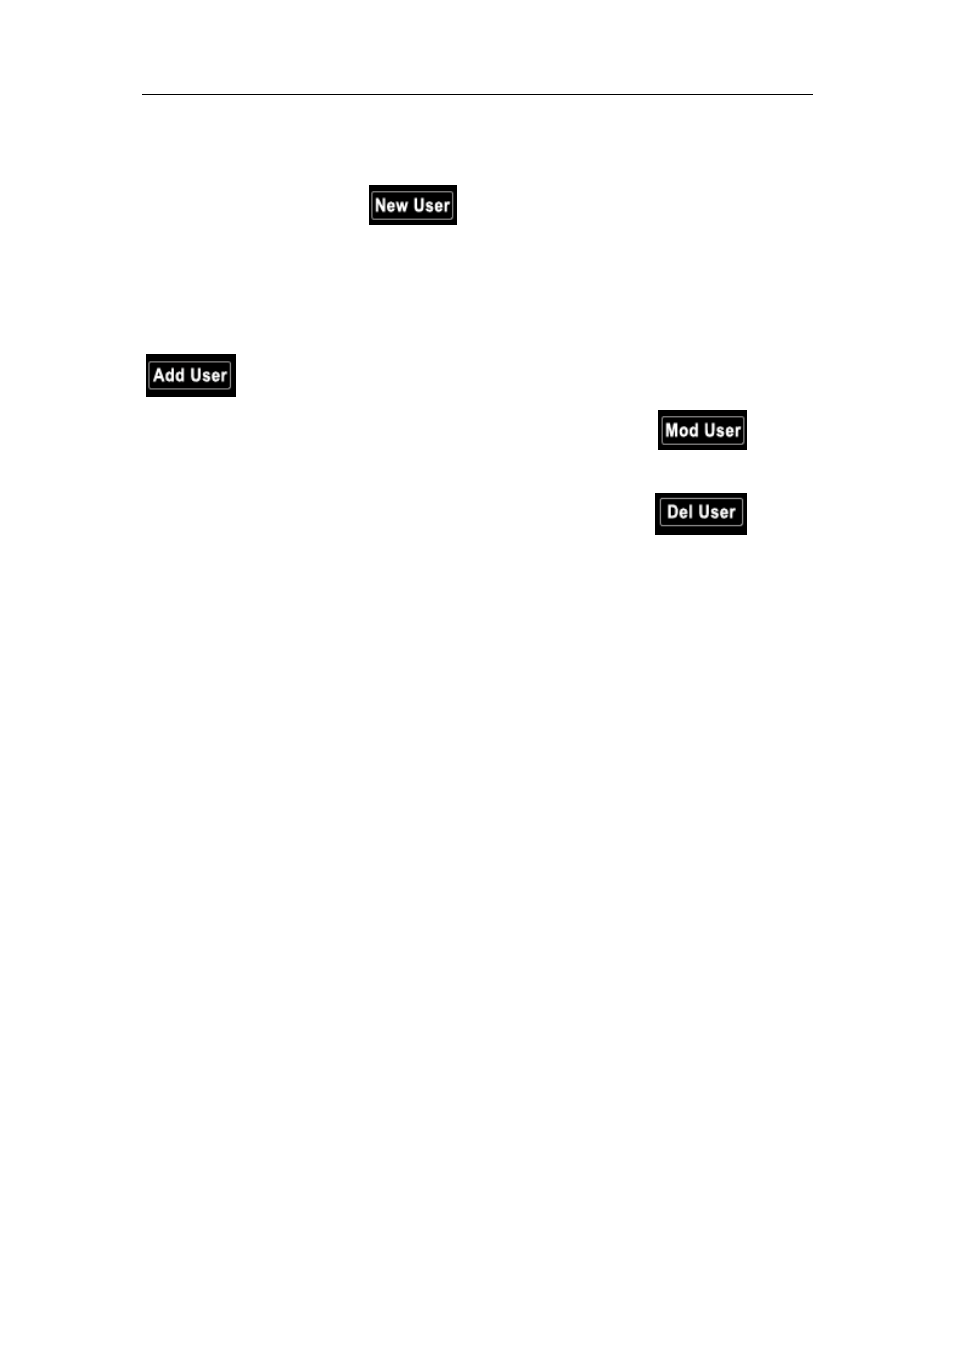
【New User】Press
button to edit the user you want to add in
the 【User Name】Blank. Input User Name, Note Name, Password, and
Confirm Password. Select Manage Right (Administrator or Operator), and then
click Add User to save.
【Add User】Up to15 users can be added to system except Admin. Click
icon to add new user you edited to user list.
【Modify User】Select a user from user list, then click
button
to modify it.
【Delete User】Select a user from user list, then click
button
to delete it.
2.7.2 User right setup
【Camera View Right】Select cameras can be viewed by the user you
are setting. The cameras you can select include the cameras of local board
card and IP Cameras. By default, every user is granted to access all live
images. To deny access, you can click the desired cameras button and the
color will change from blue to gray (by default, user ―admin‖ is super user, you
can’t modify its rights, it has entries rights).
【Camera Playback Right】Select the cameras can be play backed by the
user you are setting. The cameras you can select include the cameras of local
board card and IP Cameras. By default, every user is granted to playback
video data of all cameras. To deny access, you can click the desired camera
button and the color will change from blue to gray.
【Camera Audio Right】 Select cameras whose audio can be heard by
the use you are setting. The cameras you can select include the cameras of
local board card and IP Cameras. By default, every user is granted to check
audio of all cameras. To deny access, you can click the desired camera button
and the color will change from blue to gray.
【PTZ Control Right】Select the cameras that related PTZ can be
controlled by the user you are setting. The cameras you can select include the
cameras of local board card and IP Cameras.