Installation guidelines – Waterworks R.W. Atlas Exposed Thermostatic System with 8" Shower Rose, Extended Arm, and Metal Wheel Handles User Manual
Page 6
PRODUCT SUPPORT 800.927.2120 8am - 6pm EST
RW ATLAS
Exposed Thermostatic System with 8" Shower Rose
INSTALLATION GUIDELINES
Page 6 of 6
8.26.2014
These guidelines have been prepared for the professional contractor to aid in the installation of:
RW ATLAS EXPOSED THERMOSTATIC SYSTEM WITH 8" SHOWER ROSE WITH METAL WHEEL OR
LEVER HANDLE & WITH HANDSHOWER STYLE #'S RWXS21, RWXS31, RWXS41 & RWXS51
[RW21XS (UK), RW31XS (UK) RW41XS (UK) & RW51XS (UK)].
All dimensions are based on original specification and are subject to change and variation.
Please consult your Design Associate for current specifications.
INSPECT THE INSTALLATION:
37. Turn the limit stop clockwise then turn the water on
and confirm the limit stop is functioning properly by
turning it counter-clockwise at which point it should
stop.
38. Verify the temperature to be the maximum
temperature set in Step 34. If it is not the correct
temperature, repeat the calibration procedures in
Steps 32-36.
39. To get a hotter temperature, press and hold the limit
stop button, then rotate the limit stop until it stops.
It is NOT recommended to exceed a safety limit stop
of 110 degrees.
40. Re-attach the handle assembly to the limit stop.
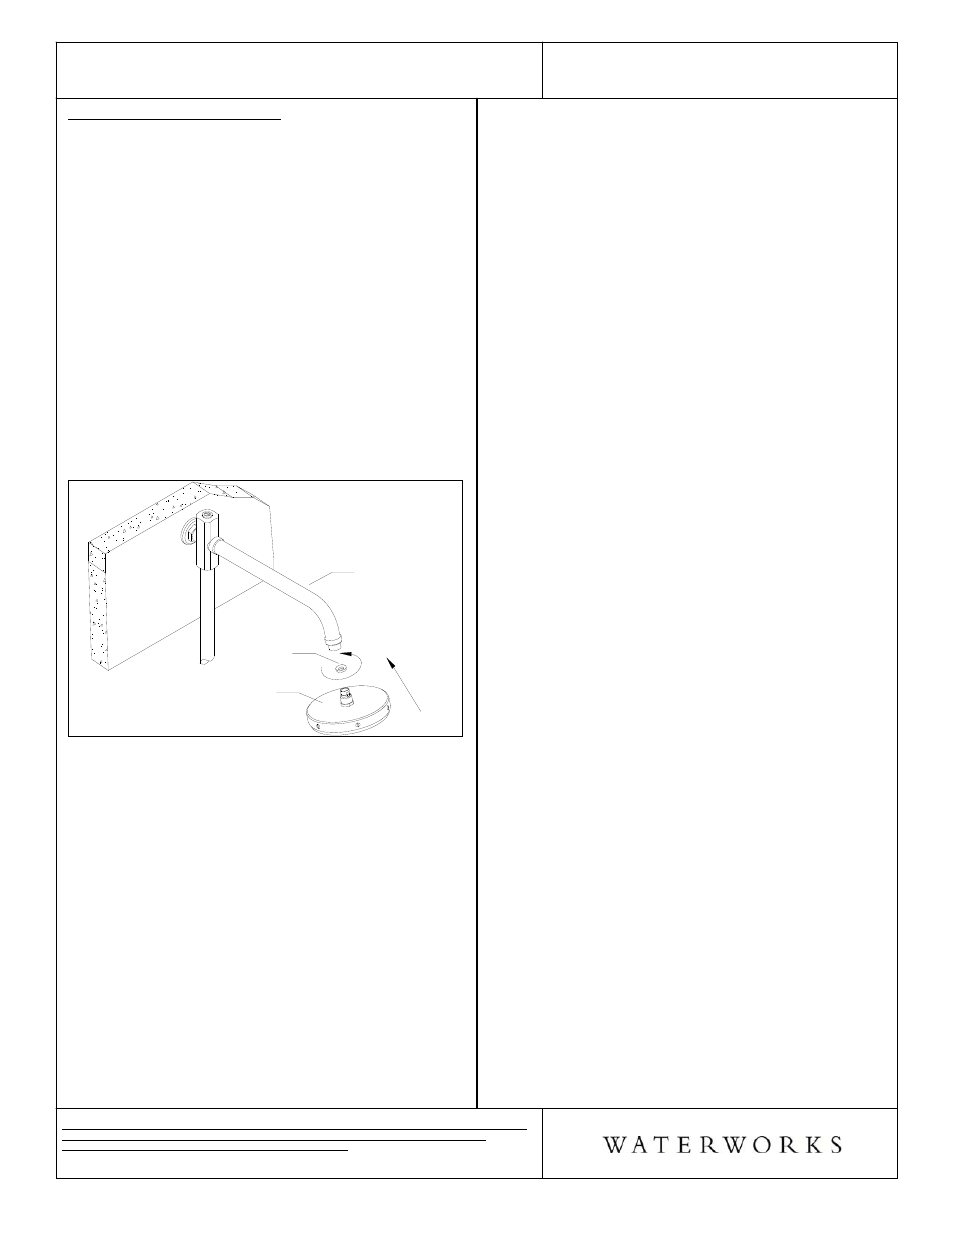
41. Attach the shower head to the shower arm assembly
using Teflon tape and the rubber washer to
complete this installation. (See Figure - 10)
Figure - 10
SHOWER ARM
ASSEMBLY
SHOWER HEAD
RUBBER
WASHER
¾ If further assistance is required, please contact
Product Support at 1-800-927-2120 (8am-6pm EST).
¾ See service part document for parts ordering,
available on WATERWORKS.COM.
† BSP Adapter can be ordered separately:
(2x)
STYLE No. UNUK10
ITEM No. 45-66512-23519