7 replacing the cmos battery on the server board, Replacing the cmos battery on the server board, Ace (“b” in – Kontron TIGW1U Carrier Grade Server User Manual
Page 64: Figure 53
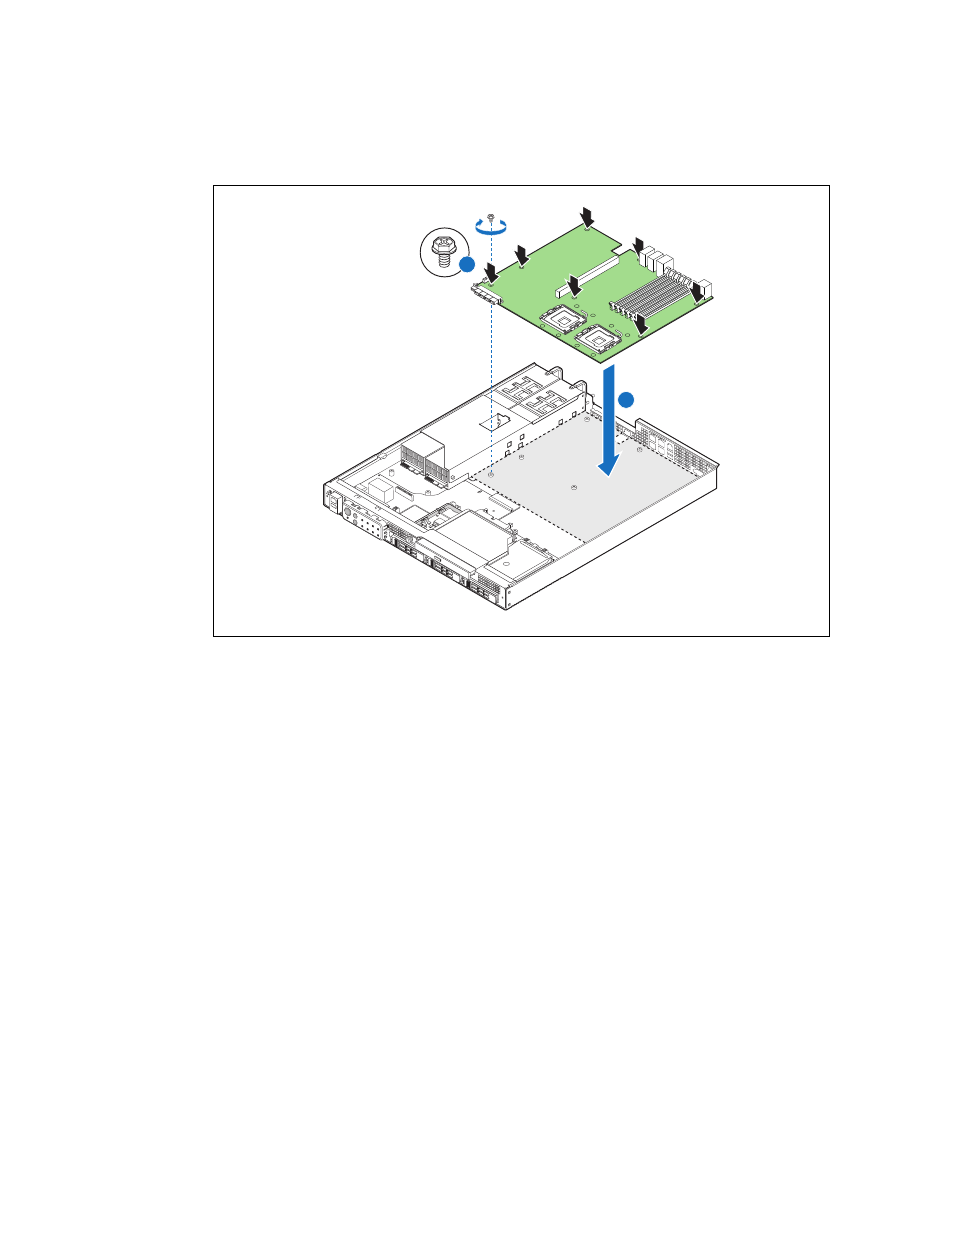
TIGW1U server—Server Installations and Upgrades
Kontron Carrier Grade Server TIGW1U
Product Guide, rev. 1.3
December 2009
64
3. Configure any jumpers where you do not want to use the default settings. For
Section 3.4.1, “Configuring Jumpers on the Server Board” on
4. Connect all cables to the server board.
5. Install the CPU four-fan assembly. For instructions, see
the CPU Four-Fan Assembly” on page 54
.
6. Install the processor(s) and heat sink(s). For instructions, see
“Installing a New Processor” on page 39
.
7. Install all DIMMs. For instructions, see
Section 3.4.3.1, “Installing DIMMs” on
8. Install the PCI riser assembly. For instructions, see
Section 3.4.5.4, “Installing the
Riser Card Assembly onto the Server Board” on page 45
9. Install the processor air duct. For instructions, see
Section 3.2.6, “Installing the
Processor Air Duct” on page 27
10. Install the chassis cover and all external cables and power the system back up.
3.5.7
Replacing the CMOS Battery on the Server Board
The lithium battery on the server board powers the real-time clock (RTC) for up to 10
years in the absence of power. When the battery starts to weaken, it loses voltage, and
the server settings (for example, the date and time) stored in CMOS RAM (Random
Access Memory) in the RTC may be wrong. Contact your Kontron sales representative
or dealer for a list of approved devices.
Figure 53.
Installing the Server Board
l
TS000210
B
A