Installing scsi hard-disk drives – Dell PowerEdge 2550 User Manual
Page 3
peripheral bay, it is identified as SCSI ID 4.
To operate the backplane in a 1 x 4 configuration, attach a single host adapter to connector SCSIA on the backplane board (see
Figure A
-4
in "
Jumpers,
Switches, and Connectors
"). You can operate the SCSI backplane board in a split 2 x 2 mode if a second, optional SCSI backplane daughter card is installed
Installing a SCSI Backplane Daughter Card
"). In split mode, a host adapter attached to connector SCSIB on the backplane controls slots SCSI 0 and SCSI
1, while the host adapter connected to SCSIA controls slots SCSI 2, SCSI 3, and the fifth drive slot, SCSI 4 (if installed).
Installing SCSI Hard-Disk Drives
SCSI hard-disk drives are supplied by Dell in special drive carriers that fit in the hard-disk drive bays. To install a SCSI hard-disk drive, perform the following
steps.
1.
If the system does not have a RAID controller installed, shut down the system.
2.
If the optional front bezel is installed, remove it. See "
Removing the Front Bezel
" in "Checking Inside the System."
3.
If you have not already done so, unlock and open the system doors (see "
Opening the System Doors
" in "Checking Inside the System") and remove the
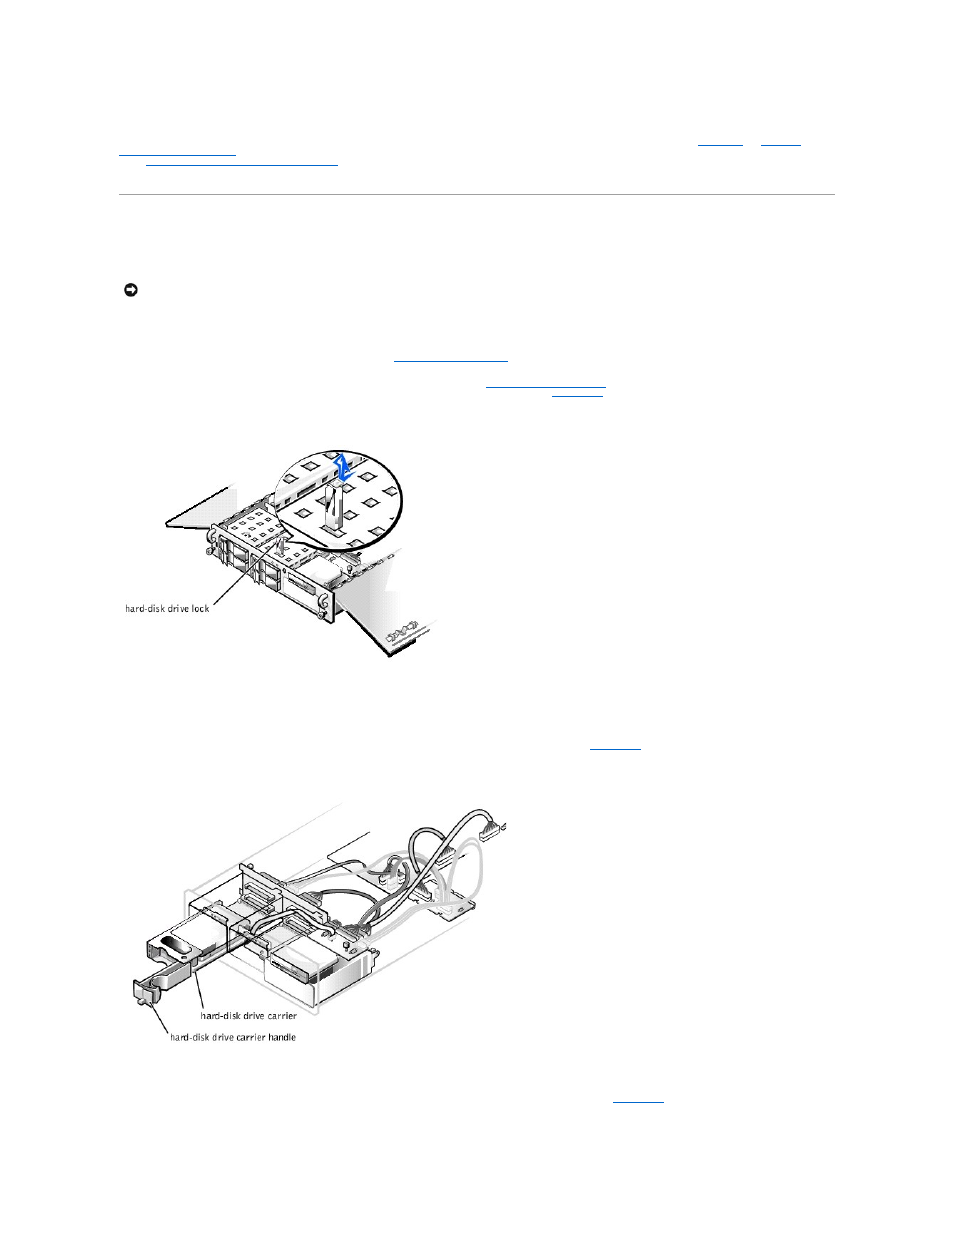
hard-disk drive lock from the hard-disk drive bay where you will install the new drive (see
).
Figure 10-2. Removing a Hard-Disk Drive Lock
4.
For systems with RAID controllers, power down the hard-disk drive bay. If a hard-disk drive is currently installed in the bay, wait until all three SCSI
hard-disk drive indicators on the hard-disk drive carrier handle are off before proceeding.
5.
Open the drive carrier handle and slide the carrier toward you until it is free of the drive bay (see
Figure 10-3. SCSI Hard-Disk Drive Carrier
6.
Open the handle on the new hard-disk drive carrier.
7.
).
NOTICE: Hot-plug drive installation is not supported for systems without an integrated redundant array of independent disks (RAID) controller or Dell
PERC host adapter card.