Aileron and flap servo installation – E-flite Super Cub 25e ARF User Manual
Page 8
8
E-flite Super Cub 25e ARF Assembly Manual
15. Saturate each hinge with thin CA. Apply CA to
both the top and bottom of the hinge.
16. Once the CA has cured, gently pull on the
control surface and wing to make sure the hinges are
glued securely. If not, apply CA to those hinges that
are not glued and recheck.
17. Move the control surface through its range of
motion several times to break in the hinges. This
will reduce the initial load on the servo during
your first flights.
18. Repeat steps 10 through 17 to install the
remaining aileron. Once the glue has fully cured on
the flaps, remove the tape placed in step 8.
Aileron and Flap Servo Installation
Required parts
Wing panel (right and left)
Transmitter
Receiver
Nylon clevis (4)
Nylon control horn (4)
Receiver battery
Silicone tubing (4)
Servo with hardware (4)
2mm x 8mm washer head self-tapping screw (16)
2mm x 8mm self-tapping screw (8)
Aileron pushrod, 2
9
/
16
-inch (65mm) (2)
Flap pushrod, 2
5
/
16
-inch (59mm) (2)
Servo extension, 6-inch (152mm) (2)
Required Tools and Adhesives
Thin CA
Phillips screwdriver: #1
Pin vise
Drill bit: 5/64-inch (2mm)
Dental floss
Hobby knife with #11 blade
Canopy glue
Low-tack tape
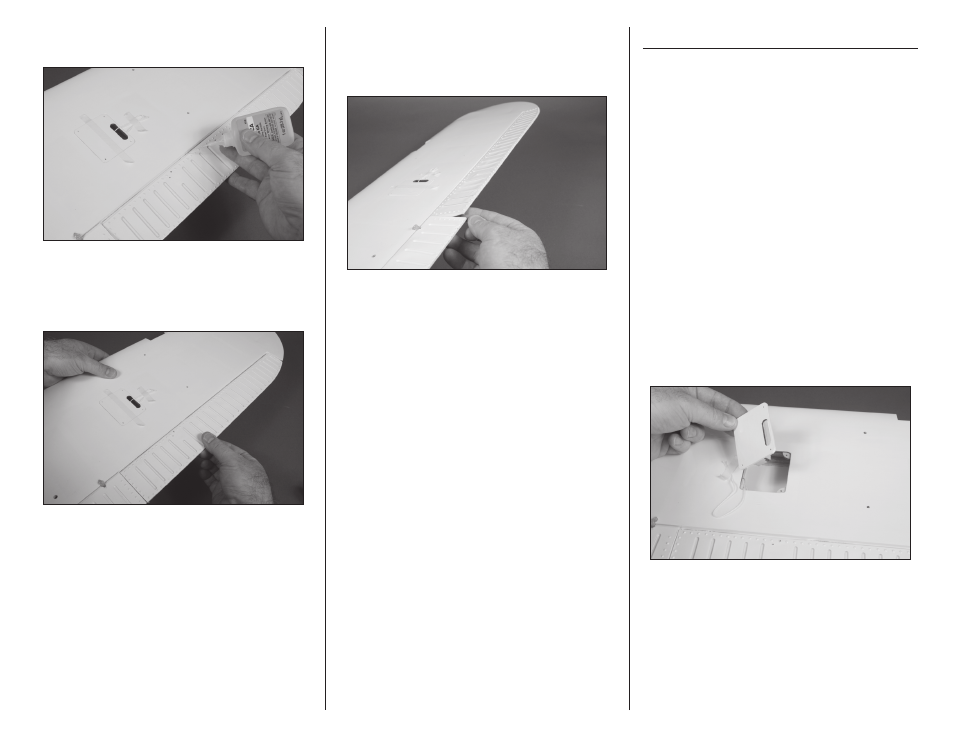
1. Remove the aileron servo cover from the wing.
You may need to use a covering iron to reseal the
covering to the wing if the tape lifts the covering.