Receiver installation without cockpit kit, Receiver installation with cockpit kit – E-flite Super Cub 25e ARF User Manual
Page 30
30
E-flite Super Cub 25e ARF Assembly Manual
Receiver Installation without Cockpit Kit
Required parts
Fuselage assembly Receiver
Y-harness
Hook and loop tape
12-inch (305mm) servo extension (2)
3-inch (76mm) servo extension
Required Tools and Adhesives
Scissors
1. Use scissors to cut two small pieces of hook
and loop tape the size of the receiver and remote
receiver. Plug the rudder and elevator servos
into the correct ports. Plug the 12-inch (305mm)
extensions into the aileron and Aux 1 ports
(this is used for differential aileron throw). Plug
the Y-harness into the flap port. Plug the 3-inch
extension (76mm) into the bind port. Secure the
main and remote receivers in the fuselage using
hook and loop tape.
Receiver Installation with Cockpit Kit
Required parts
Fuselage assembly Hook and loop tape
12-inch (305mm) servo extension (2)
3-inch (76mm) servo extension
Y-harness
Receiver mount plate (from cockpit kit)
Required Tools and Adhesives
Scissors
Medium CA
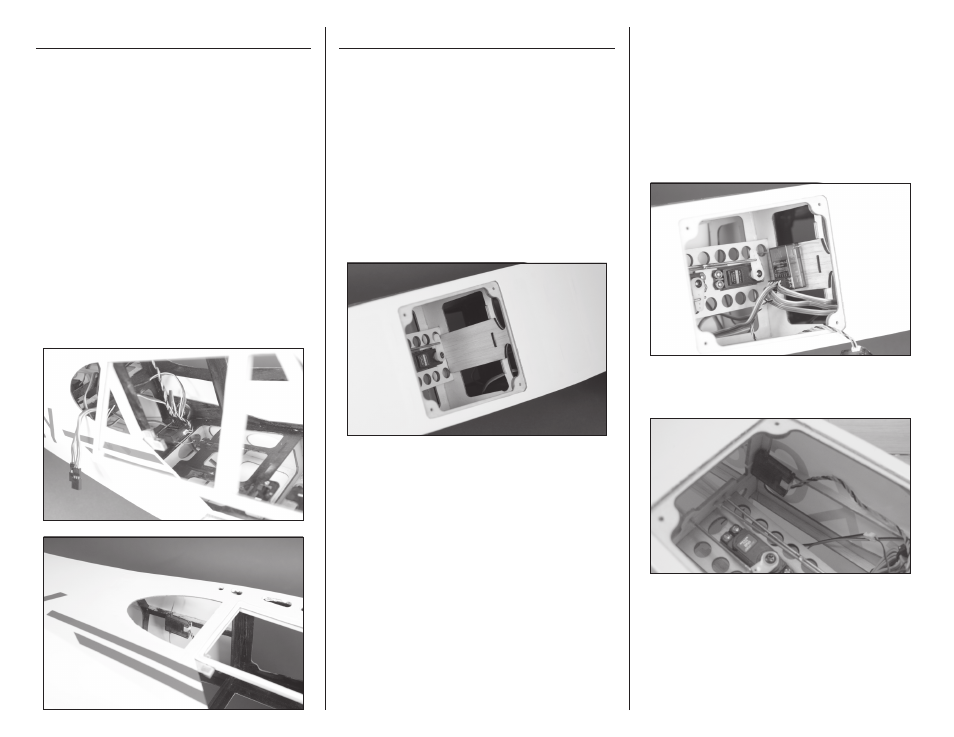
1. Locate the receiver mount plate in the cockpit kit.
Use medium CA to glue the mount in the fuselage at
the front of the servo mounting tray as shown.
2. 1. Use scissors to cut two small pieces of hook
and loop tape the size of the receiver and remote
receiver. Plug the rudder and elevator servos
into the correct ports. Plug the 12-inch (305mm)
extensions into the aileron and Aux 1 ports
(this is used for differential aileron throw). Plug
the Y-harness into the flap port. Plug the 3-inch
extension (76mm) into the bind port. Secure the
main and remote receivers in the fuselage using
hook and loop tape.
3. Cut a piece of hook and loop tape to attach the
remote receiver to the fuselage side.