4 instrument calibration, Instrument calibration – Metrohm NIRS XDS RapidLiquid Analyzer User Manual
Page 41

▪▪▪▪▪▪▪
39
The menu selection for Blank Correction is available when the option is selection in This Project’s
Options, and the Data Collection Method (DCM) has the Blank Correction box is checked. This is
explained in section 7.1.2.
Upon selection of Blank Correction from the
Diagnostics menu, Vision takes an instrument
reference.
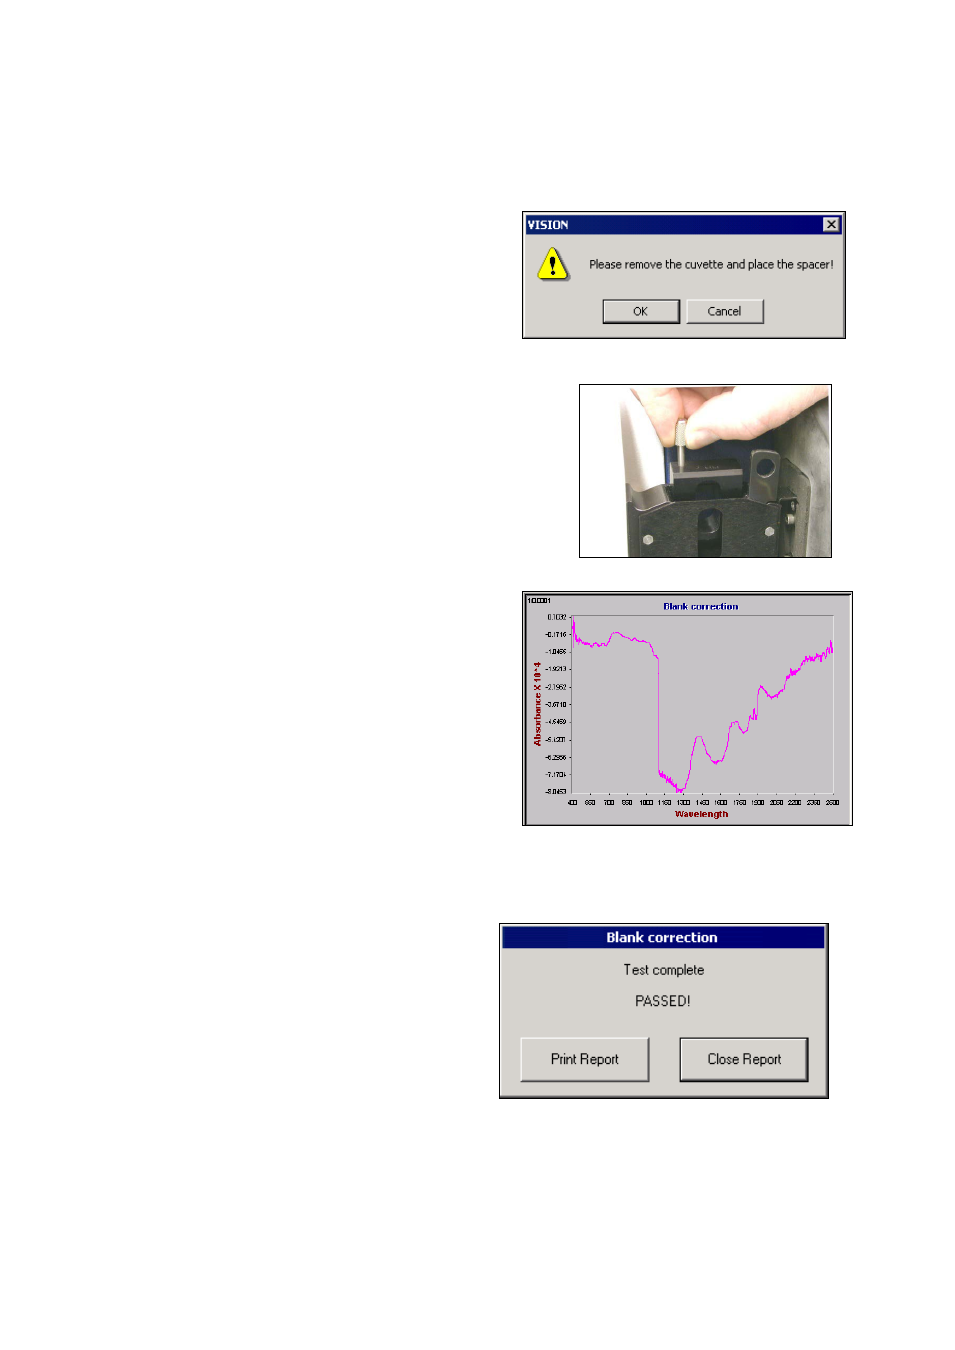
Next, this dialog box prompts the user to remove
any cuvettes, and verify placement of the proper
spacer.
When instructed, insert the correct spacer into the sample
drawer and tighten the knurled knob fully.
Be sure to use the right spacer for the cuvette size, or
the Blank Correction will give the wrong spectral
correction.
Click “OK” when the spacer is in position. Vision will scan
the sample area.
After the sample area is scanned, a dialog box
prompts that Vision is ready to plot the Blank
Correction. Click “OK” to proceed.
The spectrum at the right is a Blank Correction, and
is a typical shape. The shape may vary slightly,
depending upon the spacer used.
Vision applies the correction automatically to all
subsequent spectra taken with this Data Collection
Method (DCM), during this connection session.
Upon disconnecting, the Blank Correction is erased.
If the DCM is used for a different size cuvette, Blank Correction must be repeated with the
new spacer.
When finished, click on “Close Report” to
proceed.
7.1.4
Instrument Calibration
Instrument Calibration uses a traceable, stable, rare-earth glass standard of known wavelength
response, as a method to establish wavelength scale response of the instrument. This standard is
directly traceable to NIST SRM-2035. A spectrum of the standard is shown:
