Assembly install tires – MacDon 9352c SP User Manual
Page 135
Form # 147459
Issue 11/06 Web Rev_01
133
ASSEMBLY
Install Tires
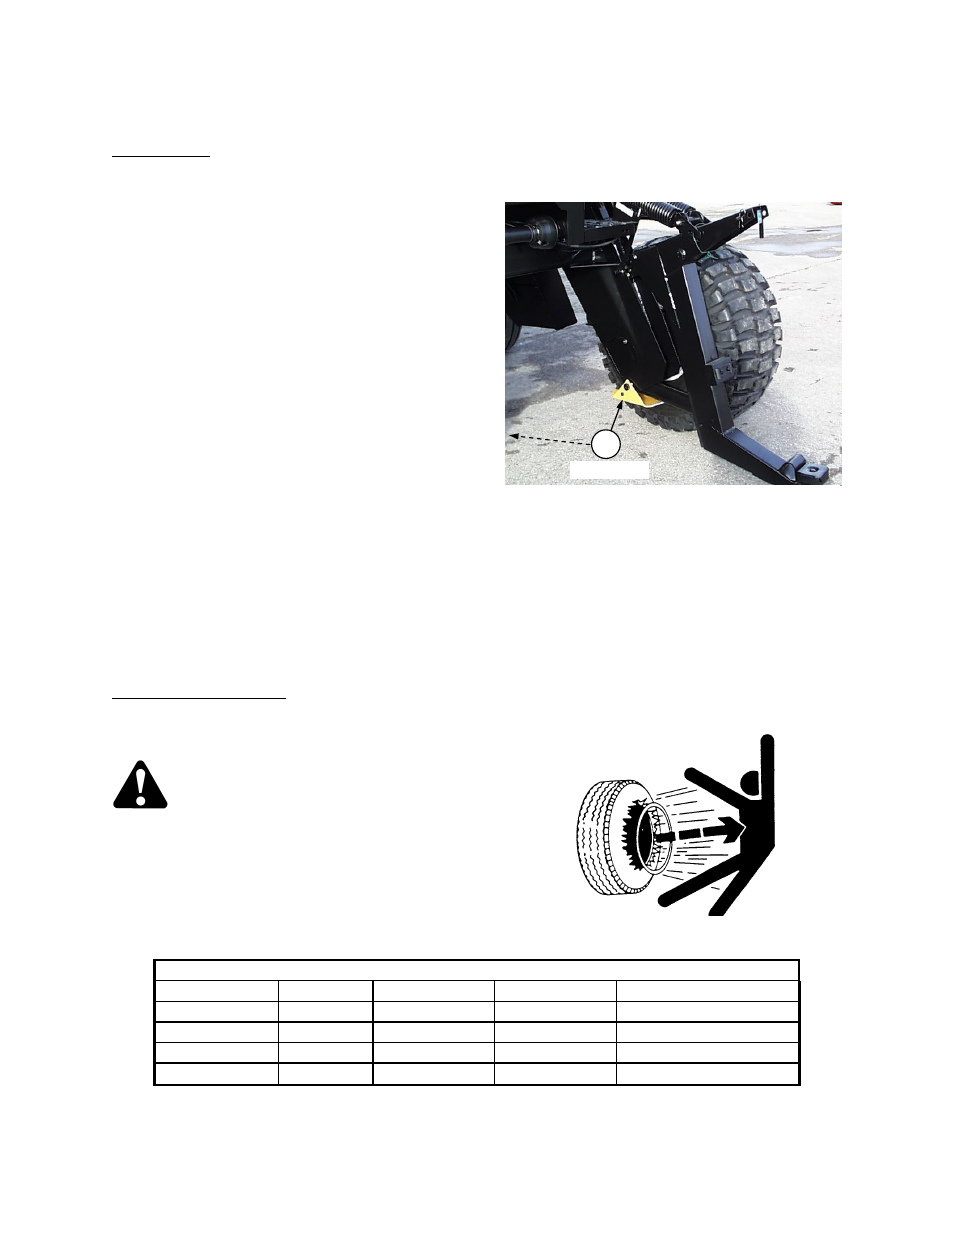
DRIVE TIRES
Install tires on a hard, level surface as follows:
1. Lift front end of windrower using a forklift and
place 14” (35 cm) blocks under yellow skid
shoes (S) on front frame legs.
2. Install drive tires onto power hubs ensuring tire
tread points forward and air valve stems are on
the outside.
NOTE: For "Turf and Field" tires (diamond or
rectangular tread), be sure arrow on sidewall
points in forward rotation.
3. Torque drive wheel bolts to 180 ft. lbs. (245
N·m)
Follow proper bolt tightening sequence (see
Maintenance/Service section). Re-check torque
as follows:
• Every 15 minutes on the road or 60 minutes in
the field until torque stabilizes, then
• Daily (10 hours) until no change is recorded for
3 consecutive days (30 hours), then
• Every 200 hours or annually thereafter.
4. Lift front end of windrower with forklift and remove the blocks from under skid shoes. Lower the windrower
onto its tires.
5. IMPORTANT: Remove yellow skid shoes (S) from front frame legs.
DRIVE TIRE INFLATION
Check the tire pressures and adjust if necessary.
CAUTION: When inflating tires, use a
clip-on chuck and extension hose long
enough to allow you to stand to one
side and not facing tire.
NOTE: Pressures below are for a fully loaded
header. If hay conditioner is removed, or a bat reel
replaces a pick-up reel, reduce pressures by 2 psi (14
kPa).
Drive Tire Inflation Pressures
Header Model
Header Size
14.9 - 24
500 - 70R24
540- 65R24 or 560-65D24
912, 922, 933
All
33 psi (228 kPa)
19 psi (132kPa)
18 psi (125 kPa)
962
All
36 psi (248 kPa)
21 psi (145 kPa)
20 psi (138 kPa)
972
12 - 21
33 psi (228 kPa)
19 psi (132kPa)
18 psi (125 kPa)
972/Sprayer
25 - 36
42 psi (289 kPa)
24 psi (165 kPa)
22 psi (151 kPa)
S
REMOVE
INSTALL DRIVE TIRES & REMOVE SKID SHOES
STAND TO ONE SIDE WHEN INFLATING TIRES