Multiserver 5000 – Black Box 5000 User Manual
Page 122
Multiserver 5000
120
E
XAMPLE OF A
S
WITCHING
C
LASS
Figure 10-4
shows a Multiserver network. The
Central Office has a Multiserver 5000 with a
6-channel CEM and 3 Voice/Fax cards. This will be
considered the local node. Each remote office has
a Multiserver 1000 with one Voice/Fax card.
In this application, the remote Voice/Fax channels
will be able to reach the local PBX at all times.
However, there are twelve remote data terminals
(four in each office) and only six available
connections to the host computer.
This is a situation where a switching class is ideal. If
the host had twelve free ports, the network manager
could just force connect each remote terminal to
one port on the host. As the situation exists, the
network manager will make the six host ports a
switching class, allowing the twelve remote ports to
contend for free ports on the host. When a remote
terminal attempts to access the class (local ports B1
to B6), the Multiserver 5000 will connect it to a free
channel on the 6-channel CEM. If all channels in
the class are busy, the remote terminal will be
placed in queue. The Multiserver 5000 will connect
the queued channel to the host when another
remote terminal times out or disconnects.
P
LANNING A
C
LASS
Before configuring the classes, define which ports
are to be grouped together and note the following
information:
Class Name
The group of ports that is
searched when this class name is
requested.
Class Name
Switching class names and LAN
Syntax
class names must be unique.
Secondary Class
An alternate switching class that
(if applicable)
is searched when all ports in the
primary class are unavailable.
Class Password
The password assigned to each
class.
Class Message
The message appears when the
user attempts to connect to the
class. CONNECTED appears when
the user is connected to the class.
C
ONFIGURING A
C
LASS
Configuring a switching class is done through the
Class Parameters menu. Access the menu by
following these procedures:
The following prompt will appear on the screen:
Enter a number from 1 to 64.
If a class name has not been configured for the class
number, the following prompt will appear on the
screen:
Enter the primary class name selected. Press
COMMAND FACILITY MAIN MENU [node id]
CONFIGURE LOCAL NODES
3
CONFIGURE LOCAL NODES [node id]
CLASS PARAMETERS
9
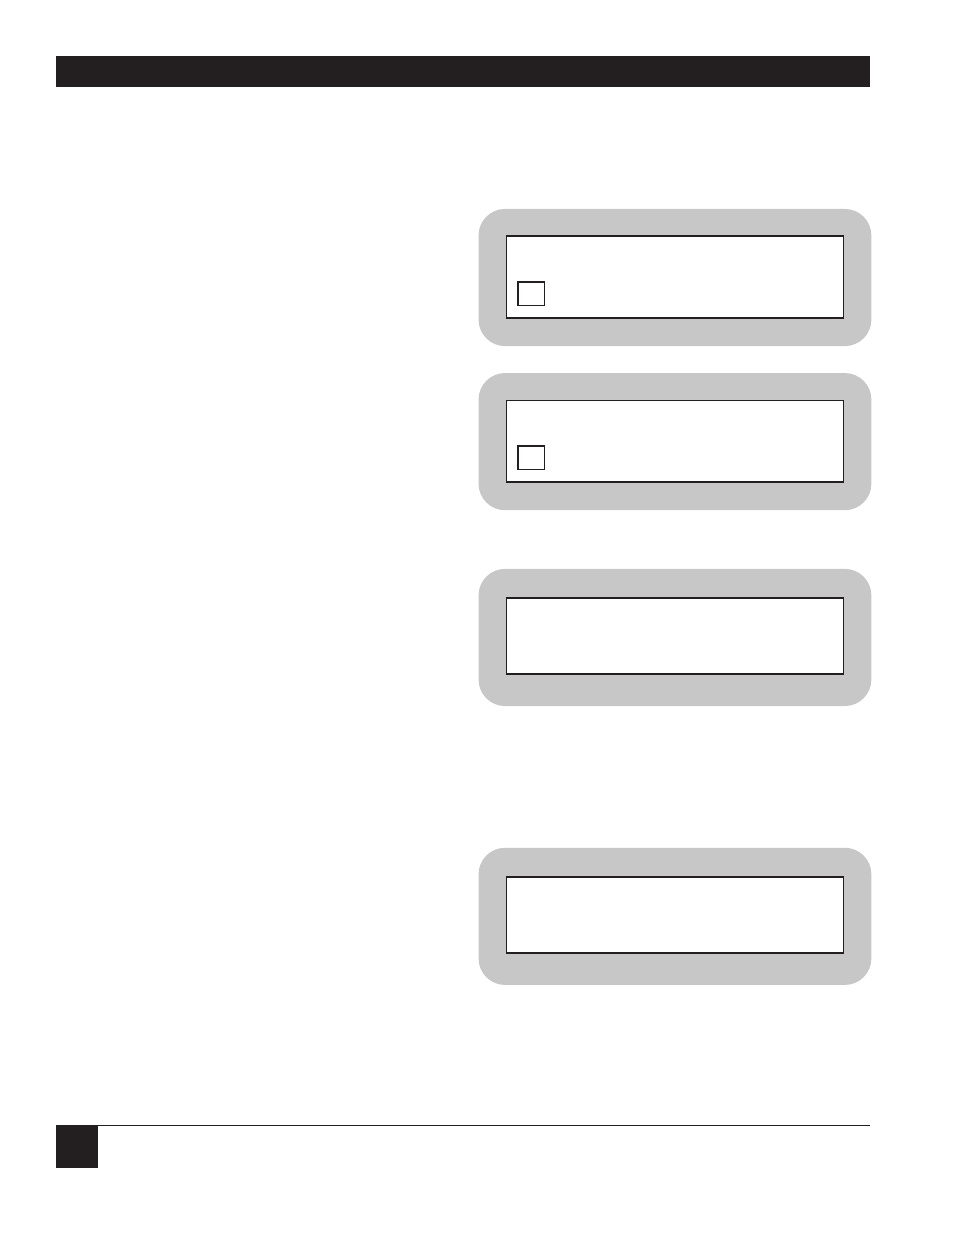
ENTER CLASS NUMBER (^X TO ABORT):
ENTER CLASS NAME [ ]
(^X TO ABORT):