Connecting an external monitor – Apple PowerBook G3 User Manual
Page 42
Connecting an external monitor
To connect an external monitor to your PowerBook, follow these steps. Also
consult the documentation that came with the monitor.
1
Press the Power (
π
) key once to get the Shut Down dialog box.
2
Click Shut Down or Sleep.
If you connect a monitor with your computer turned on, the computer will
not recognize the monitor.
3
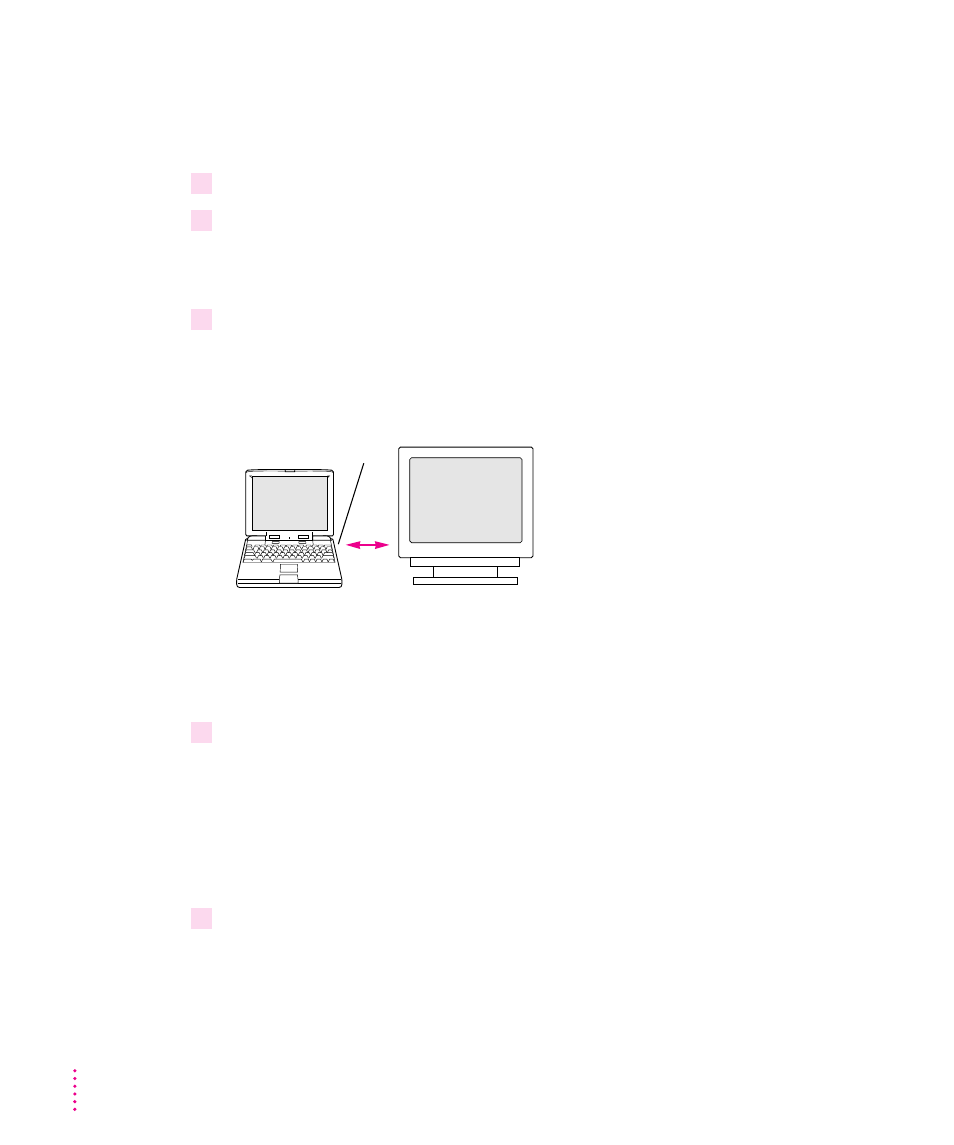
Place the monitor near the PowerBook.
Keep the computer and the monitor at least 8 inches apart. Interference
between the monitor and your computer’s floppy disk drive can cause errors
on your floppy disks.
Arrange the monitor so the top of the screen is slightly below eye level while
you work. Position the monitor to minimize glare and reflections on the
screen from lights and windows.
4
Make sure the monitor’s power cord is attached to the monitor. Plug the other end into a
grounded outlet or power strip.
If your monitor’s power cord is designed to plug into the power receptacle on
the back of a computer, rather than into an electrical outlet, you can obtain a
cord with the correct plug from your Apple-authorized dealer.
If you are using a power strip, make sure it is turned on.
5
If you are connecting an Apple or Apple-compatible monitor, locate the adapter that
came with your computer and attach it to one end of the external monitor’s cable.
The monitor adapter is a small plastic and metal device that is the same color
as the computer. The number 590-0289 is on the adapter.
If you are connecting a VGA or SVGA monitor, skip this step.
8 inches minimum
Floppy drive
42
Chapter 3