Modifying keyframes – Apple Motion 2 Getting Started User Manual
Page 110
110
Chapter 3
Your No. 2 Pencil
You can also create and save custom curve sets. For more information, see Chapter 6,
“Keyframes and Curves” in Motion Help.
Note: You can also choose to show specific parameters in the Keyframe Editor by using
the Animation menu in the Inspector.
Modifying Keyframes
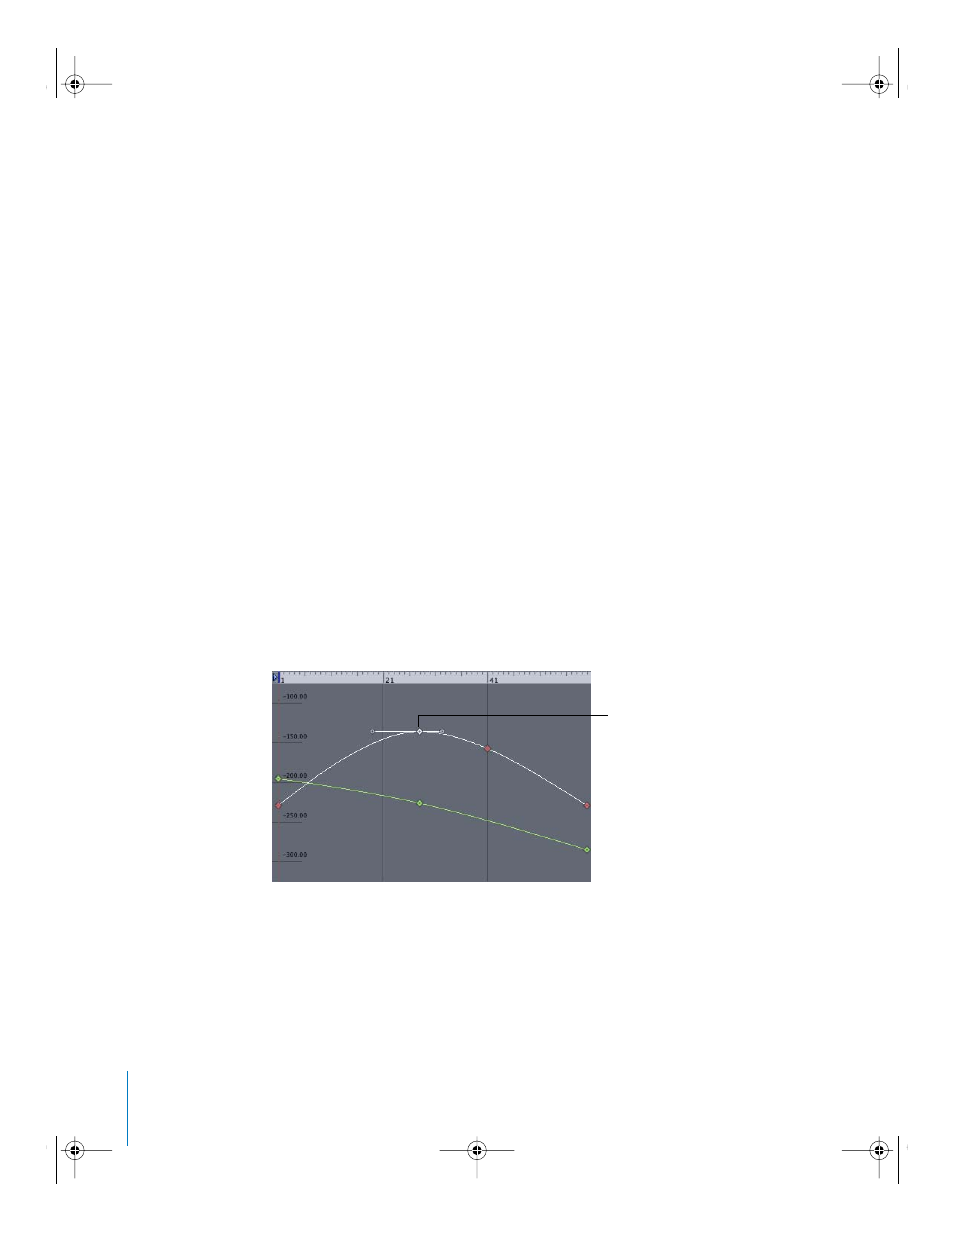
The Keyframe Editor is an ideal environment for manipulating your keyframes because
you can see their values, placement in time, and how the changes you make affect the
animation curves. In the following example, the position of an object is animated over
three keyframes.
There are several ways to modify keyframes in Motion:
•
In the Keyframe Editor, use the shortcut menus (Control-click a keyframe).
•
Use the Animation menu (located in the parameter list in the Keyframe Editor).
•
In the Keyframe Editor, drag the keyframe to change its value.
•
In the Timeline or Keyframe Editor, move the keyframe in time.
To display the curves for animated parameters:
1
Select the animated object or layer.
2
In the Keyframe Editor, click the Show pop-up menu, then choose Animated.
To change the value of a keyframe:
1
Select the keyframe on the curve you want to modify.
The keyframe and the curve are selected.
2
Do one of the following:
•
To change the value of the keyframe, drag along the Y axis (up and down).
•
To change the position of the keyframe in time, drag along the X axis (left to right).
Selected keyframe
2505.book Page 110 Wednesday, June 30, 2004 5:58 PM