Using animation paths, Using, Animation paths – Apple Motion 2 Getting Started User Manual
Page 106
106
Chapter 3
Your No. 2 Pencil
Note: Do not drag the actual keyframe (the red point) to move the object. Rather than
creating a new keyframe, you merely reposition the existing keyframe.
7
Disable Record (press A).
Using Animation Paths
An animation path displays the motion of an object over time in the Canvas. Once you
have created an animation that transforms an object (with two or more keyframes), you
can change the shape of the path to modify the object’s animation. This section
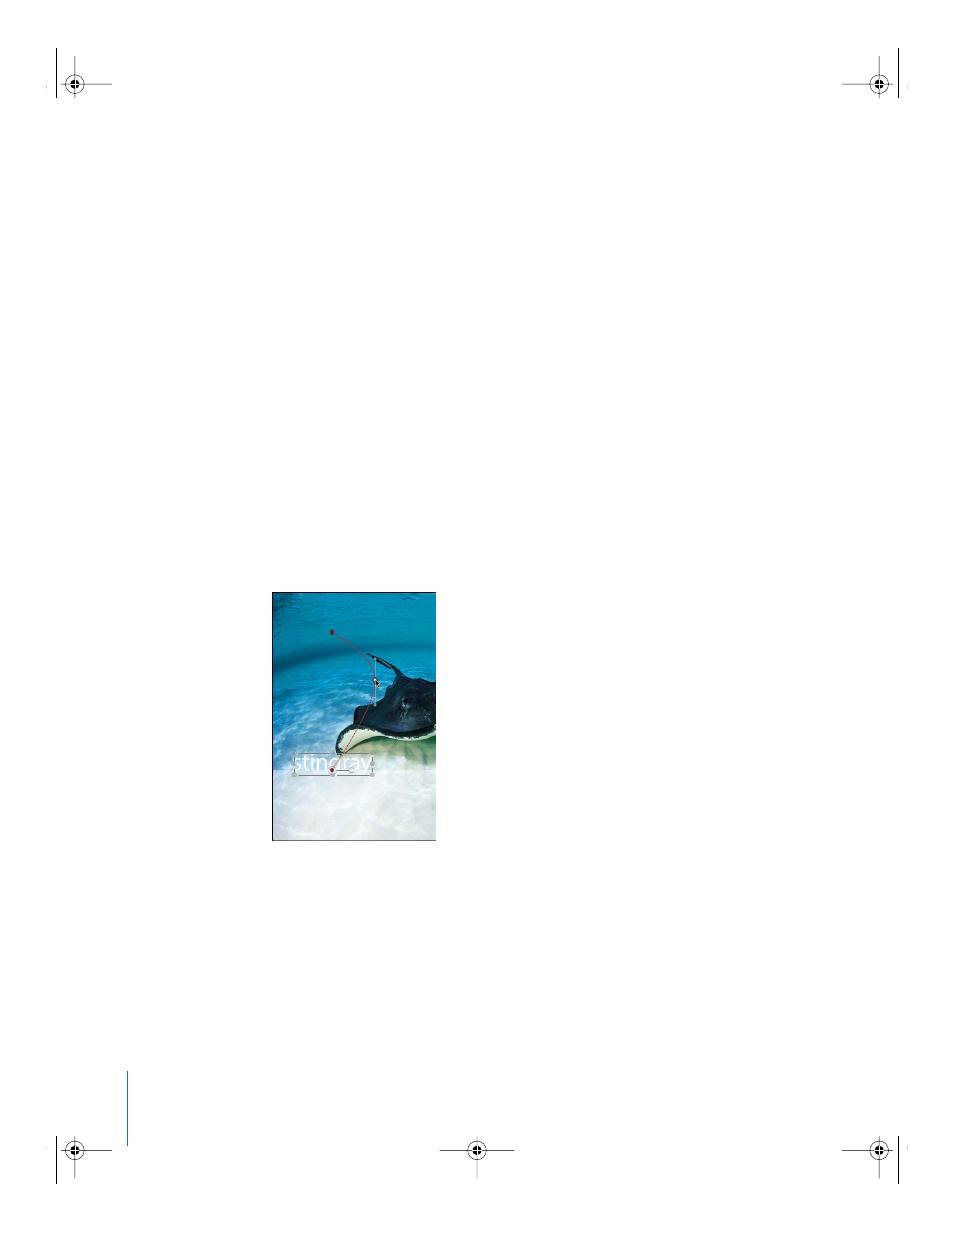
continues using the “stingray” example from above.
On the animation path, the small red squares indicate frames, and the larger red points
are keyframes. On an animation path, the keyframes are used as editable control
points. You can edit the animation path in the Canvas by adjusting the existing control
points, or by adding or removing control points.
To add control points (keyframes) to an animation path:
1
In the Canvas, Option-click the path.
A new control point is added.
Note: You can also double-click an animation path to add a control point.
2
Drag the control point to the new position.
By default, the keyframes created when an object is animated in the Canvas are Bezier
keyframes. By adjusting the keyframe (control point) handles, you can change the
shape of the animation path, or change a Bezier keyframe into a Linear keyframe.
Bezier points create a smoother motion for a transformed object, and Linear points
create a sharper transition.
2505.book Page 106 Wednesday, June 30, 2004 5:58 PM