Creating keyframes in the canvas – Apple Motion 2 Getting Started User Manual
Page 104
104
Chapter 3
Your No. 2 Pencil
Record button: When the Record button is enabled (in the transport controls), any
change in value to a parameter—whether in the Canvas, a Dashboard, or the
Inspector—results in the creation of a keyframe.
Animation menu: Located in the Inspector, this menu allows you to set explicit
keyframes at any time, for any parameter. For each keyframe, you add a keyframe first,
then adjust the parameter. The Record button does not need to be enabled to add
keyframes with the Animation menu. For more information, see “
Creating keyframes from applied behaviors: You can create keyframes by “baking” a
behavior or behaviors that have been applied to an object. Since a behavior merely
applies a value range to an object’s parameter, this gives you additional control over
the effect and timing of a behavior. For more information, see “
Creating Keyframes in the Canvas
In this section, the position of a text object is keyframed so that the text moves across
the screen over time. The easiest way to set up this type of basic animation (aside from
using a behavior) is with the onscreen controls in the Canvas. In this example,
Animation Path is enabled in the View menu so that you can clearly see the animation
as it is created. Once keyframes are created, you can edit the animation path in the
Canvas, as well as modify the keyframes in the Keyframe Editor.
To move an object across the screen:
1
In the transport controls, enable Record (or press A).
2
Go to the frame where you want to begin the animation.
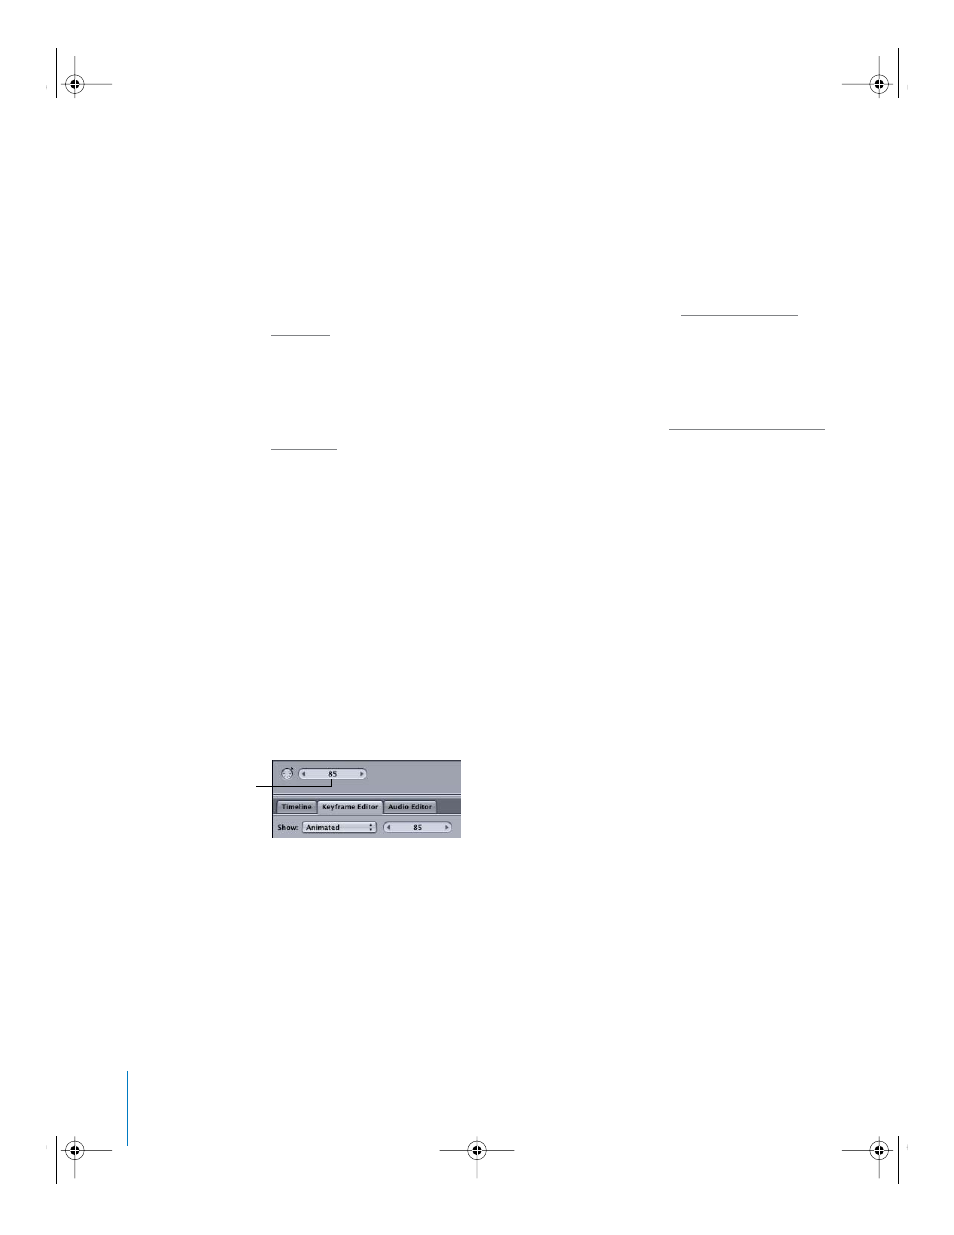
Note: To quickly navigate to a specific frame, type the frame number in the Current
Frame field (to the left of the transport controls).
Current Frame field
2505.book Page 104 Wednesday, June 30, 2004 5:58 PM