Installation instruc tio ns – Poison Spyder CJ FULL WIDTH CONVERSION KIT User Manual
Page 4
INSTALLATION INSTRUC
TIO
NS
©2009 POISON SPYDER CUSTOMS, INC. • 951-849-5911 • WWW.POISONSPYDER.COM
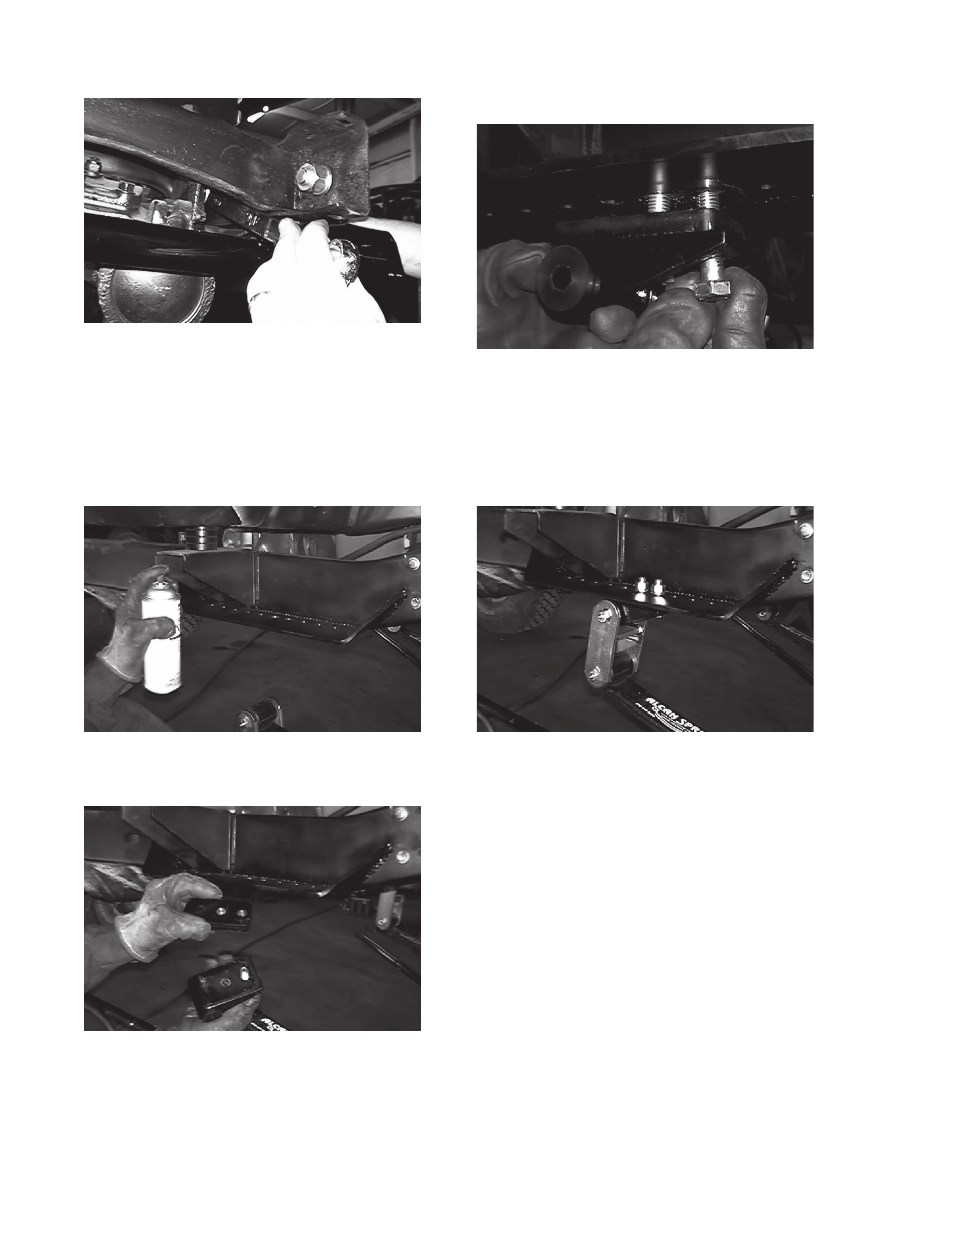
FIGURE 10
Tighten all four cap screws/lock nuts, and
torque them to 80 ft./lbs.
9. Paint the rear outboard brackets in your
color of choice. It is a good idea thoroughly
clean and primer it first before applying paint.
Allow sufficient time to dry before continuing
to step 10.
FIGURE 11
10. Install 2-1/2” shackle hangers and spacers
on to the rear outboard brackets.
FIGURE 12
For each side, insert a shackle hanger
spacer between the shackle hanger and
the outboard bracket, and secure using the
supplied 1/2-20 hex head cap screws and
nylon insert lock nuts.
FIGURE 13
Note that the outboard brackets have a
series of mounting holes in them, to provide
the option of ten different mounting locations.
This is to accommodate many different
combinations of shackle lengths and/or
spring lengths.
FIGURE 14
11. Install leaf spring packs. If the springs
have a military (double) wrap, this end of
the spring should go toward the front, and
the other end toward the shackle (rear)
end. Use the adjustment holes in the rear
outboard bracket to adjust the shackle angle.
When the Jeep is on its weight at ride height,
the shackle angle should be set at about 10
leaning forward.
Poison Spyder Customs • CJ FULL WIDTH FRONT AXLE CONVERSION Page 4