Konica Minolta IF-118 User Manual
Page 82
Using Scan to E-mail Operations
4
IF-118
4-5
5
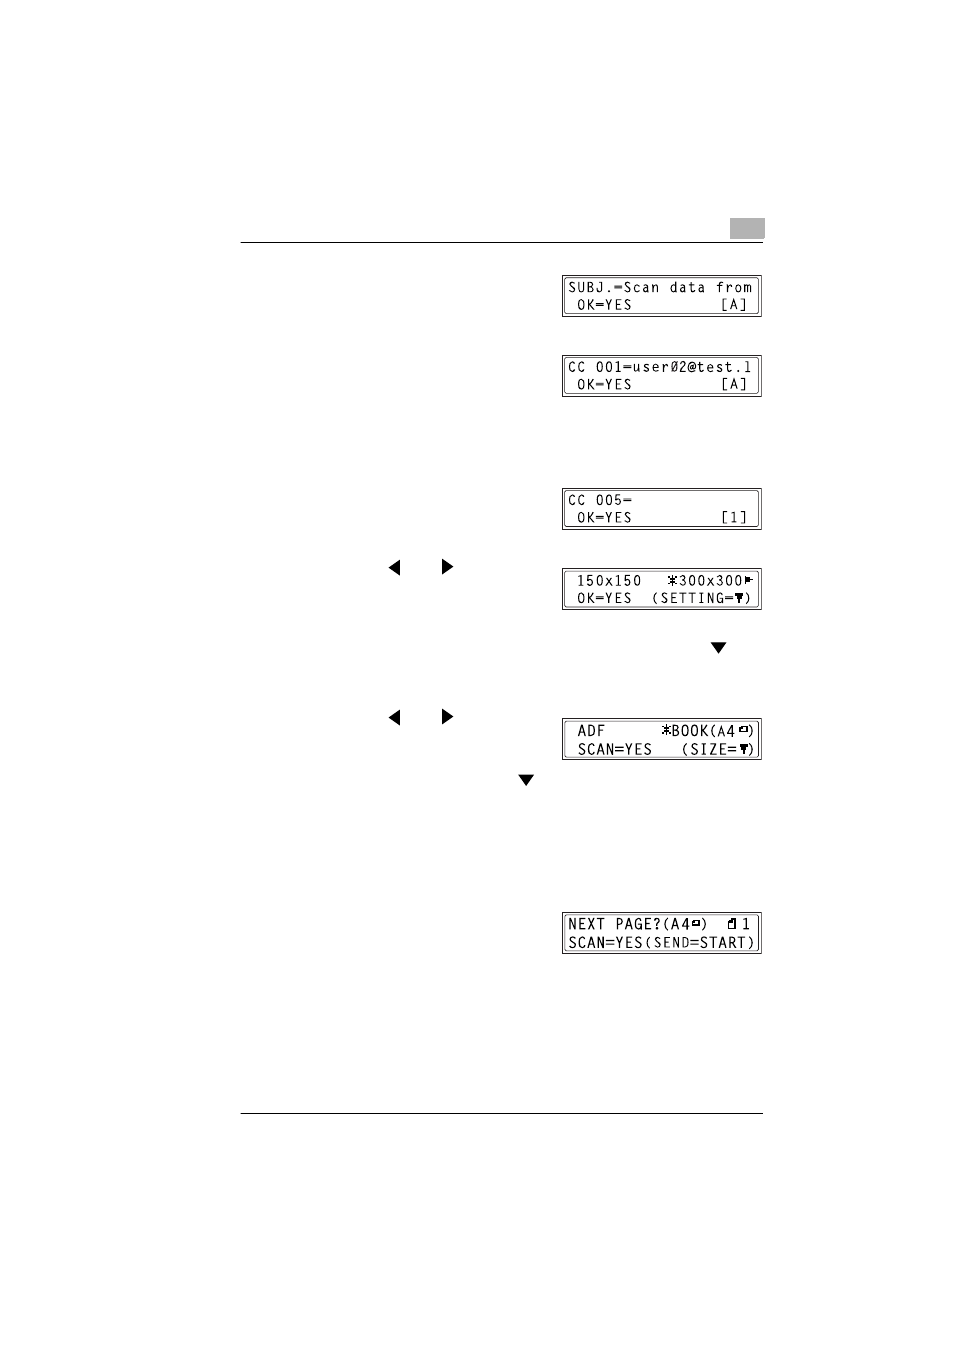
Enter a title (subject), and then
press the [YES] key.
6
Enter the e-mail address for any
additional recipient, and then press
the [YES] key.
❍
To specify more then one CC address, press the [YES] key to enter
the additional addresses. Repeat step 6 until all of the recipients
have been specified.
7
After you have finished specifying
the addresses for additional
recipients, press the [YES] key.
8
Press the
and
keys to select
the resolution (150
× 150 dpi, 300 ×
300 dpi, or 600
× 600 dpi), and then
press the [YES] key.
❍
To specify detailed settings for the scan mode, press the
key.
❍
For information on specifying detailed settings, refer to “Changing
the Scan Mode Settings” on page 4-6.
9
Press the
and
keys to select
“BOOK”.
❍
To change the size of the
scanned image, press the
key.
❍
For information on changing the size, refer to “Changing the
Scanned Image Size” on page 4-7.
10
Press the [YES] key.
❍
Scanning starts.
11
When scanning a document
containing several pages, place the
next page on the original glass
when the screen shown at the right
appears, and then press the [YES] key.
❍
Repeat step 11 until all of the pages in the document have been
scanned.
12
Press the [START] key.
Transmission starts.