1 using the forwarding function, Using the forwarding function -20 – Konica Minolta IF-118 User Manual
Page 119
6
Using Internet Faxing Operations
6-20
IF-118
6.8.1
Using the Forwarding Function
1
Press the [UTILITY] key.
2
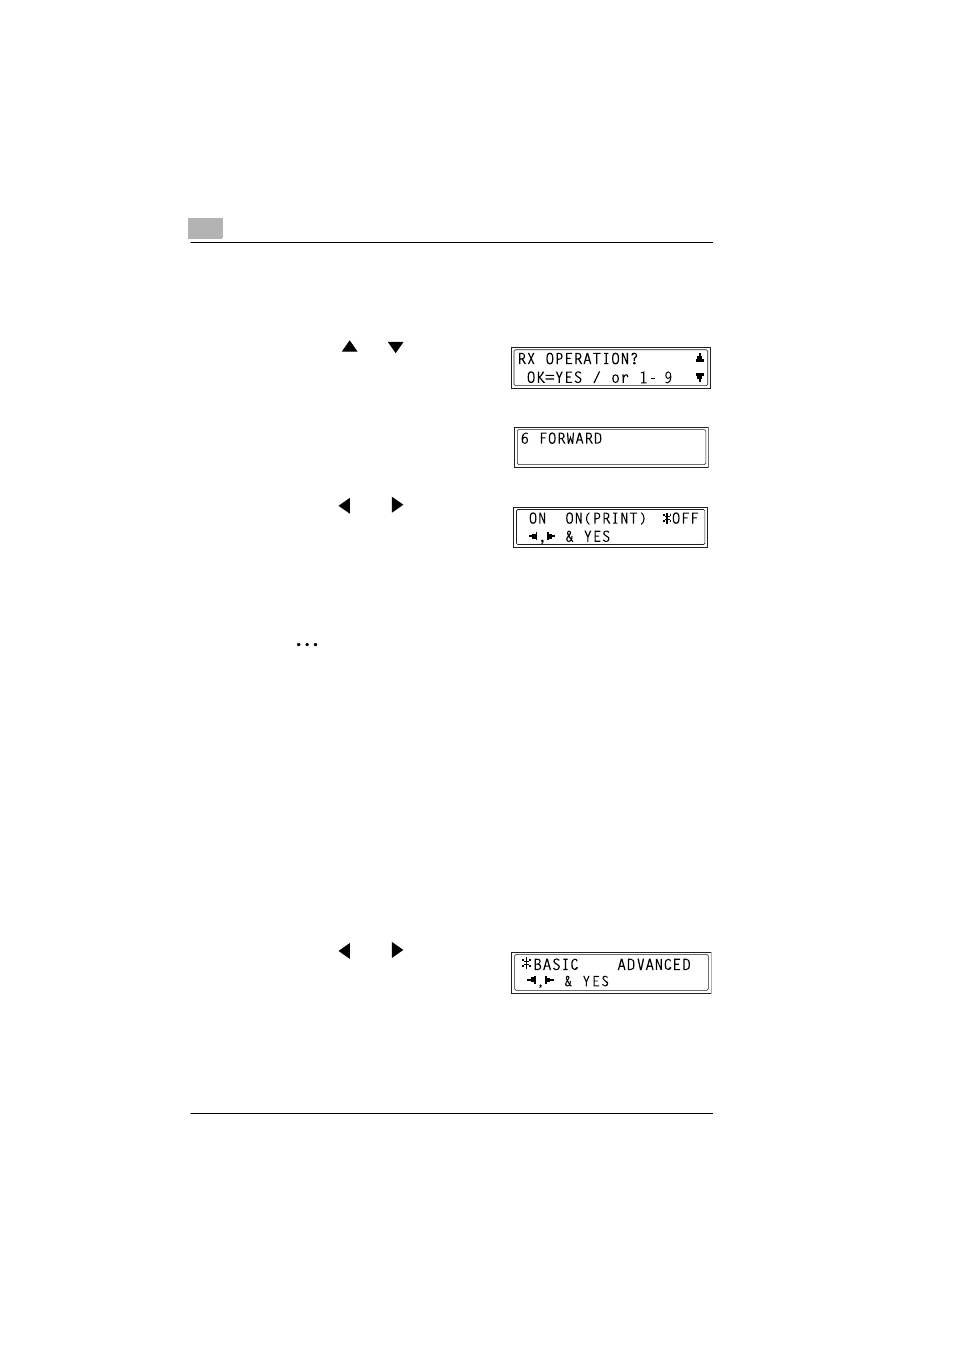
Press the
or
key until “RX
OPERATION” appears.
3
Press the [6] key on the 10-key pad
to select “FORWARD”.
4
Press the
and
keys to select
“ON”, “ON (PRINT)” or “OFF”, and
then press the [YES] key.
❍
If “ON” or “ON (PRINT)” are selected, the screen for specifying the
forwarding destination appears. (Go to step 5.)
❍
If “OFF” is selected, the RX OPERATION screen appears again.
✎
Tip
If the option to forward and print the document (“ON (PRINT)”) is
selected, the received fax is forwarded to a destination and is also
printed at the same time.
5
The destination e-mail address or fax number can be entered using
the 10-key pad, or the one-touch dial keys or speed dial numbers.
6
Press the [YES] key.
❍
If an e-mail address was specified using the 10-key pad in step 5,
the screen for specifying the transmission mode appears. (Go to
step 7.)
❍
If, in step 5, an e-mail address was specified in any way other than
using the 10-key pad or if a fax number was specified, the RX
OPERATION screen appears.
7
Press the
and
keys to select
“BASIC” or “ADVANCED” as the
transmission mode, and then press
the [YES] key.
❍
If “ADVANCED” is selected, the screen for specifying the
maximum document size for transmission appears. (Go to step 8.)
❍
If “BASIC” is selected, the RX OPERATION screen appears.