Switching to the automatic ip address mode, Changing to the static ip address mode – HID DTC1000/4000/4500 Ethernet User Guide User Manual
Page 23
DTC1000/1000M/4000/4500 Ethernet User Guide
– Installation Guide L001411
(Rev.1.1)
23
The current settings will be Dynamic only if Obtain an IP address automatically
was selected when the Printer was restarted last.
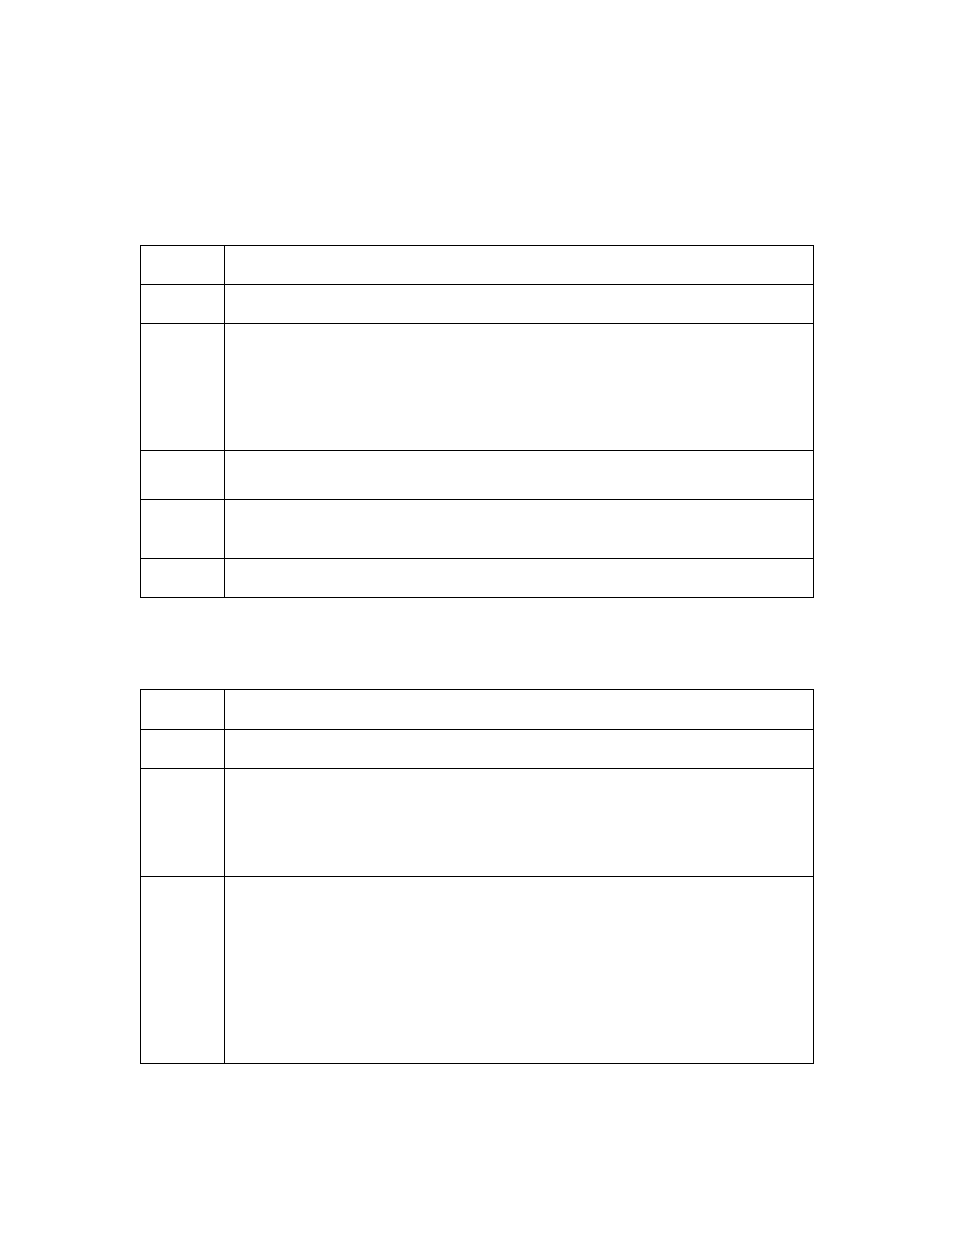
Switching to the automatic IP address mode
Step
Procedure
1
Select the Network link from any web page of the Printer.
2
Select the Obtain an IP address automatically radio button to enable the
DHCP/BOOTP, which automatically assigns the network settings.
Even with this button selected, the User can enter Stored Settings, and the
Stored Settings will remain in memory. See below. (Note: This is the
default method.)
3
Click on the Submit button to save this setting.
4
Log in as a root User if you are so prompted. (Note: Any change of a
setting will only be accepted after you have successfully logged in.)
5
Reboot the Printer for this change to take effect.
Changing to the static IP address mode
Step
Procedure
1
Select the Network link from any web page of the Printer.
2
Select the Use the following IP address radio button, which prepares the
Printer to use network settings that the User has manually set.
These manual settings will then be used the next time the Printer is
rebooted.
3
Enter the network settings which are required for Ethernet communications
from within the same subnet.
With only these entries the User will be unable to print from a subnet other
than the subnet on which the Printer is connected. These required settings
are the following:
IP Address
Subnet Mask