23 replacing existing pem8 with e002-c, 23 replacing existing pem8 with e002-c -42 – Allied Telesis 9700 iMAP User Manual
Page 48
Replacing Existing PEM8 with E002-C
Check management interfaces
ATI 9700 - Installation Guide (Initial Installation of the ATI 9700)
1-42
1.23 Replacing Existing PEM8 with E002-C
It may be necessary to replace the PEM8 on an existing 48V shelf. The replacement PEM8 is the E002-C. The
following procedure should be used to ensure the new PEM8 is installed properly.
Note:
Follow standard safety and anti-static guidelines.
1.
Working with network engineers, ensure that data traffic is handled appropriately during this procedure,
since the shelf must be powered down and so will not be passing traffic.
2.
Shut down the power supply to the shelf, following local practice. (Examples would be removing power sup-
ply fuses or setting circuit breakers to OFF.)
3.
Turn the breakers on the existing Power Supply to the OFF position. (Since breakers are vertical in the old
PEM8, push them down.)
4.
Using a voltmeter, ensure there is no voltage between the -48 or RTN leads.
5.
Using wire snips, cut all the tie wraps associated with the power cabling going to the PEM8.
6.
Remove the PEM8 guard shield from both the A and B sides.
7.
Remove the A and B power cables from the PEM8.
8.
Remove all seven retaining screws of the PEM8, and set these aside.
9.
Ensure the cable management tray is open, in preparation for the next step.
10.
Remove the PEM8. (Follow local practice on what to do with this PEM8, such as returning it to Allied Tele-
sis.)
11.
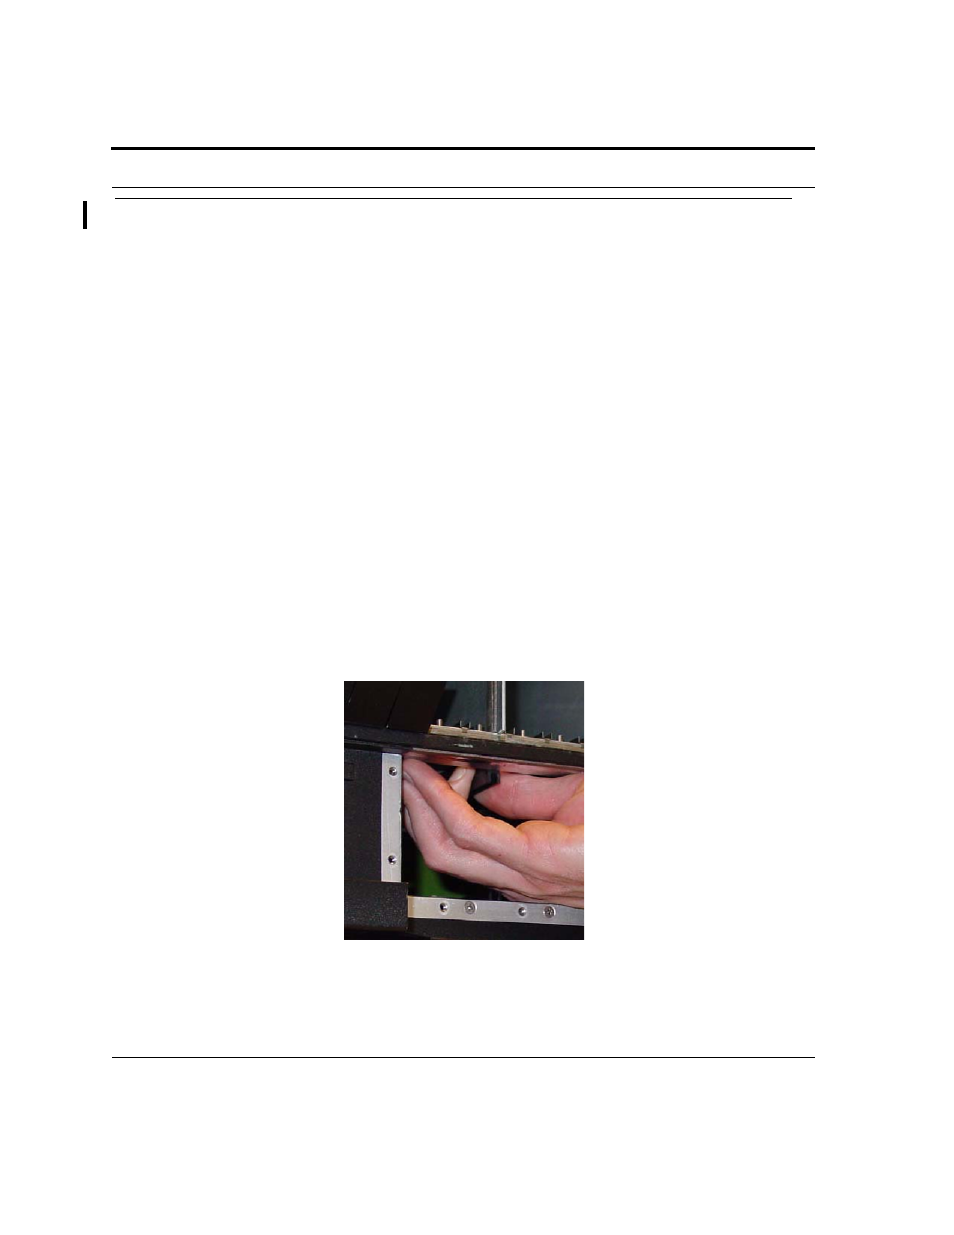
Remove the guard rails located in the PEM8 slot:
1.
Remove the top guide rail. Refer to
FIGURE 1-28
Removing Top Guide Rail