Dhcp auto configuration – Allied Telesis AT-GS950/48 User Manual
Page 56
Chapter 2: System Configuration
56
DHCP Auto Configuration
If you need to automatically update the switch’s configuration files via a
remote server, the DHCP Auto Configuration feature is available for this
purpose via the DHCP server.
To configure this feature on the switch, perform the following procedure:
Note
You must configure your DHCP server to include the configuration
file name (option 67) and the server address (option 54). Please
note that switch is expecting the TFTP server to reside on the same
IP address of the DHCP server.
1. From the main menu on the left side of the page, click the System
folder.
The System folder expands.
2. From the System folder, select System.
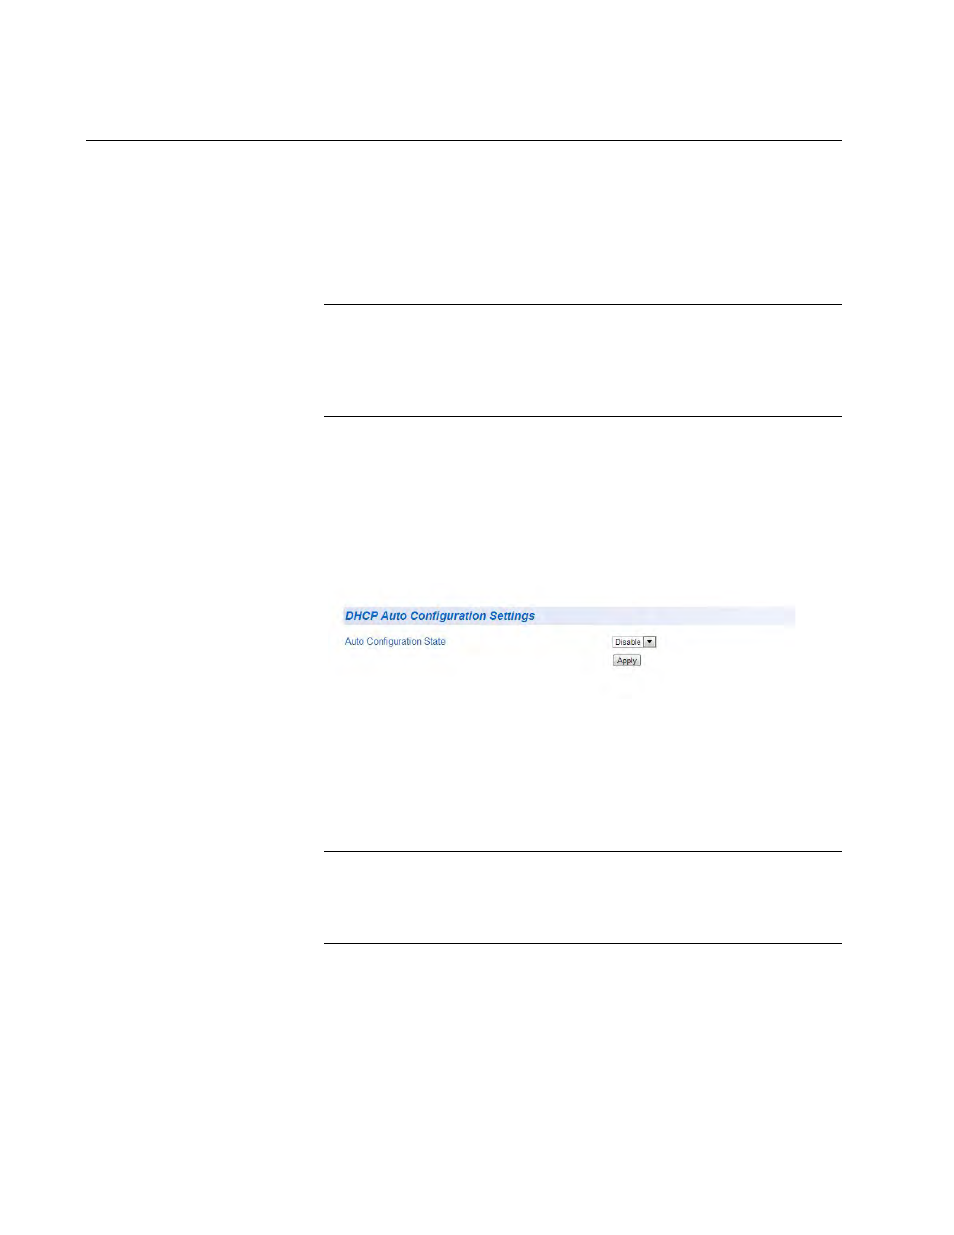
The DHCP Auto Configuration Settings Page is shown in Figure 20.
Figure 20. DHCP Auto Configuration Settings Page
3. From the Auto Configuration State field, select one of the following
choices from the pull-down menu:
Enabled - The DHCP Auto Configuration feature is active.
Note
You must enable the DHCP client so that this feature can operate
with the DHCP server. See “DHCP Client Configuration” on page 53
for more information.
Disabled - The DHCP Auto Configuration feature is inactive.
4. Click Apply.
The DHCP Auto Configuration setting that you have selected is now
active.
5. From the main menu on the left side of the page, select Save Settings
to Flash to permanently save your changes.