8 module 8 - a, 9 module 9 - f, Paxi o – Red Lion PAXR User Manual
Page 28: Pro 8-ana asin, Type an-lo an-hi, Nalog, Utput, Arameters, Actory, Ervice
PAR
Pro
8-AnA
ASIN
Analog
Type
tYPE
AN-LO
AN-HI
Analog
Assignment
Analog Low
Scale Value
Analog High
Scale Value
28
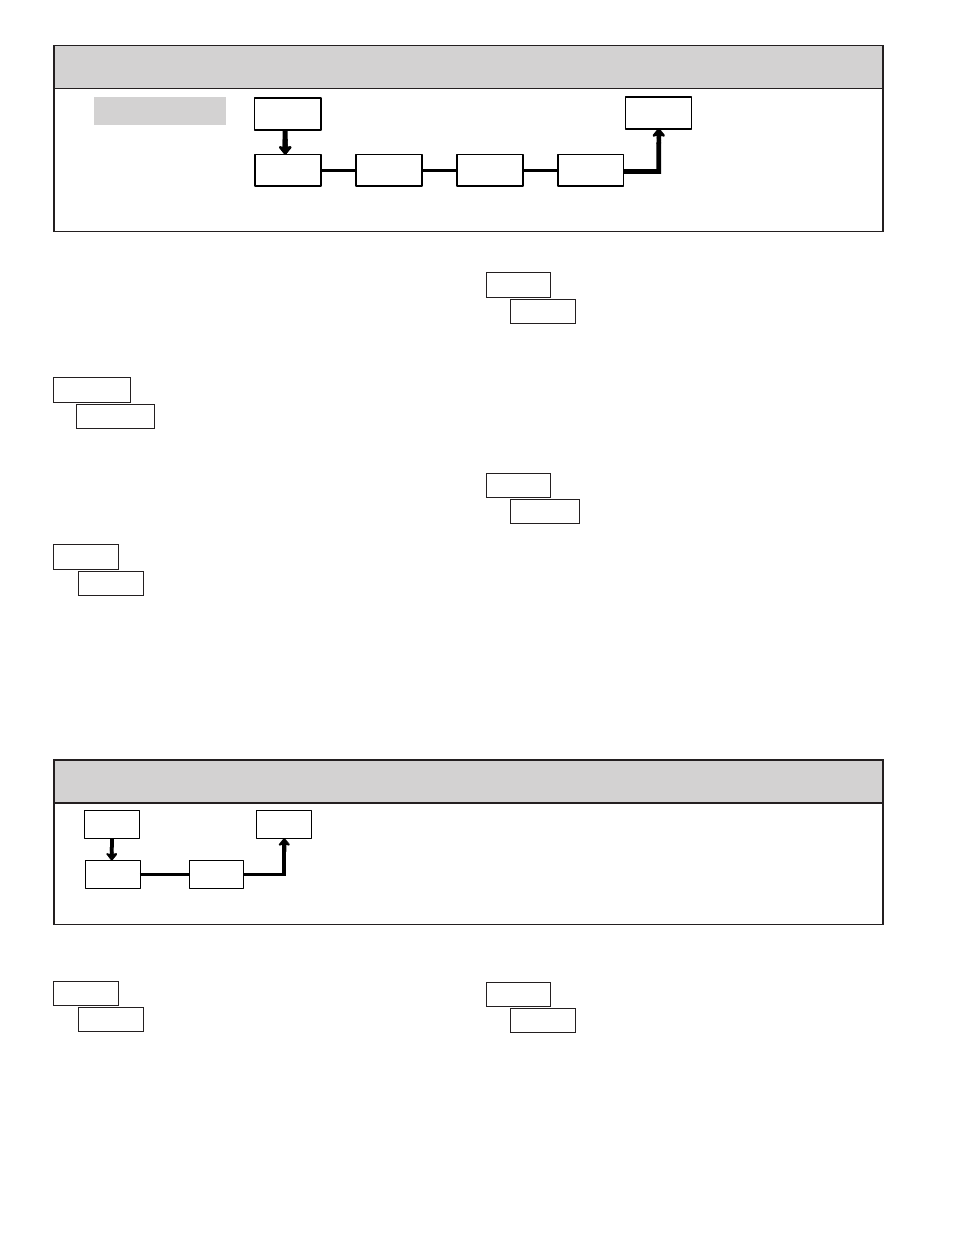
ANALOG ASSIGNMENT
ANALOG LOW SCALE VALUE
ANALOG HIGH SCALE VALUE
PARAMETER MENU
d-LEV
Display
Intensity Level
PAR
9-FCS
Pro
Factory
Service Code
COdE
PARAMETER MENU
ANALOG TYPE
Enter the analog output type. For voltage output use terminals 16 and 17. For
current output use terminals 18 and 19. Only one range can be used at a time.
Select the display that the analog output is to follow:
Enter the display value within the selected Analog Assignment that
corresponds to the high limit of the type selected.
The decimal point is determined by the decimal point setting of the assigned
counter or rate. The scale value can not be set to read values with more than 6
digits. Reverse acting output is possible by reversing the scaling values.
99999
to
999999
99999
to
999999
Module 8 is the programming for the analog output parameters. To have an
analog output signal, an analog output plug-in card needs to be installed (See
Ordering Information). For analog output hardware and wiring details, refer to
the bulletin shipped with the plug-in card.
SELECTION
RANGE
00
0 to 20 mA
0
4 to 20 mA
00
0 to 10 V
Enter the display value within the selected Analog Assignment that
corresponds to the low limit of the type selected.
The decimal point is determined by the decimal point setting of the assigned
counter or rate. The scale value can not be set to read values with more than 6
digits. Reverse acting output is possible by reversing the scaling values.
RESTORE FACTORY DEFAULTS
Use the arrow keys to display
and press
PAR.
The meter will display
and then returns to
.
Press
DSP key to return to the Display Mode. This will
overwrite all user settings with the factory settings.
Pressing the
PAR and DSP keys at the same time on power-up will load the
factory settings and display
. This allows operation in the event of a
memory failure or corrupted data. Immediately press
RST key and reprogram
the meter. If the meter is powered down again before pressing the
RST key, the
existing dynamic data will not be overwritten.
6.8 mOdule 8 - a
nalOg
O
uTpuT
p
arameTers
(
)
6.9 mOdule 9 - f
aCTOry
s
erviCe
O
peraTiOns
(
)
Enter the desired Display Intensity Level (0-15) by
using the arrow keys. The display will actively dim or
brighten as the levels are changed. This parameter also
appears in Quick Programming Mode when enabled.
DISPLAY INTENSITY LEVEL
paXi O
nly
= Counter C Value
= Maximum Value
= Counter B Value
= Minimum Value
= Counter A Value
= Rate Value