Obd2 live data mode, Live data playback – Equus 3140 - Scan Tool CanOBD2&1 Kit User Manual
Page 46
OBD2 Live Data Mode
LIVE DATA PLAYBACK
44
CanOBD2&1
E
SCROLL
or the ENTER/LD
buttons. The CanOBD2&1
Scan Tool will stay linked to the vehicle’s computer during this
process. However, if the DTC SCROLL
button is pressed twice
the DTC screen will be advanced to the next DTC screen and the
CanOBD2&1 Scan Tool will be taken out of link.
LIVE DATA PLAYBACK
Once Live Data has been recorded, it is saved in the CanOBD2&1
Scan Tool's memory. You can view recorded Live Data immediately
after recording by selecting Yes from the Record Live Data confirma-
tion screen (see Recording Live Data on page 39 for more informa-
tion), or you can view it later using the "Playback" function.
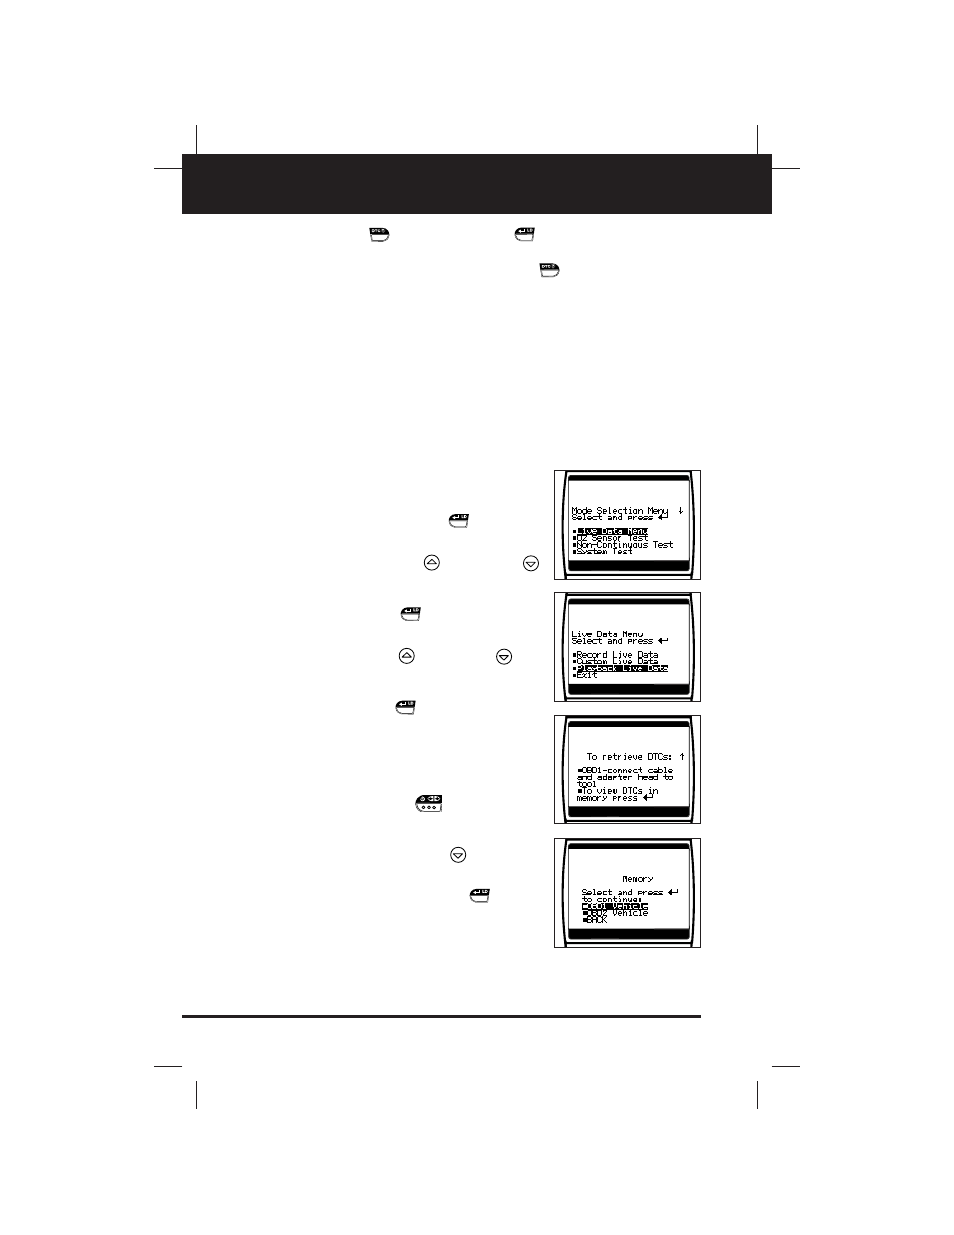
1. If the Code Reader
is connected to a vehicle:
■
With the CanOBD1&1 Scan Tool in
"Live Data" mode (see Viewing Live
Data on page 37 for details), press and
hold the ENTER/LD
button until
the "Mode Selection Menu" appears.
■
Use the the UP
and DOWN
buttons, as necessary, to highlight
Live Data Menu, then press the
ENTER/LD
button. The "Live
Data Menu" displays.
■
Use the UP
and DOWN
but-
tons, as necessary, to highlight
Playback Live Data, then press the
ENTER/LD
button.
2. If the Code Reader
is not connected to
a vehicle:
■
With the CanOBD2&1 Scan Tool not
connected to a vehicle, press the
POWER/LINK
button. The “To
Link”
screen shows on the
CanOBD2&1 Scan Tool’s display.
Press the DOWN
button for
instructions to view DTCs in memory.
■
Press the ENTER/LD
button.
The “Select OBD System” screen dis-
plays.