Obd2 live data mode, Customizing live data (pids) – Equus 3140 - Scan Tool CanOBD2&1 Kit User Manual
Page 40
OBD2 Live Data Mode
CUSTOMIZING LIVE DATA (PIDs)
38
CanOBD2&1
E
■
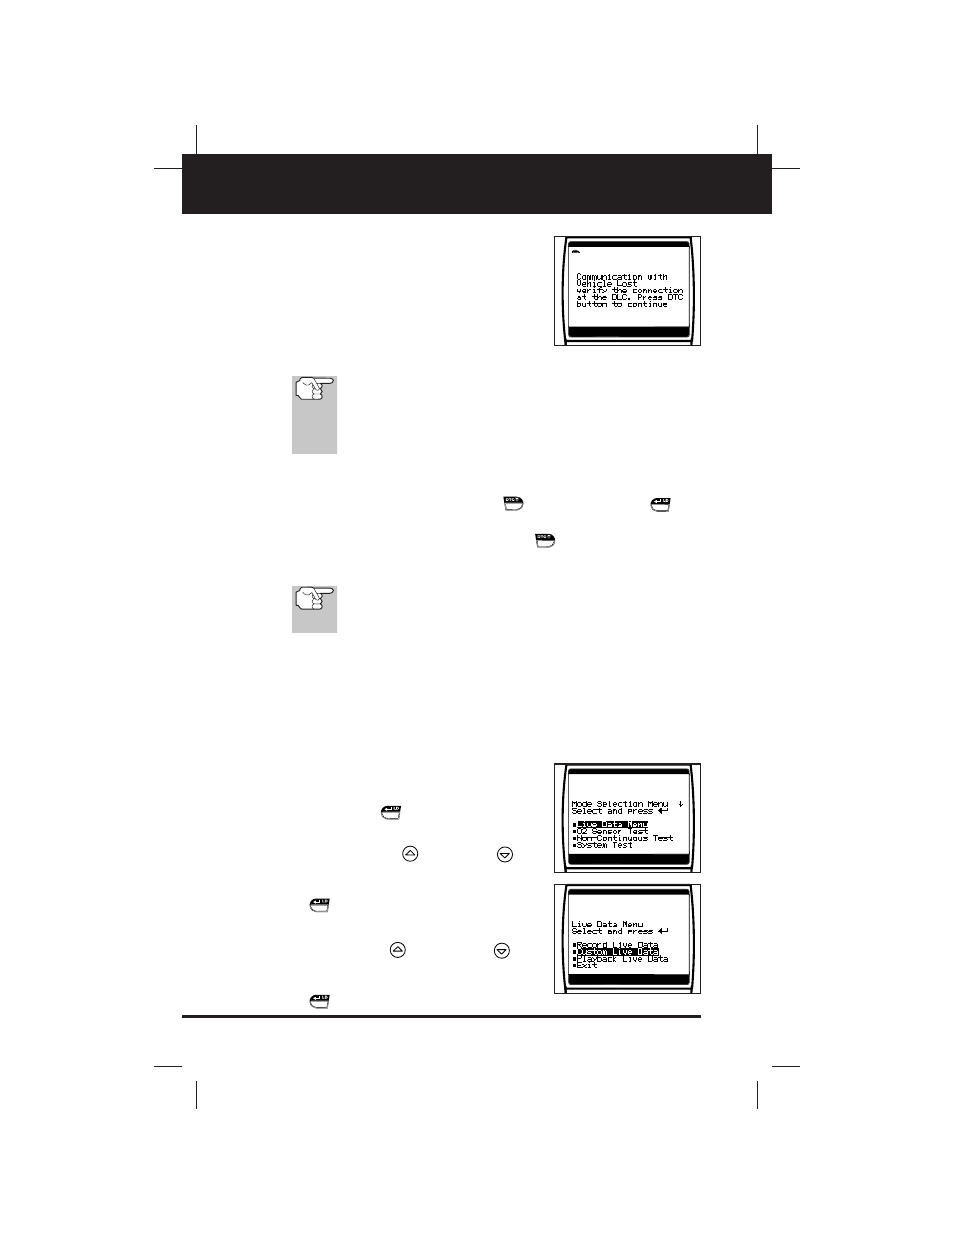
If communication with the vehicle is
lost while viewing Live Data, a
Communication Lost" message shows
on the CanOBD2&1 Scan Tool's display.
5. If you experience vehicle problems, view
and/or compare the Live Data (PID)
information displayed on the CanOBD2&1
Scan Tool to specifications in the vehi-
cle's repair manual.
If desired, you can "customize" the Live Data display to show
only those PIDs you are interested in viewing. See
Customizing Live Data (PIDs) below for details. You may
also choose to "capture" (record) Live Data for later viewing.
See Recording Live Data on page 39 for details.
6. You can toggle back and forth between the DTC screen (to view
DTCs) and Live Data screen (to view PIDs) by alternately pressing
and releasing the DTC SCROLL
and the ENTER/LD
but-
tons once (the unit will stay linked to the vehicle while toggling
between modes). If the DTC SCROLL
button is pressed twice,
then the screen will scroll to the next DTC and the CanOBD2&1
Scan Tool will be taken out of link.
When toggling from the Live Data to the DTC screen a “One
moment please...” message will temporarily display, followed
by the DTC screen.
CUSTOMIZING LIVE DATA (PIDs)
This feature lets you customize the CanOBD2&1 Scan Tool display to
show only those PIDs that are of interest at the current time. You can
customize the Live Data display by placing the CanOBD2&1 Scan Tool
in "Custom Live Data" mode and selecting only the PIDs that you wish
to display. To customize the Live Data display, proceed as follows:
1. With the CanOBD1&1 Scan Tool in "Live
Data" mode (see Viewing Live Data on
page 37 for details), press and hold the
ENTER/LD
button until the "Mode
Selection Menu" appears.
2. Use the the UP
and DOWN
but-
tons, as necessary, to highlight Live
Data Menu, then press the ENTER/LD
button.
■
The "Live Data Menu" displays.
3. Use the UP
and DOWN
but-
tons, as necessary, to highlight Custom
Live Data, then press the ENTER/LD
button.