Striped disks wizard—remove back-end lu screen – HP SAN Virtualization Services Platform User Manual
Page 75
1.
From the navigation tree, navigate to the back-end LU you want to remove from a stripe set. To
list all back-end LUs, select the Back-End LU node. To list back-end LUs that you have copied to
a folder, navigate to the folder.
2.
Right-click the back-end LU.
3.
Select Manage > Stripe Set relations > Remove from Stripe Set. A confirmation screen appears.
4.
Click Finish. The back-end LU is removed from the stripe set to which it previously belonged.
Removing back-End LUs from a stripe set by selecting the stripe set
To remove a back-end LU from a stripe set by selecting the stripe set:
1.
From the navigation tree, navigate to the stripe set from which you want to remove a back-end
LU. To list all stripe sets, select the Stripe Sets node. To list stripe sets that you have copied to a
folder, navigate to the folder.
2.
Right-click the stripe set.
3.
Select Manage > Back-End LU relations > Remove Back-End LU. The Striped Disks wizard opens
to the Remove Back-End LU(s) screen.
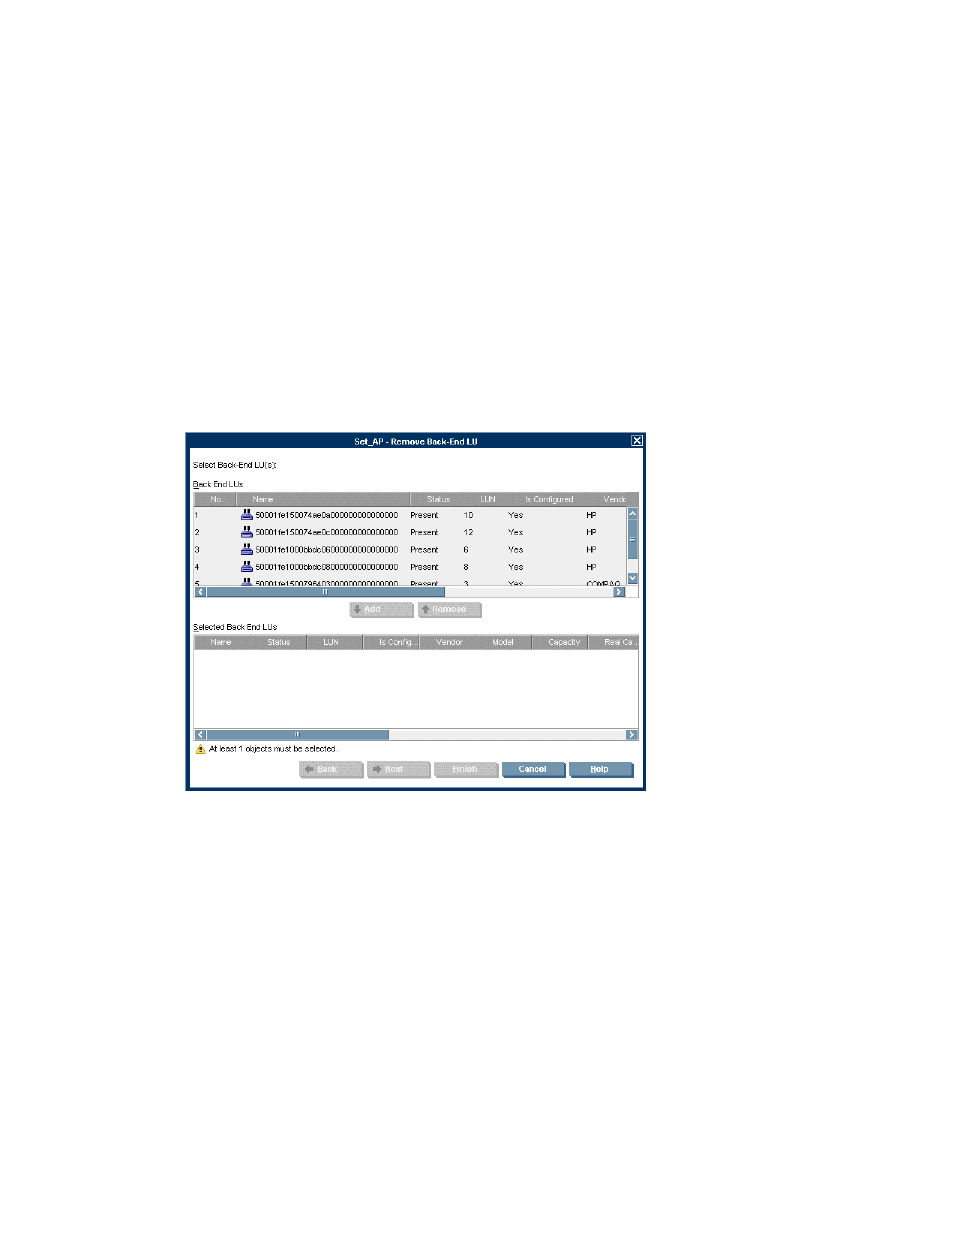
Figure 15 Striped Disks wizard—Remove Back-End LU screen
.
4.
In the upper area of the screen, select the back-end LU(s) that you want to remove from the stripe
set.
5.
Click Add. The selected back-end LU is added to the list in the lower area of the screen.
6.
Repeat steps 4 and 5 until the lower list displays all the back-end LUs that you want to remove
from the stripe set. To remove a back-end LU from the lower list at any time, select the back-end
LU and click Remove.
7.
Click Next. A confirmation screen appears.
8.
Click Finish. The back-end LU(s) are removed from the stripe set.
HP StorageWorks SAN Virtualization Services Platform Manager user guide
75