Disabling vpo, Scheduling alarm notifications, Edit schedule/trend window – HP XP Performance Advisor Software User Manual
Page 80
3.
If you selected to change either the email or SNMP destination, you must enter a new address in
the appropriate fields for those selections. If you selected to change the script file, specify the path
name of the batch file that you want to reference.
4.
Click Apply Action.
5.
Click Commit/Refresh to commit your changes to the database. The new addresses appear in
the list box.
Disabling VPO
In certain cases, enabling VPO may cause all alarm notifications to stop. If you have enabled VPO and
have stopped receiving alarm notifications, you can disable VPO to start receiving alarm notifications
again. To disable VPO, complete the following steps:
1.
In the Alarm Configuration screen, select all VPO enabled configurations.
2.
Uncheck the Enable VPO check box.
3.
Select Enable/Disable sending to VPO on selected items from the list box.
4.
Click Apply Action.
5.
Click Commit / Refresh.
6.
Ensure that there is no VPO enabled configurations.
7.
Restart the management system by: Start -> Programs -> HP StorageWorks -> restart services
Scheduling alarm notifications
Use this feature of PA XP to create a schedule of when alarm notifications are dispatched.
To set the start and end times and establish time zone, duration, and frequency of occurrence for
dispatching alarms, complete the following steps:
1.
Select the row(s) that you want to schedule alarm notification.
2.
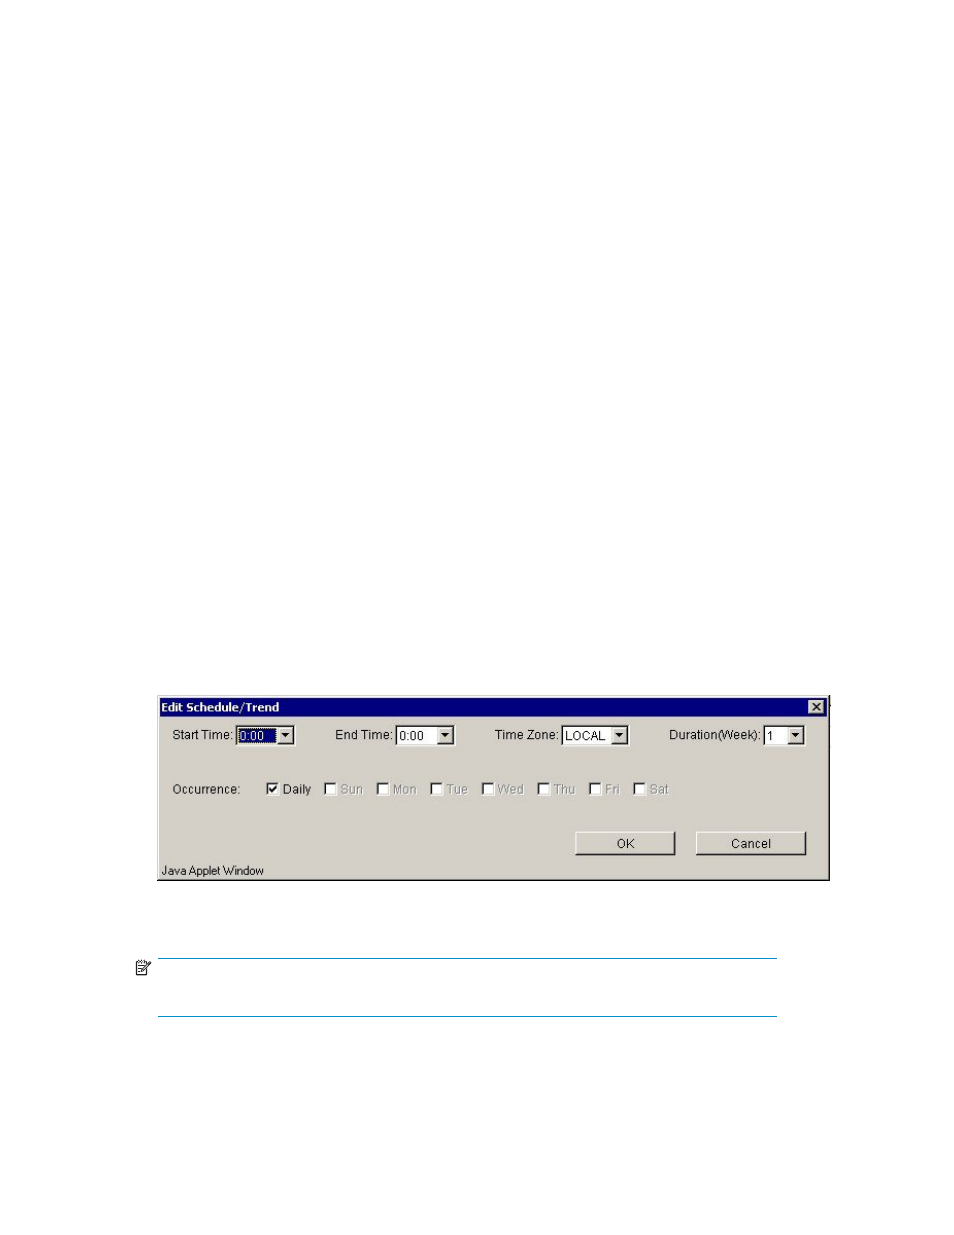
Click Edit Schedule. The Edit Schedule/Trend window appears, as shown in
.
Figure 32 Edit Schedule/Trend window
3.
Use the drop-down menus to select the start time, end time, and time zone.
NOTE:
Use the Duration (Week) drop-down menu only when setting trends.
4.
Use the checkbox to specify the frequency of occurrence (Daily, Sunday, Monday, Tuesday,
Wednesday, Thursday, Friday, or Saturday).
5.
Click OK when you are finished with your changes and proceed to step 6, or click Cancel to exit the
screen without making any changes.
80
Alarm Configuration