Verifying proper operation, Installing a disk – HP 3000 Enterprise Virtual Array User Manual
Page 94
NOTE:
To return the Device Addition Policy to automatic, repeat this procedure after you verify that the disk has
the correct firmware version.
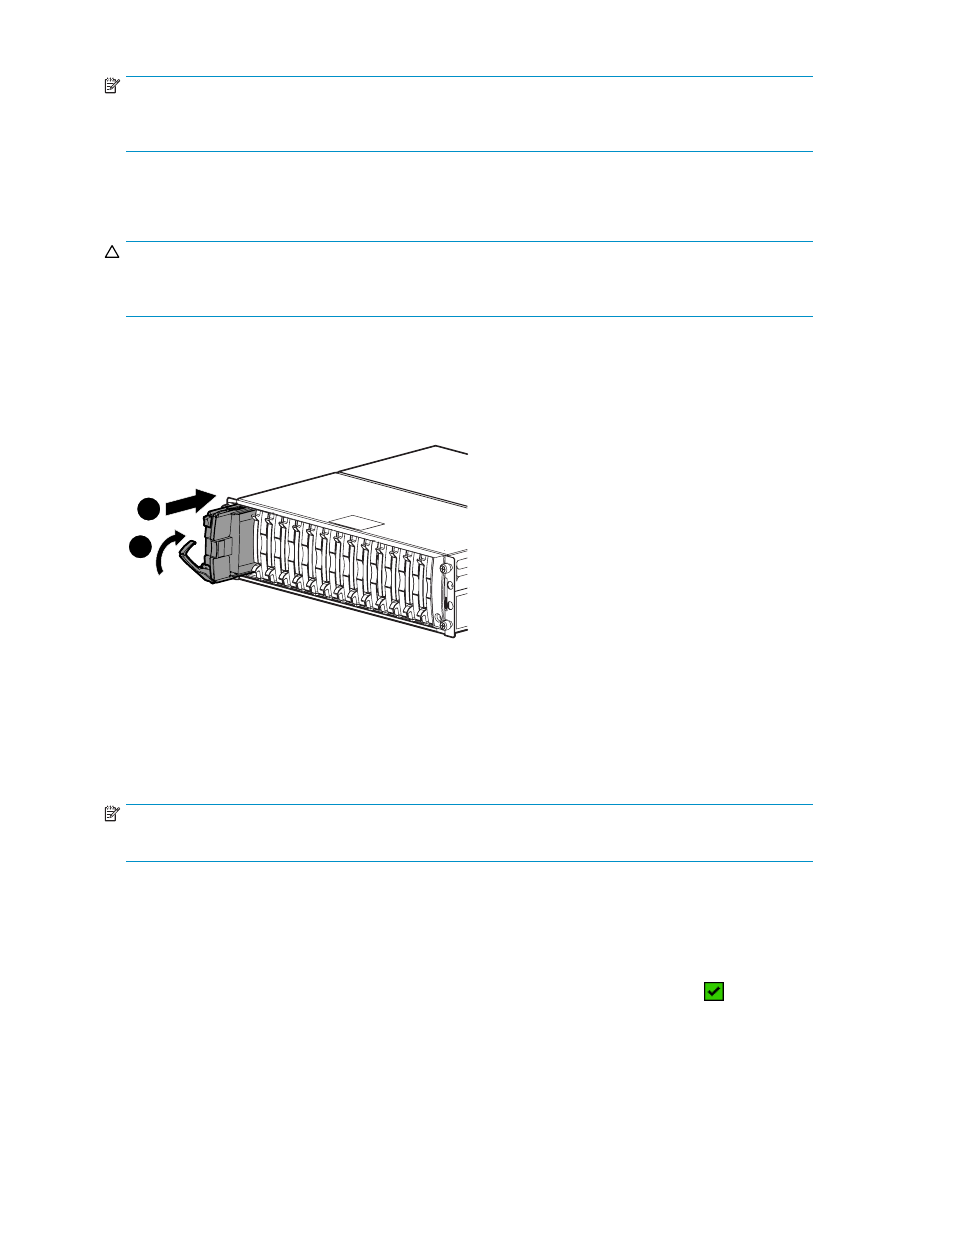
Installing a disk
CAUTION:
You should only replace one disk at a time. After installing the new disk, complete the remaining
procedures in this document for this disk before you attempt to replace another disk.
1.
Push in the ejector button on the disk and pull the release lever down to the full open position.
2.
Insert the disk into the enclosure as far as it will go (1).
3.
Close the release lever until it engages the ejector button, and the disk seats in the backplane (2).
4.
Press in firmly on the disk to ensure it is seated properly.
1
1
2
0116a
Figure 39 Installing a disk
Verifying proper operation
After replacing the disk, check the following to verify that the disk is operating normally:
NOTE:
It may take up to 10 minutes for the component to display good status.
•
Check the disk status indicators (
).
• Activity indicator (1) should be on or flashing
• Online indicator (2) should be on or flashing
• Fault indicator (3) should be off
•
Check the following using HP Command View EVA:
• Navigate back to the component and check the operational state. It should be
.
• Ensure the disk is running the correct firmware. Record the Model number and the Firmware
version of the disk (
). Check the firmware version against the supported disk firmware
in the HP StorageWorks Enterprise Virtual Array release notes. See the HP StorageWorks
Enterprise Virtual Array upgrading disk drive firmware read me first for installation instructions.
You can download these documents from the following website:
94
Customer replaceable units