11 seed control, 1 installation & removal of seed control plate – Seed Hawk 30 SERIES 2014 User Manual
Page 37
SEED HAWK
®
2014 30 SERIES OPERATOR’S MANUAL – DOMESTIC 31
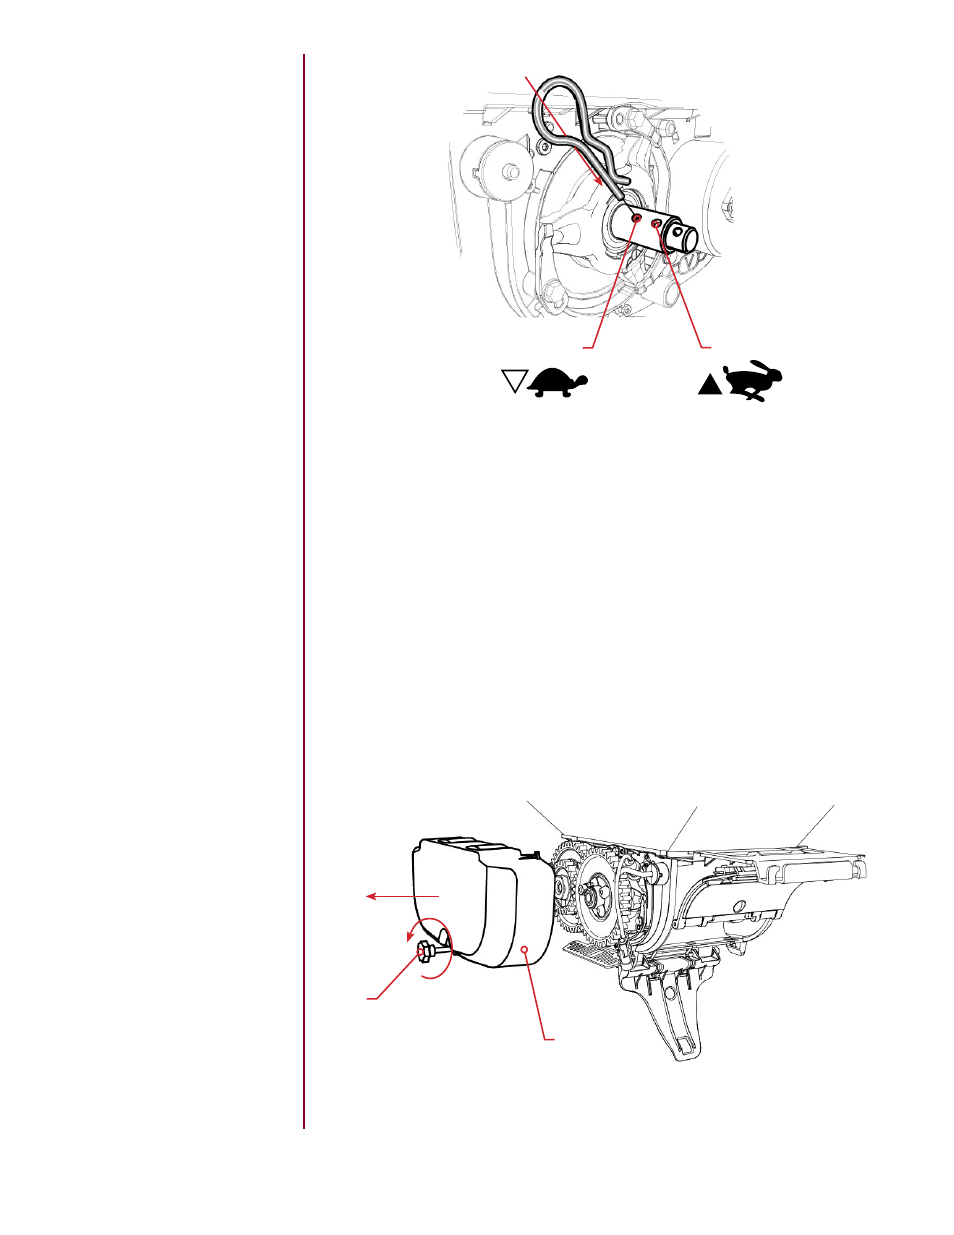
4. Fit the locking pin in position (C) for low gear and position (D) for high gear.
1. Remove the rotor. Refer to Section 4.9 on rotor replacement.
A
B
4.11 Seed Control
4.11.1 Installation & Removal of Seed Control
Plate
Seed control can be used in extreme conditions if certain seed types are press-
ing too hard against the rotor causing uneven operation.
NOTE: When sowing slow-moving seeds, such as grass seed or clover and
grass mixes, seed control must never be installed, as the seed can otherwise be-
come compacted against the seed control plate and, in the worst case scenario,
stop the flow.
2. Remove the cover (A) by first undoing the knob (B).
Slow (
C)
Fast (
D)