E-Mon E-PS-E-RTU-N User Manual
Page 125
Chapter 8 Retrieving and Storing Files
Using the Upload Scheduler
PowerSmart+ Power Quality Meter
125
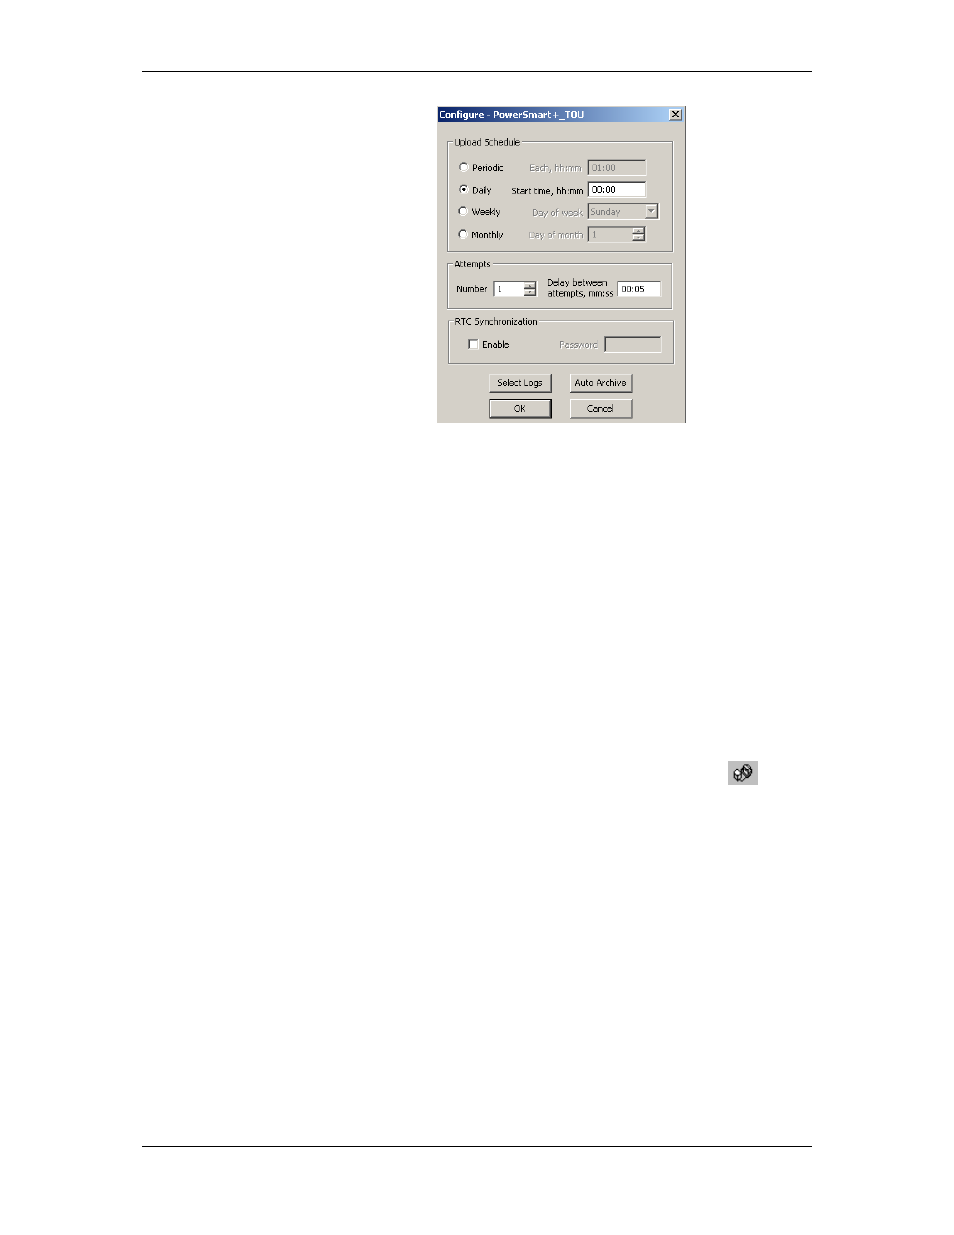
5. Select a daily, weekly or monthly schedule, and adjust the start
time. If you wish to upload data periodically in predefined
intervals, click on Periodic and define the time period in hours
and minutes.
6. Select the number of attempts to upload data in the event of
temporary communication problems or unavailability of your
device, and the delay between attempts in minutes and seconds.
7. If you wish to use the schedule to synchronize the device clock
with your PC, check the RTC Synchronization Enable box. If
your device is password protected by a communications
password, type in the password you set in the device to allow
Power Software to update the clock.
8. Click on the Select Logs button, check the boxes for logs you
want to upload on a schedule, and then click OK.
9. Check the Enabled box at left to activate a schedule for the
device.
10. Click Close to store your schedule.
To keep the Upload Scheduler running, the On-line button
on the
Power Software toolbar must be checked all the time. If you uncheck it,
the scheduler stops operations. This does not cause loss of data, since the
scheduler will resume operations when you check this button again.
Suspending the Scheduler
To suspend the Upload Scheduler, check the Suspend Scheduler box at
right. To activate the Upload Scheduler, leave this box unchecked.
Running the Scheduler on Demand
You can run the scheduler at any time outside the schedule by checking
the Start Now box at right. This is a one-time action. After uploading is
completed, the Upload Scheduler un-checks this box automatically.
Reviewing Upload Problems
When the Upload Scheduler fails to retrieve data from the device, or some
data is missing, or another problem occurs, it puts an error message to
the log file. To review this file, select System Log from the View menu.