Figure 2-5 – Atec Tektronix-1502 User Manual
Page 21

TM 9-4935-601-14-3&P
This setting of the FEET/DIV (METRES/DIV) control ensures that the reflected signal will appear in the
display window. Measure the distance between the incident pulse rise and the reflected pulse rise.
NOTE
The distance from the sampling bridge to the CABLE connector (2.5 inches or 6.35 cm) should
be taken into account when measuring cables less than 2 feet (50 cm) in length.
To more accurately locate the discontinuity, set the FEET/DIV (METRES/DIV) control to a lower setting.
(The reflected pulse does not need to be in the display window). Push the ZERO REF CHECK button and
adjust the ZERO REF SET control so that the incident pulse rise is set at a convenient vertical reference
graticule line. The ZERO REF SET control may have to be readjusted when changing the FEET/DIV
(METRES/DIV) control.
NOTE
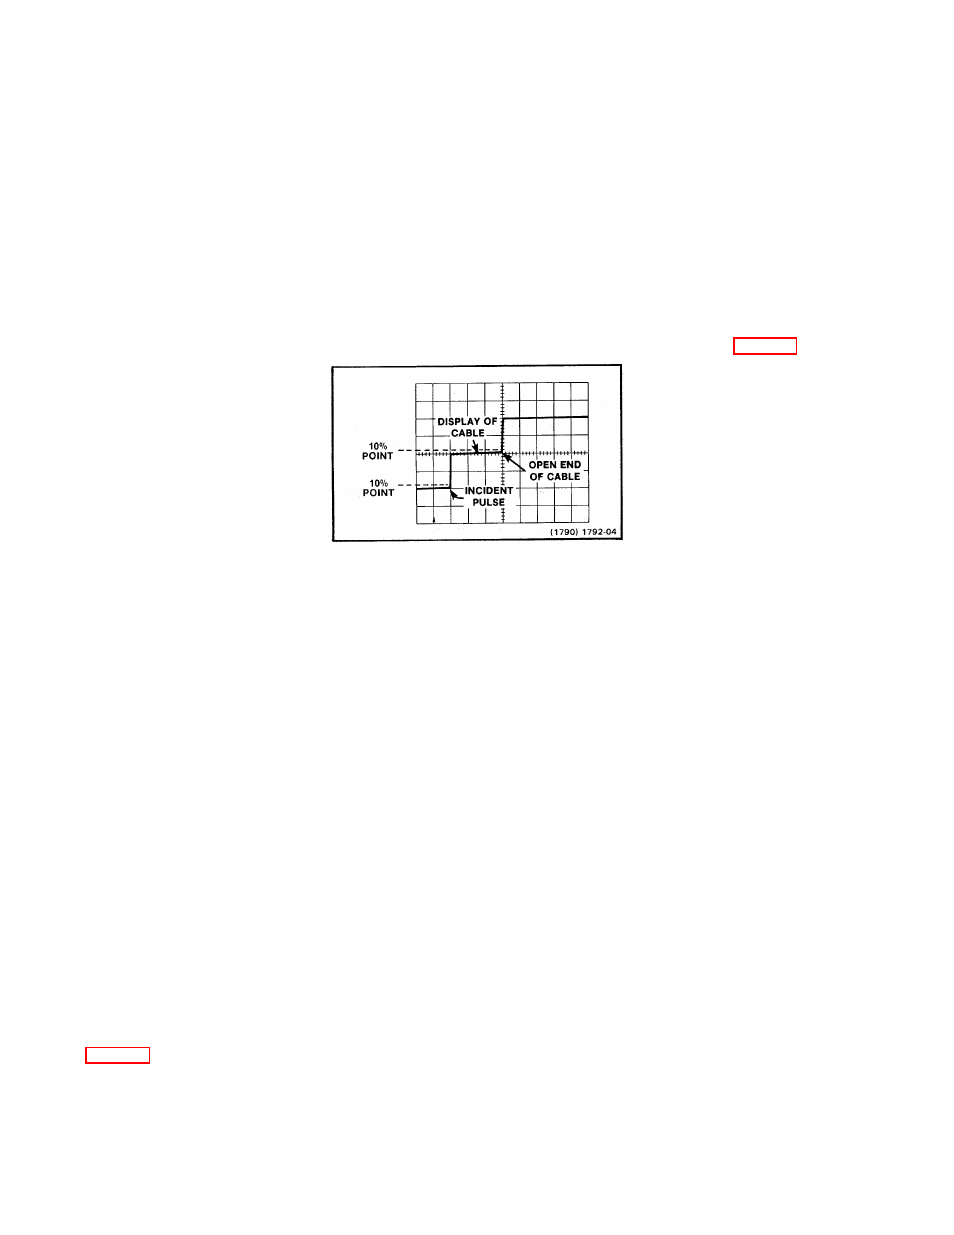
Always set the incident and reflected pulse to the 10% points of their amplitude (see Fig. 2-5).
Figure 2-5. CRT Display of Pulse.
Now turn the DISTANCE dial clockwise until the reflected pulse is located on the reference graticule line.
The reading on the DISTANCE dial times the multiplier gives the length from the CABLE connector to the end
of the cable (or to the discontinuity).
NOTE
When checking cables longer than 1000 feet (250 metres), adjust the DISTANCE dial until the
reflected pulse reaches the right-hand edge of the graticule, then add the graticule display
distance to that on the DISTANCE dial for the total length. The reading of the DISTANCE dial,
plus the number of divisions (from the reference line) across the graticule times the FEET/DIV
(METRES/DIV) setting gives the total length of the cable. Remember that in the 200 FEET/DIV
(50 METRES/DIV) setting the DISTANCE dial is inoperative.
The CABLE DIELECTRIC pushbuttons allow the 1502 to accurately locate discontinuities in cables of
various relative propagation velocity constant (V
p
). The SOLID POLY button is calibrated to check solid
polyethylene dielectrics, which have a V
p
of 0.66. the SOLID PTFE button is calibrated to check solid
polytetrafluoroethylene (Teflon), which has a V
p
of 0.70. The OTHER button is variable from 0.55 to 1.00 and
is controlled by the screwdriver adjustment control VAR. When this screwdriver control is turned to the fully
clockwise position, it is calibrated for air dielectrics, which have a V
p
of 1.00. If all three of the CABLE
DIELECTRIC buttons are released, a default condition leaves the instrument calibrated for air dielectric (V
p
=
1.00).
EVALUATING A DISCONTINUITY
The mp/DIV control determines the vertical deflection that can be seen on the crt or recorded on a graph
if a chart recorder is used. This control is calibrated to measure the ratio of the reflected signal amplitude to
the incident signal amplitude in rho (p), which is called the voltage reflection coefficient. Rho (p) is the
measurement of reflected signal amplitude and can be used to determine the impedance of a discontinuity.
Note that no reflection is obtained from a cable that has no discontinuities if the cable is terminated with its
characteristic impedance. If a cable has an open, i.e., a break (infinite impedance), the reflected step
amplitude is +1 p; and if a cable has a short (zero impedance), the reflected step amplitude is -1 p.
Fig. 2-6 shows the two parts of a TDR display labeled to identify the incident and reflected voltage signals.
When p=0, the transmission line is terminated by a resistance equal to its characteristic impedance (Z
o
) which,
in this case, is 50
Ω
. (When p equals +1, the transmission line load is an open circuit. When p equals -1, the
transmission line load is a short. If the line is terminated by R
L
> 50
Ω
, p is positive and if the line is terminated
by R
L
< 50
Ω
, p is negative.
REV B FEB 1980
2-6
