Required configuration, Required configuration for transfer, 14 h – EVS IPDirector Version 4.4 - March 2008 Part 2 User's Manual User Manual
Page 74: Ow to, End a, Lip to an, Ystem, Sing the, Ransfer, Anager
IP Director Version 4.4 – User Manual – Part 2: Logging and Browsing
EVS Broadcast Equipment – March 2008
Issue 4.4.C
61
Once the clip has been sent, it is immediately available in the CleanEdit database.
It can then be inserted into a project, edited or played out using Playout Organiser
or CleanPlayout Server.
Required Configuration
These destination targets are defined from the IP Director Remote Installer and a
corresponding XFile XML unit must have been correctly configured. The name
used to define the type of transfer is user-definable and may be different from the
CleanEdit target used in the screenshot above. Refer to the IP Director Remote
Installer and XFile user manual for more information.
3.2.14 H
OW TO
S
END A
C
LIP TO AN
A
VID
S
YSTEM
U
SING THE
T
RANSFER
M
ANAGER
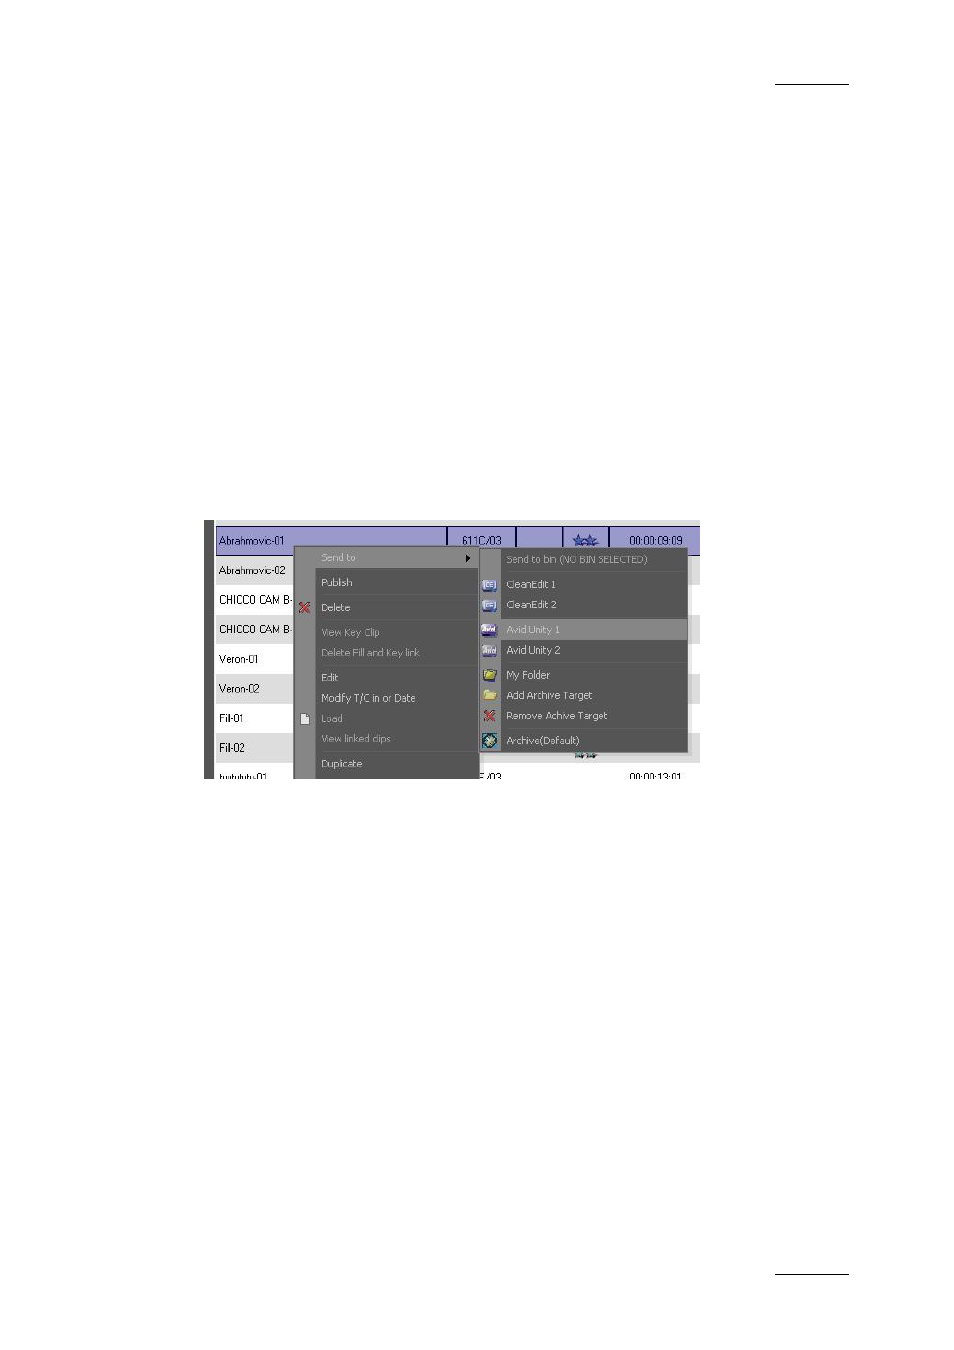
To send a clip to an Avid system using the Transfer Manager, proceed as follows:
•
Select a predefined Avid TM target from the Send To > Avid sub menu of the
clip contextual menu.
On a Unity system, once the clip has been sent, it is immediately available in the
Avid media manager database. It can then be inserted into a bin and can be
inserted into an edit.
Required Configuration for Transfer
Clips can be sent to an Avid system through the SDTI network and then through
the TCP/IP network between the Avid device and XFile. The network used for the
transfer depends on the setup defined. For more information, refer to the
Technical Reference manual.
The Avid destination targets are predefined from the IP Director Remote Installer.
The name used to define the type of transfer is user-definable and may be
different from the Avid target used in the screenshot above. Refer to the IP
Director Remote Installer manual for more information.
Avid TM and XFile must have been correctly configured in order to automate this
procedure. Please refer to the corresponding user’s manual for more information.