2 wireless client, Figure 69 example wireless client otist screen – ZyXEL Communications 802.11g ADSL 2+ 4-Port Security Gateway HW-D Series User Manual
Page 137
P-662H/HW-D Series User’s Guide
Chapter 7 Wireless LAN
137
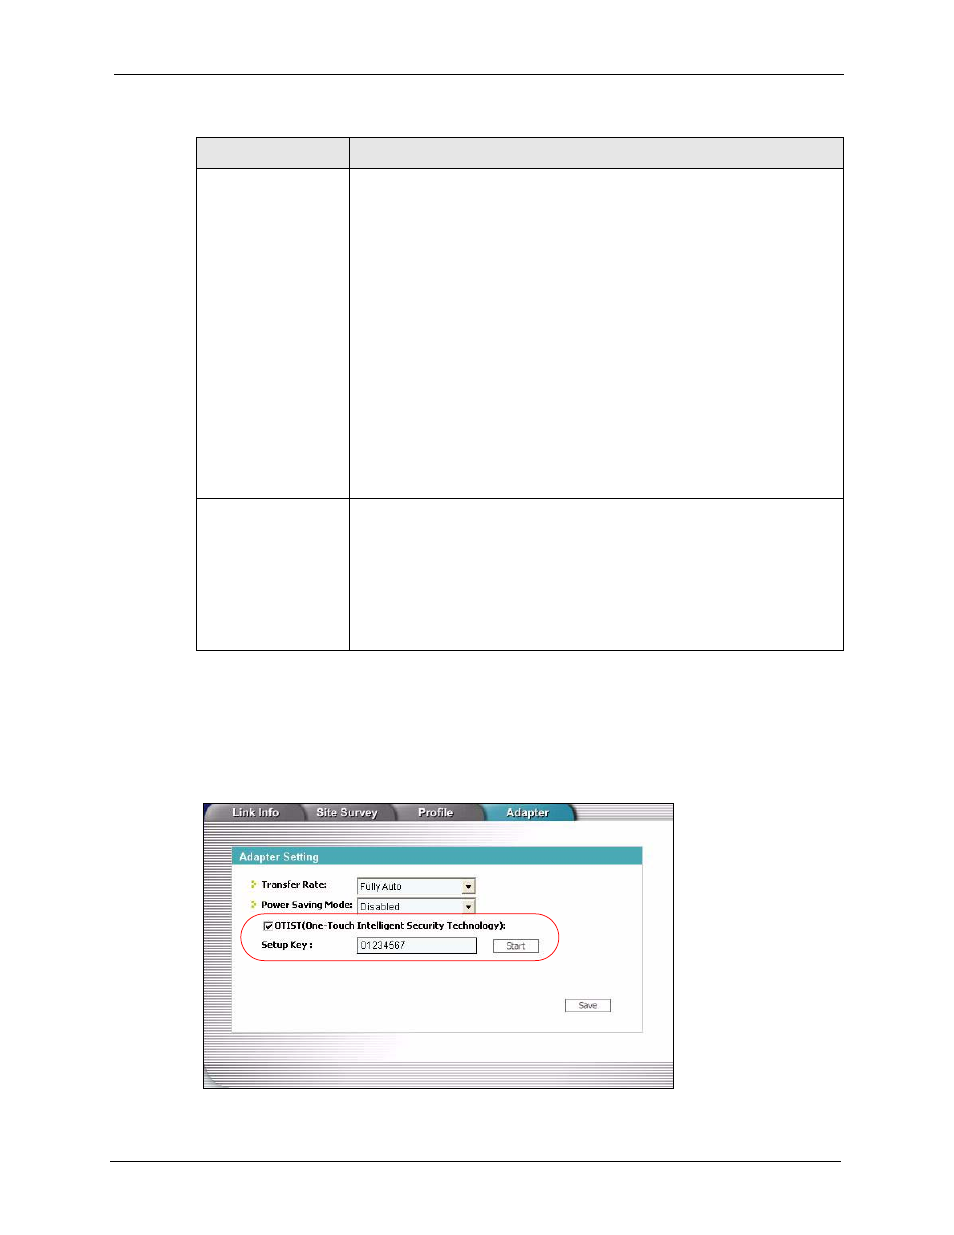
7.6.1.2 Wireless Client
Start the ZyXEL utility and click the Adapter tab. Select the OTIST check box, enter the
same Setup Key as your AP’s and click Save.
Figure 69 Example Wireless Client OTIST Screen
Yes!
If you want to configure your own WPA-PSK and have OTIST use that WPA-
PSK, you must:
•
Configure a WPA-PSK in the Wireless > General screen.
•
Clear the Yes! checkbox in the OTIST screen and click Start.
Note: If you already have a WPA-PSK configured in the
Wireless screen, and you run OTIST with Yes! selected,
OTIST will not replace the WPA-PSK. Clear the checkbox
in the OTIST screen.
If you want OTIST to automatically generate a WPA-PSK, you must:
•
Change your security to No Security in the Wireless > General screen.
•
Select the Yes! checkbox in the OTIST screen and click Start.
•
The wireless screen displays an auto generated WPA-PSK and is now in
WPA-PSK security mode.
The WPA-PSK security settings are assigned to the wireless client when you
start OTIST.
Start
Click Start to encrypt the wireless security data using the setup key and have
the ZyXEL Device set the wireless station to use the same wireless settings as
the ZyXEL Device. You must also activate and start OTIST on the wireless
station at the same time.
The process takes three minutes to complete.
Note: You can also start OTIST by pressing the RESET button
for 3 seconds.
Table 43 OTIST
LABEL
DESCRIPTION