Harmony+ dst harmony+ dst track1-1 track1-1 – Zoom HD16 User Manual
Page 57
Reference [Track Editing]
ZOOM HD8/HD16
57
6.
Use the cursor left/right keys to cause the
counter indication to flash. Then use the dial
to specify the start point for pitch
compensation.
You can also use the MARKER [
U]/[I] keys, ZERO [U]
key, and REW [
T]/FF [Y] keys to locate the point.
By pressing the PLAY [
R] key at this point, you can check out
the editing result.
7.
To start pitch compensation, hold down the
REC [
O
] key and press the PLAY [
R
] key.
Recording starts with the pitch compensation applied. If you
have selected “Bass Seq” in step 2, you can check the bass
track signal level at the “RHYTHM” position on the level
meter.
By using the cursor left/right keys during recording, you can
call up and edit the Key, Scale, and Speed parameters. If you
press the [SHIFT] key, the pitch compensation effect is
bypassed. This will also be reflected in the recording.
HINT
The manual and automatic punch-in/punch-out functions (
→
p. 41) can also be used at this point.
8.
When recording has progressed to the point
where you want pitch compensation to stop,
press the STOP [
P
] key.
The indication “Fix?” appears on the second line of the display.
9.
To carry out pitch compensation, press the
[ENTER] key.
The audio data of the specified range are overwritten, and the
unit returns to the track edit menu.
By pressing the [EXIT] key instead of the [ENTER] key, you
can cancel the operation and back up one step at a time.
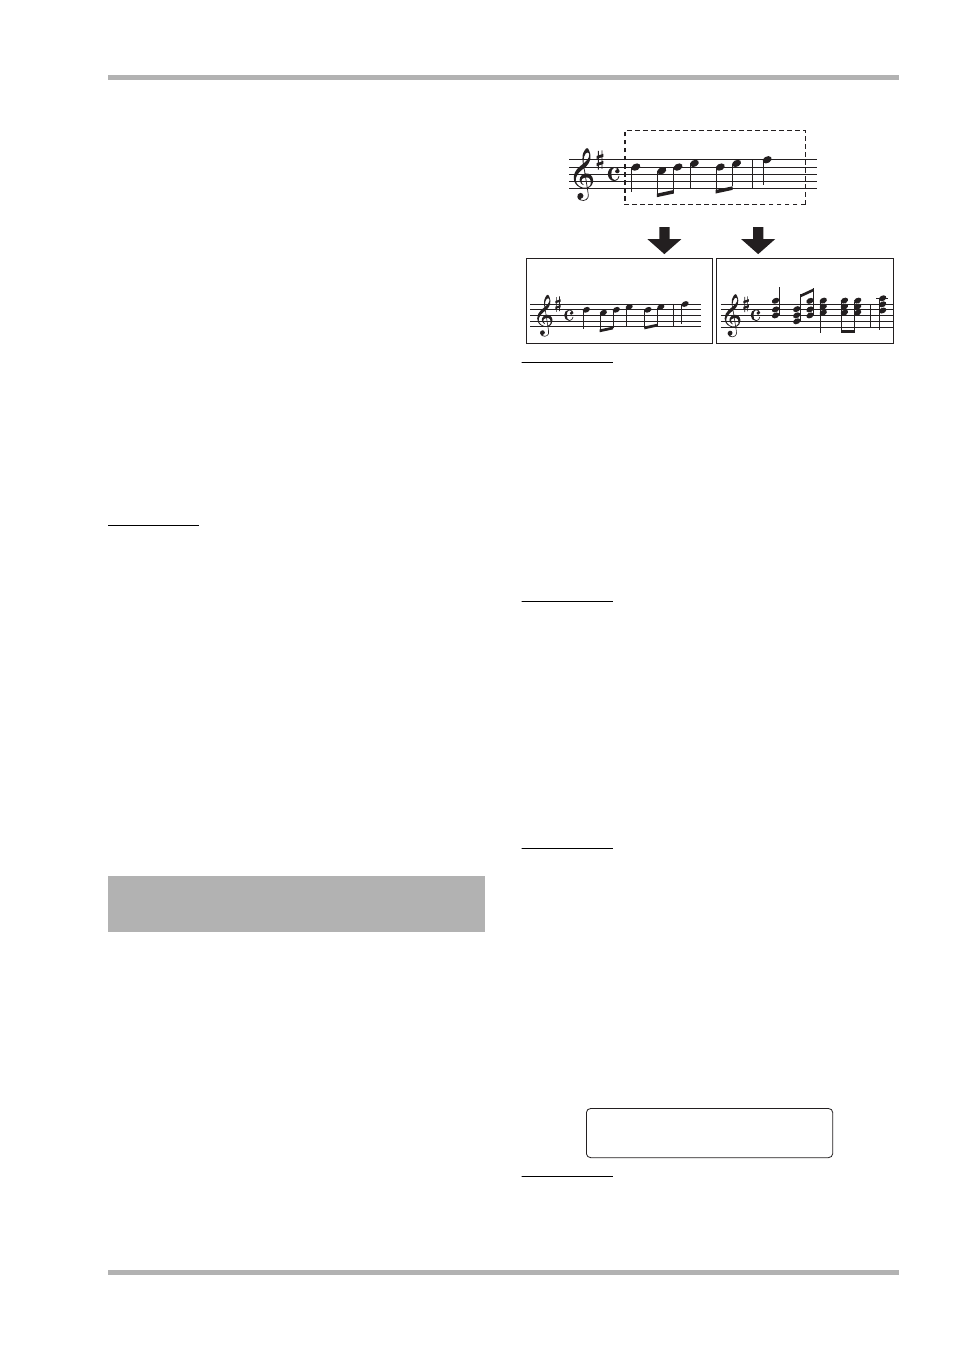
You can use chord information programmed in the rhythm
pattern/rhythm song to shift the pitch of the audio data and
create a 3-part harmony (chord root/third/fifth).
Whether the rhythm pattern or rhythm song is used as source
of chord information depends on the mode selected for the
rhythm section (rhythm pattern mode or rhythm section mode).
The pitch-shifted audio data can be either added to the source
material or written to another track/V-take.
For example, when G Major
→ C Major → D Major are
programmed in a rhythm song, the following harmony is
created.
HINT
• Depending on the pitch of the source material and the rhythm
pattern/rhythm song setting, the results of this command may
be unpredictable.
• When generating harmony using the rhythm song, chords must
be programmed for the rhythm song beforehand.
• When “-- (no conversion)” is programmed as chord type in the
rhythm song, no harmony can be created at this point.
• When generating harmony using chord information of the
rhythm pattern, the harmony is created for the same chord
throughout.
NOTE
• When the rhythm pattern/rhythm song is “Empty”, the harmony
create function is not available.
• For the harmony create function to work properly, the audio data
should represent single notes recorded without applying delay,
reverb, chorus, or other effects.
1.
Select the rhythm pattern or rhythm song to
be used for harmony generation.
When the selection is finished, press the [EXIT] key to return
to the main screen.
NOTE
Make sure that the selected rhythm pattern/rhythm song
comprises suitable chord information.
2.
Refer to steps 1 – 6 of “Basic steps for range
editing” and select the HARMONY+ command.
Then select the track/V-take for harmony
generation, and press the [ENTER] key.
The indication “Harmony+ Dst” appears on the first line of the
display. In this condition, you can select the target destination
for writing the harmony.
NOTE
You can only select a single mono track or one track of a stereo
pair as source track for Harmony Generate.
Generating harmony from a
specified range of audio data
G Major
C Major
D Major
G Major
C Major D Major
Source track
Generate harmony
Source track
Write target track
Harmony+ Dst
Harmony+ Dst
Track1-1
Track1-1