Playlist playback – Zoom HD16 User Manual
Page 166
Reference [Other Functions]
ZOOM HD8/HD16
166
8.
Turn the dial to select the next project to play.
Use the same procedure to select projects for subsequent
positions.
A maximum of 99 projects can be registered in a playlist.
●
To change projects in a playlist
Use the cursor left/right keys to select the position number
for which you want to change the project, and use the dial
to select another project.
●
To insert a project in a playlist
Use the cursor left/right keys to select the position number
where you want to insert a project. Press the [FUNCTION]
key once to bring up the indication “INSERT TRACK” on
the first line of the display. The second line shows the name
of the project to be inserted. In this condition, use the dial to
select another project, and press the [ENTER] key. The
indication “Insert?” appears on the second line of the
display. To carry out the process, press the [ENTER] key.
●
To delete a project from a playlist
Use the cursor left/right keys to select the position number
you want to delete. Then press the [FUNCTION] key twice.
The indication “DELETE TRACK” appears on the first line
of the display, and the name of the project to be deleted is
shown on the second line.
When you press the [ENTER] key in this condition, the
indication “Delete?” appears on the second line of the
display. To delete the project, press the [ENTER] key.
●
To delete all projects from a playlist
On the playlist registration screen, press the [FUNCTION]
key three times. The indication “DELETE TRACK”
appears on the first line of the display, and “All” is shown
on the second line.
When you press the [ENTER] key in this condition, the
indication “Delete?” appears on the second line of the
display. To delete all projects from the playlist, press the
[ENTER] key.
●
To switch the V-take for the master track
Press the [EXIT] key repeatedly to return to the main
screen. Load the project for which you want to switch the V-
take, and select the V-take for the master track. Then return
to the playlist registration screen.
9.
When you have registered all desired
projects in the playlist, press the [EXIT] key
several times to return to the main screen.
HINT
The playlist contents are stored automatically.
NOTE
If the master track data for projects included in a playlist have
been deleted from the hard disk, the playlist returns to the
blank state.
Select the playlist for continuous project playback as follows.
1.
From the main screen, press the [PROJECT/
UTILITY] key.
The indication “REC UTILITY” appears on the first line of the
display, and “PROJECT” is shown on the second line.
2.
Verify that “PROJECT” is shown on the
second line of the display, and press the
[ENTER] key.
The project menu for various project related functions appears.
3.
Use the cursor left/right keys to bring up the
indication “SEQUENCE PLAY” on the display,
and press the [ENTER] key.
The display shows the screen for selecting a playlist. The
second line of the display shows the total playback time of all
projects in the playlist.
4.
Turn the dial to select the desired playlist.
5.
Press the PLAY [
R
] key.
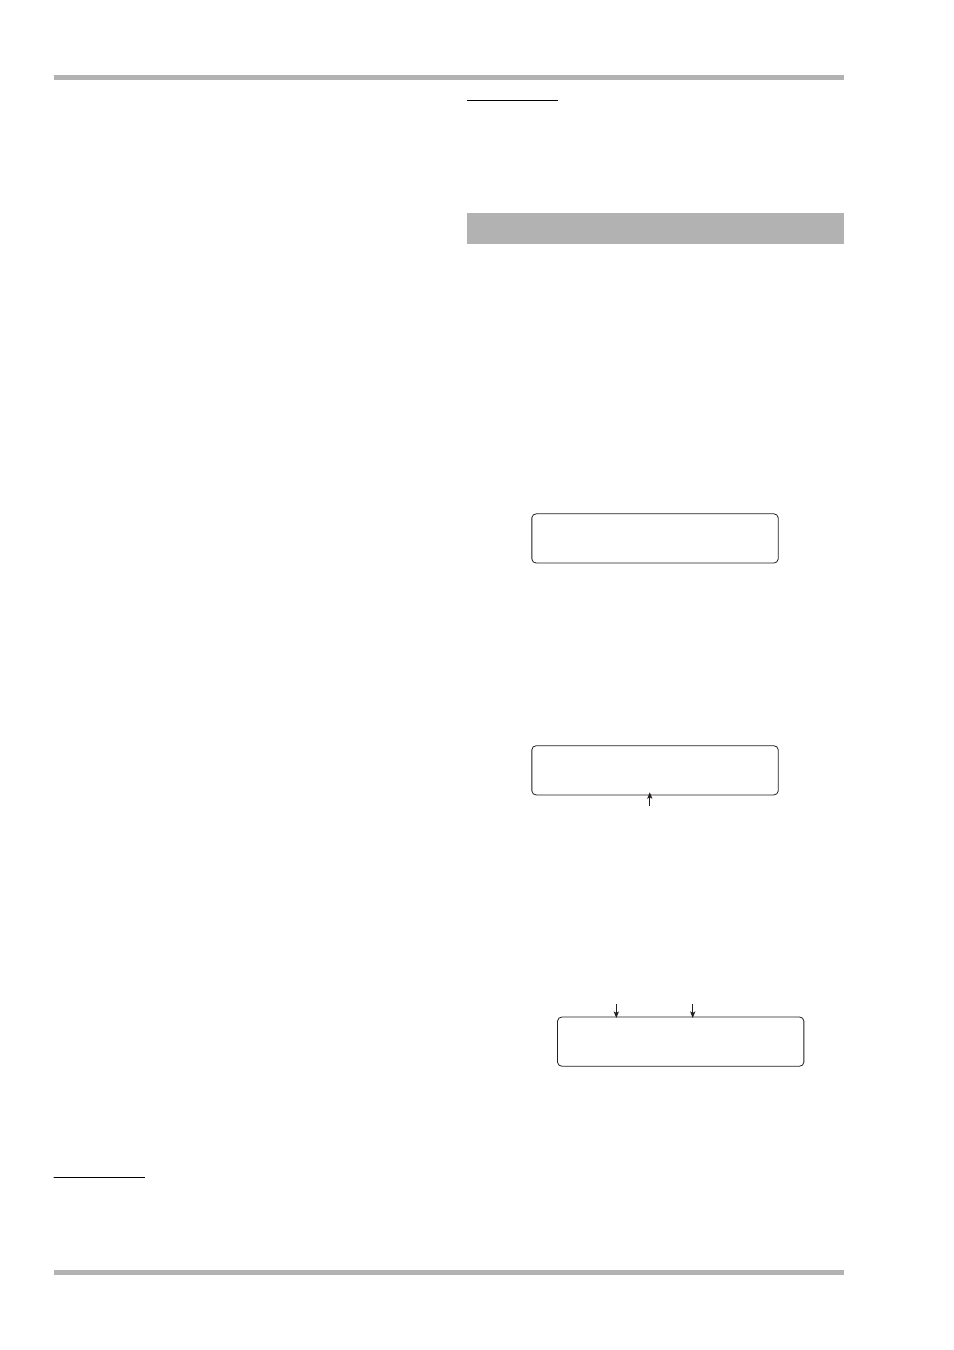
Projects are played in the order as registered in the playlist. The
display indication changes as follows.
Use the [MASTER] fader to adjust the playback volume.
When a project has played through, the next project is
automatically loaded and played.
Playlist playback
PROJECT 1/8
PROJECT 1/8
>SELECT
>SELECT
List1:3Songs
List1:3Songs
Total 020:15:320
Total 020:15:320
Total playing time of projects
Current playback number
Project name
No.1:PRJ001
No.1:PRJ001
000:00:000
000:00:000