Setting the print head position, Basics, Setting up a job (continued) – Pitney Bowes ADDRESSRIGHT DA400 User Manual
Page 34
3-9
Basics
The final step is to adjust and locate the bank of Print
Heads over the media where the images/graphics or text is
going to be printed.
A. Loosen the Clamp Knob on top of the printer. This knob
secures the bank of Print Heads.
B. Slide the knob along the slot in the top of the printer to
move the bank. Locate the bank over the area you wish
to print on the media.
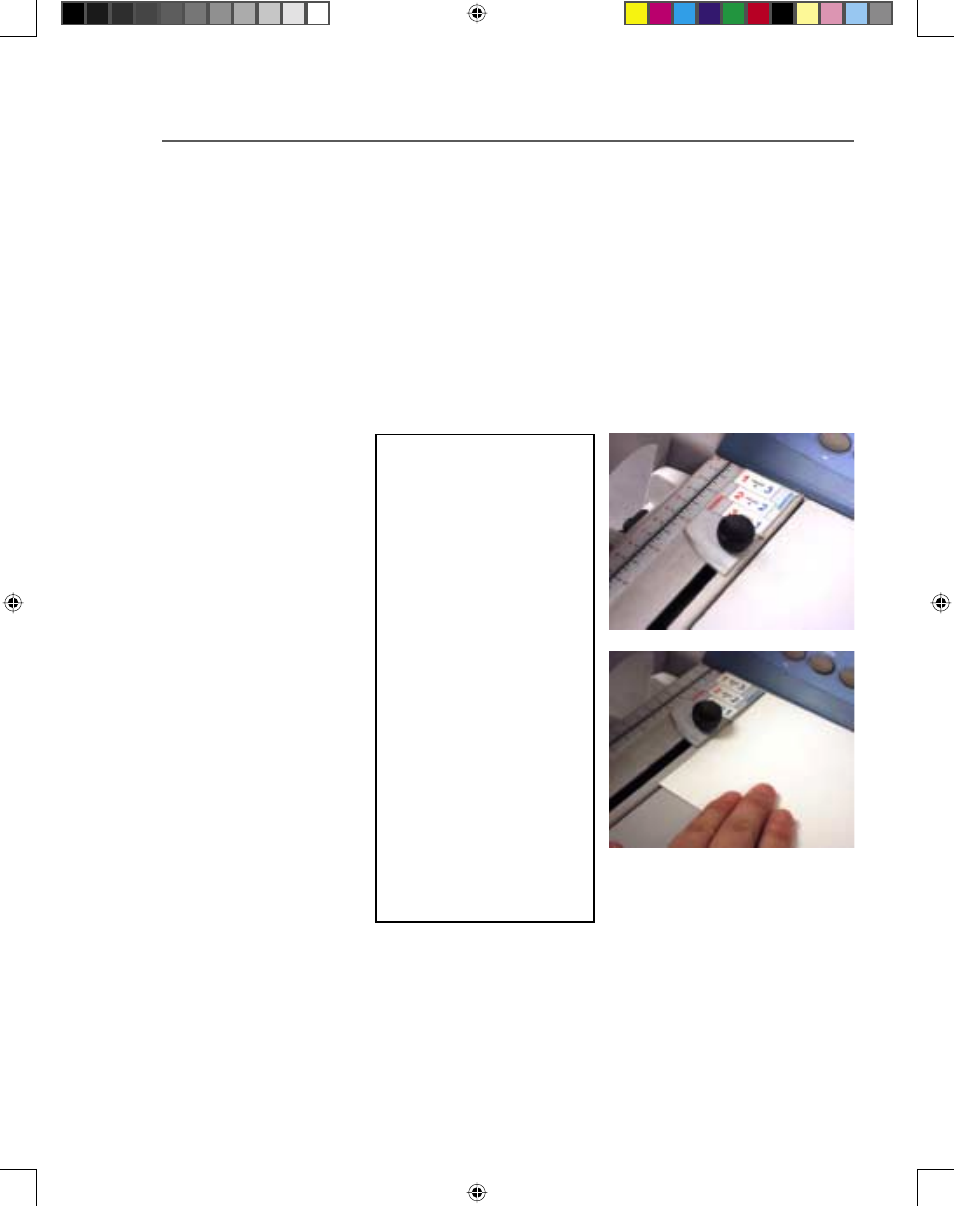
TIP: Line an envelope
up against the back
edge of the printer
and move the clamp
knob to the appropriate
position. Use the red
numbers as guides for
normal envelopes, and
the blue numbers for
inverted envelopes. (Al-
though a partial view is
shown in the photos at
right, the slot measures
from 0 to 7.5 inches.)
If you are using
Envelope Designer
Plus™, refer to the help
system provided with
the application for more
information on normal
and inverted envelopes.
C. Tighten the Clamp Knob to secure the bank in place.
Setting
Up A Job
(continued)
10. Setting the Print Head Position
SV61186ABook.indb 3-9
3/29/2004, 1:44:55 PM