Installing the sliding fence, Setup, Assembling the printer (continued) – Pitney Bowes ADDRESSRIGHT DA400 User Manual
Page 22
2-5
Setup
Assembling
the Printer
(continued)
3. Installing the Sliding Fence
Included in the Accessory Kit is a long and short Sliding
Fence. The fences keep the media together in a stack. Use
the short Sliding Fence for postcards and media up to the
size of DL envelopes. Use the Long Sliding Fence for all
other sizes.
A. Locate the two long
slotted Fence Retainer
tabs on the Upper Floor.
This is where the Sliding
Fence attaches to the
printer.
B. Slide the rectangular
shaped edge of the
Sliding Fence between
the two tabs.
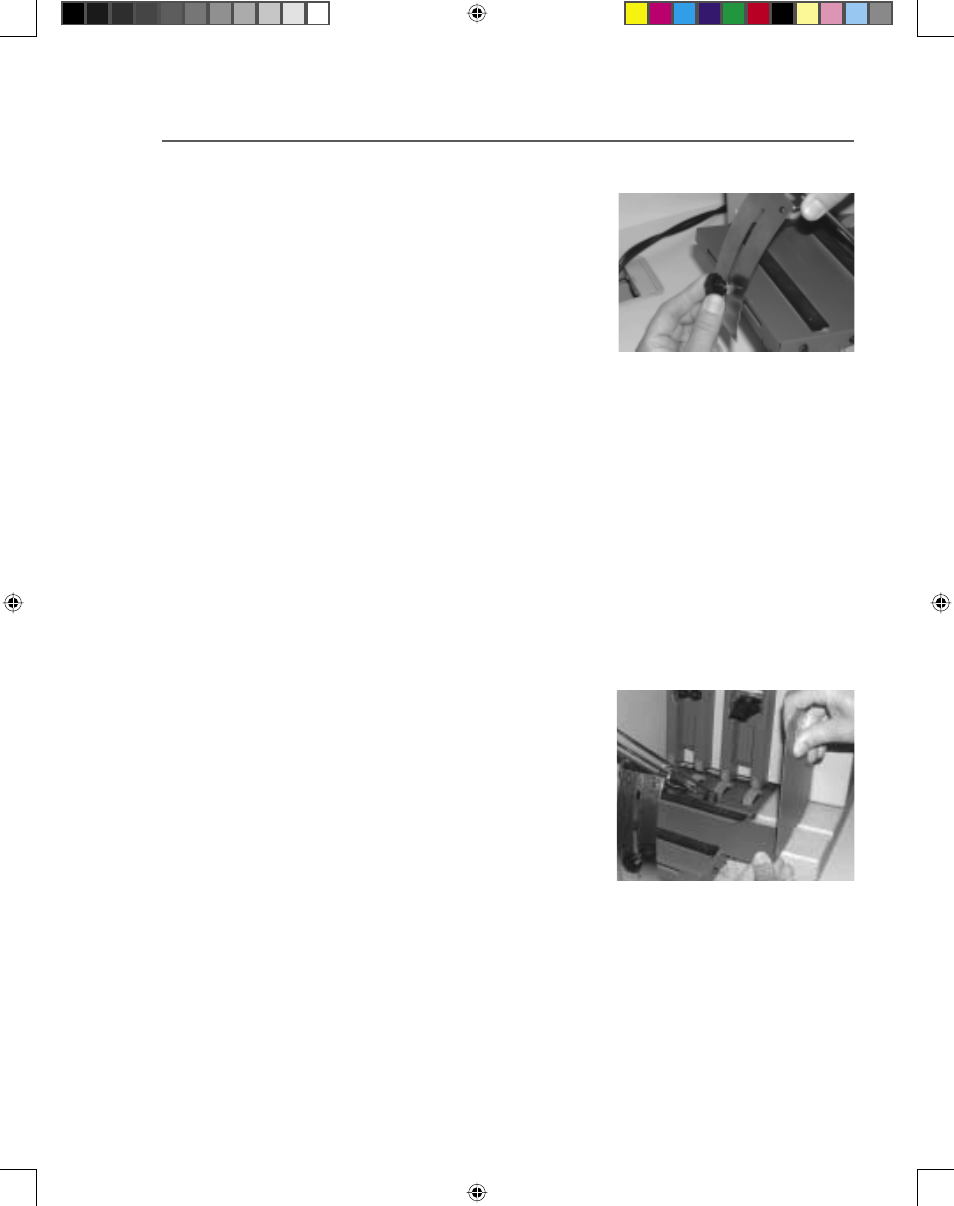
E. Remove the Clamp Knob
and the nylon washer
from the printer and save
for installation of the
Wire Frame Assembly.
F. Lower the Wire Frame
Assembly. Align the slot
in the Media Support to
the hole for the Clamp Knob.
G. Reinstall the Clamp Knob and washer through the slot
in the Media Support. Tighten the Clamp Knob to hold
the Wire Frame Assembly in place.
SV61186ABook.indb 2-5
3/29/2004, 1:44:48 PM