Basic setup —continued – Integra DTR-8.4 User Manual
Page 50
50
Basic Setup
—Continued
Note:
• This procedure can also be performed by using the
DTR-8.4’s [Setup] button, [
]/[
]/[
]/[
] but-
tons, and [Enter] button.
If you connect an
-compatible Integra/Onkyo Mini-
Disc recorder to the DTR-8.4’s TAPE IN/OUT sockets,
so that
functions such as Auto Power On/Off work
properly, you must change the input source display.
This setting can only be changed on the DTR-8.4.
Note:
• To return to the original setting, while “MD” is being
displayed, press and hold down the [Tape] input selec-
tor button until “TAPE” appears on the display (about
3 seconds).
5
Press the [Setup] button.
The setup menu closes.
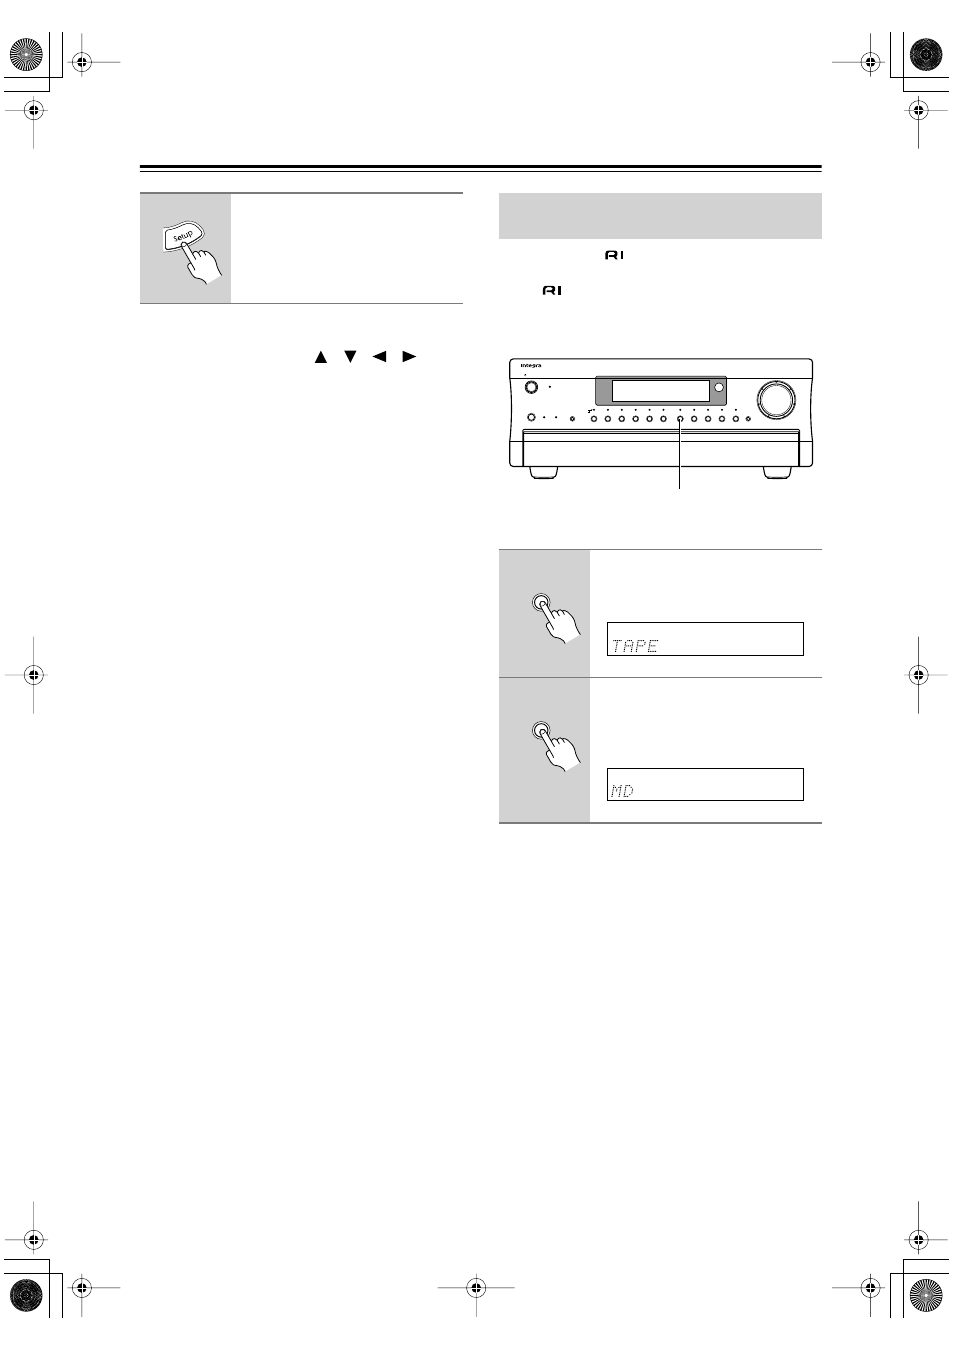
Changing the Input Source Display
for Use with a MiniDisc Recorder
1
Press the [Tape] input selector
button so that “TAPE” appears
on the display.
2
Press and hold down the [Tape]
input selector button until “MD”
appears on the display (about 3
seconds).
Display
Audio
Selector
Direct/
Pure Audio
Master Volume
Standby/On
Video 1
Video 3
Tape
Tuner
Phono
Net Audio
CD
DVD
Video 2
VCR 1
VCR 2
Video 4
Video 5
Zone 2 (
)
GRN
Rec (
)
RED
Pure Audio
psampling
U
Standby
Push To Open
DTR-8.4
1, 2
Tape
Tape