Muratec MFX-1500E User Manual
Page 42
1.30
Getting started
5
Adjust resolution and contrast if necessary.
Press
RESOLUTION
to change the resolution.
Press
CONTRAST
, then press
or
to change the contrast.
6
Set the reduction or enlargement rate, if you want. (See “Setting of enlarge-
ment or reduction for copying,” page 1.31.)
7
If you want to make only one copy of each page of the document, skip to step
10. Otherwise, proceed to step 8.
8
Use the numeric keypad to enter the desired number of copies for each page
in the document. You may choose one to 99 copies. Here, we’ve entered “3” to
choose a setting of three copies.
9
Press
SORT COPY
once or twice to “Toggle” (switch on or off) the sorting of
copies, as desired.
10
Press
START
to begin the copying process.
Note: To stop the copying before it is through, press
STOP
.
Note: Thanks to your machine’s QuadAccess
®
feature (see page 2.37 for more),
copying doesn’t keep you incommunicado while in progress: you can start a
fax or voice call and even receive a voice call during copying.
Using the Multi paper tray
When you need to use a size of paper not currently loaded in your machine’s paper
cassette(s), or when you want to use a special type of paper (such as transparency
film), use the Multi paper tray.
Important: If loading transparency (OHP) film into the multi paper tray, be sure
that the sheet is designed for laser printers and not for copiers. Also,
be sure that the film does not have a paper backing and/or a leading
strip. If it does, remove the paper backing and/or strip before insert-
ing. Only film should go in, not film with any backing or strip.
1
Either insert the document in the
ADF
or place it on the
FBS
.
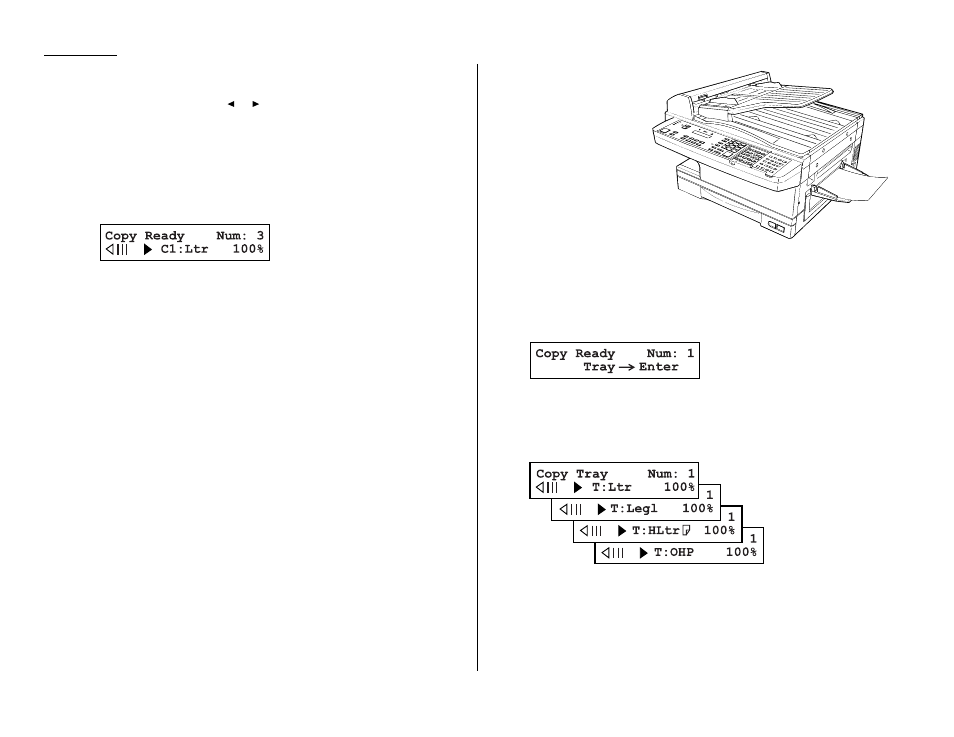
2
Place a sheet of printout
paper on the Multi paper
tray. Then align the paper
guides to the sheet’s edges
and insert the sheet until
it comes to a stop.
Note: Place the original
document in the
same orientation
as the paper in the
paper source
(which you’ll select
in step 5, below).
• If you are going to make more than one copy, you should insert the print-
out paper only one page at a time.
• You may use letter-, legal- or half-letter sized paper. (Half-letter is 8.5
″
wide × 5.5
″
tall.)
3
Press
PAPER SIZE
? repeatedly until the following display appears:
4
Press
ENTER
.
5
Then, if necessary, press
PAPER SIZE
? again to select a same size of recording
paper you placed document on the
ADF
or
FBS
. You can select either letter-,
legal- or half-letter-sized paper.
Note: When you use transparency film, please select “OHP” mode.
You can use letter-sized transparency film.
6
If necessary, select desired resolution, contrast, reduction/enlargement rate.
(See “Setting of enlargement or reduction for copying,” next page.)
7
Press
START
to begin the copying process.