Then select, The picture display mode as shown is recalled, And then select – Hitachi SH-G1000 User Manual
Page 123: Select a picture to be assigned, The picture is assigned to the specified contact
Section 2: Understanding Your Device
115
2G: Using Microsoft
®
Pocket Outlook
®
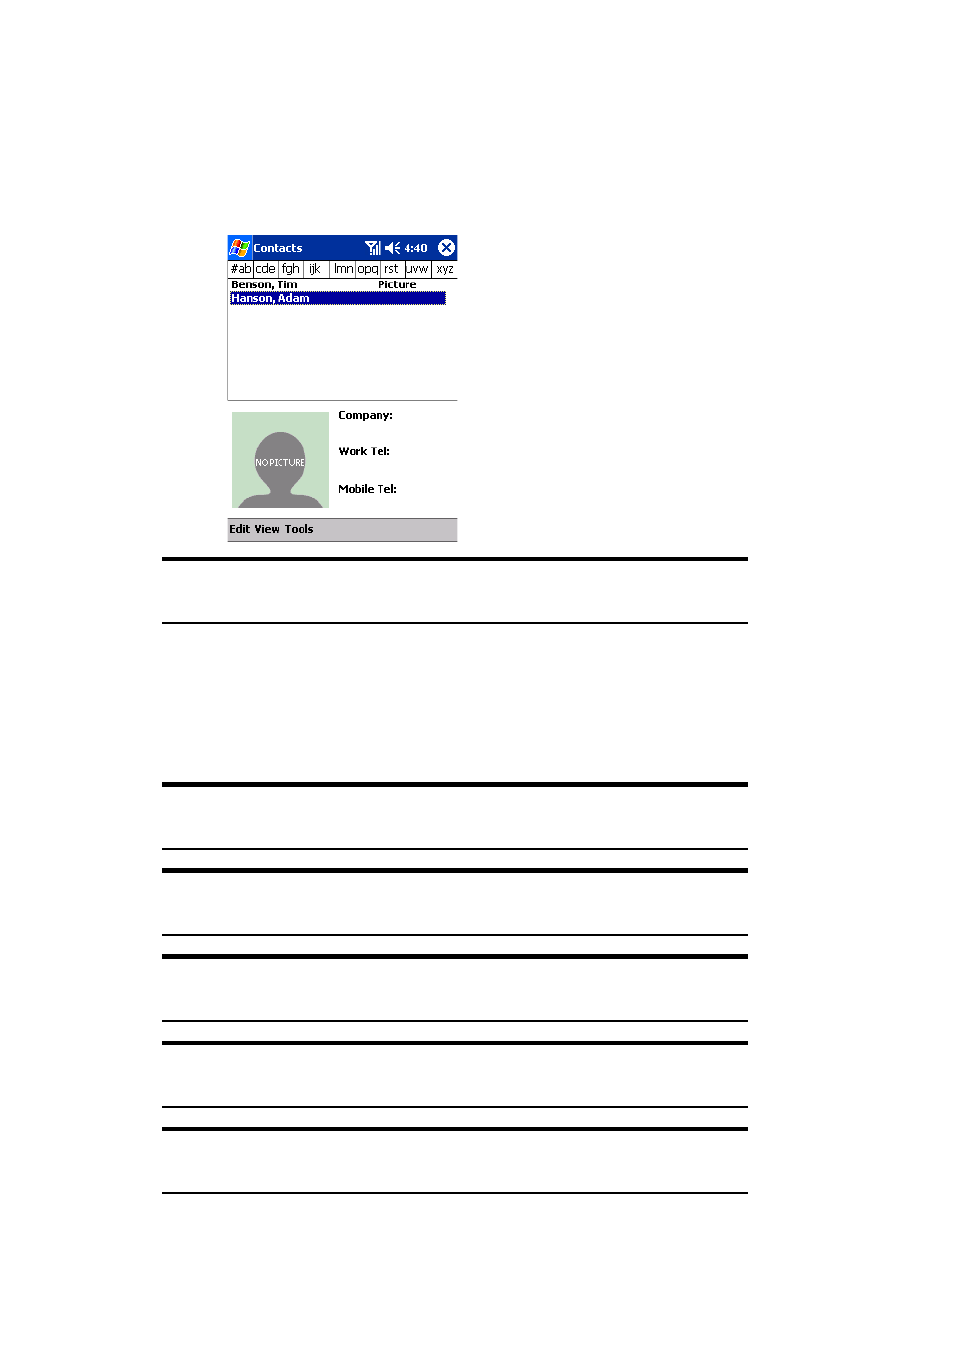
Assigning a Picture to a Contact (Picture Display Mode)
1.
Tap
View
, then select
By Picture
.
ᮣ
The picture display mode as shown is recalled.
Tip:
For contacts with pictures assigned, “Picture” appears to the right
of the list.
2.
Select a Contact to which a picture is assigned, tap
Tools
, and then
select
Select Picture...
.
3.
Select a picture to be assigned.
4.
The picture is assigned to the specified Contact.
Tip:
You can trim the assigned picture to 100
× 100 pixels. To trim the
picture, select Crop Picture from the Edit menu.
Tip:
To delete the assigned picture, select
Delete Picture
from the
Edit
menu.
Tip:
To send a picture to another device using infrared rays, select
Beam Picture...
from the
Tools
menu.
Tip:
To restore a mode that does not display picture, tap
View
, and then
select
By Picture
.
Note:
You cannot make a phone call through a list shown in the picture
display mode.