Epson WorkForce Pro WF-C8690 A3 Color MFP with PCL/PostScript User Manual
Page 265

265
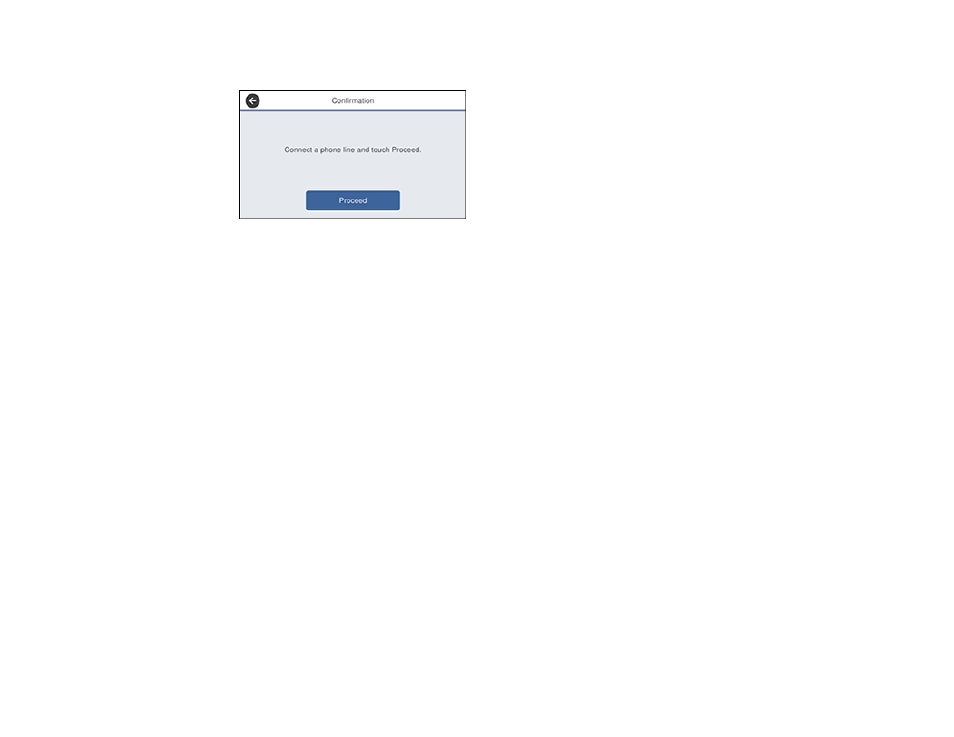
You see the following screen:
3.
Connect your phone line and select
Proceed
.
4.
On the next screen, use the displayed keypad to enter the sender name for your fax source, such as
your name or a business name. You can enter up to 40 characters. Select
OK
when complete.
5.
On the next screen, use the displayed keypad to enter your fax number, up to 20 characters. Select
OK
when complete.
Note:
The name and phone number in the fax header identifies the source of the faxes you send.
6.
On the Distinctive Ring Setting screen, do one of the following:
• If you have subscribed to a distinctive ring service from your telephone company, select
Proceed
.
Select the ring pattern to be used for incoming faxes. If you select
All
, skip to step 7. Otherwise,
skip to step 9.
• If you do not have a distinctive ring service, select
Skip
and skip to step 9.
Note:
Distinctive ring services allows you to have several phone numbers on one phone line. Each
number is assigned a different ring pattern. You can use one number for voice calls and another for
fax calls. Select the ring pattern assigned to fax calls in the Distinctive Ring Setting. If you select a
ring pattern other than
All
, Receive Mode is automatically set to
Auto
.
7.
On the Receive Mode Setting screen, do one of the following:
• If you have connected an external telephone or answering machine to the product, select
Yes
.
• If you did not connect an external telephone or answering machine, select
No
and skip to step 9.
(Receive Mode is automatically set to
Auto
; otherwise you cannot receive faxes.)
