Menu list – Roland V-160HD SDI/HDMI Streaming Video Switcher User Manual
Page 102

Menu List
102
Menu item
Value
(bold text: default value)
Explanation
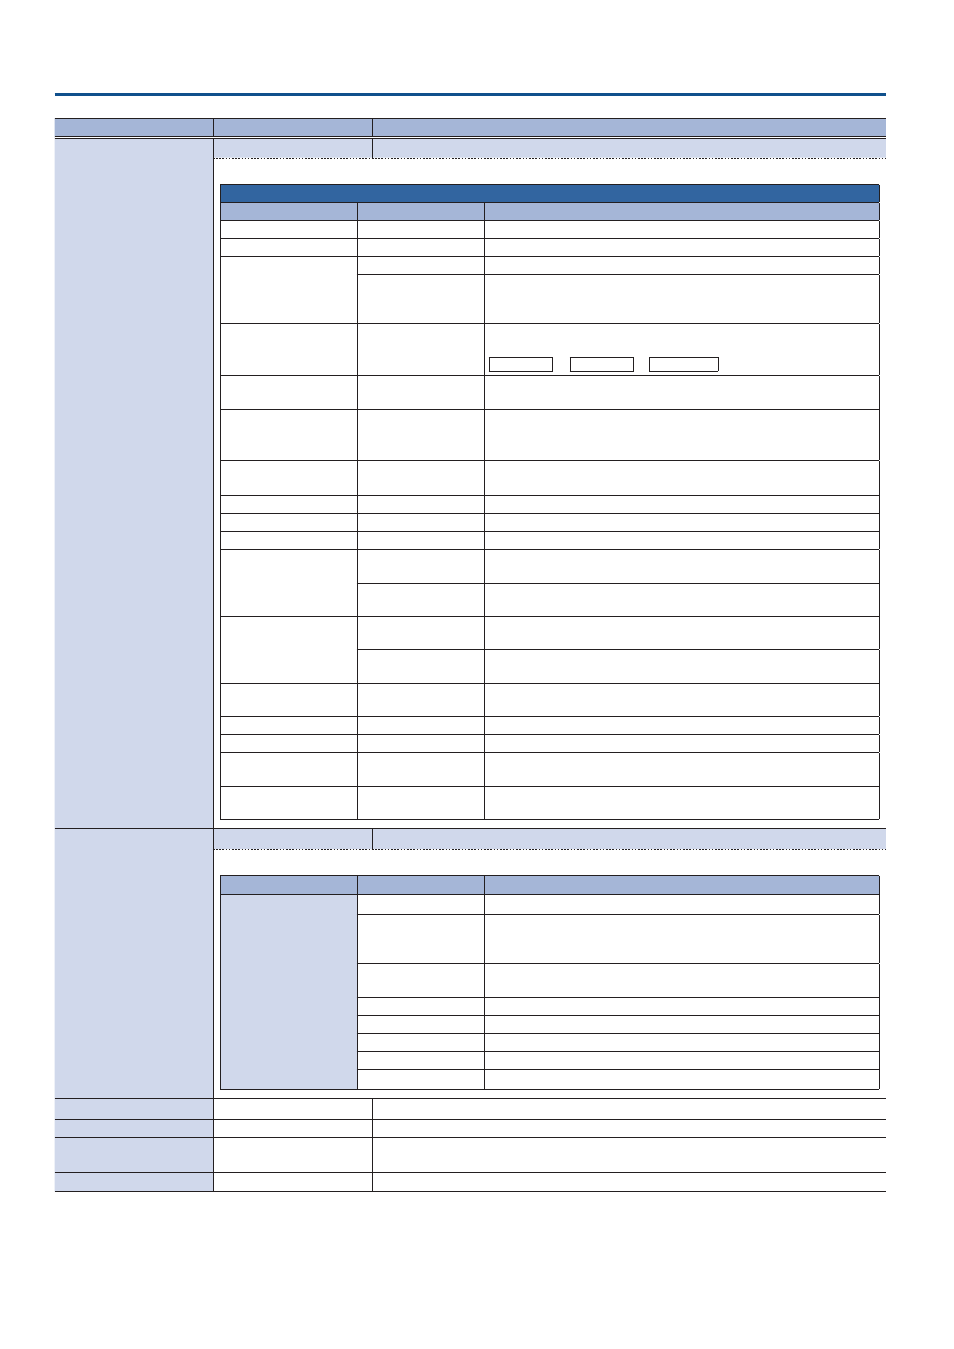
USER SW ASSIGN
ENTER
Displays the USER SW ASSIGN menu.
Specifies the function that is assigned to the USER [1]–[4] button.
USER SW 1–4
CATEGORY
VALUE
Explanation
N/A
---
No function is assigned.
FREEZE
---
Turns the freeze function on/off.
AUTO SWITCHING
AUTO SWITCHING SW
Turns the auto switching function on/off.
BPM TAP
When “TYPE” in the AUTO SWITCHING menu is “BPM SYNC,” you can set
the BPM according to the tempo at which you press the button. The
buttons flash in sync with the current BPM setting.
INPUT ASSIGN
INPUT 1–10
Each time you press a button, the video source assigned to the specified
cross-point button switches to the following sources in order:
HDMI 1
У
8
У
SDI 1
У
8
У
STILL 1
Ó
16
.
STILL OUTPUT
STILL 1–16
Pauses the normal output, and previews or final outputs a cut of the still
image.
AUDIO INPUT MUTE
AUDIO IN 1–3/4
USB IN, Bluetooth IN
HDMI 1–8, SDI 1–8
Turns the mute function on/off for the input audio.
AUDIO OUTPUT MUTE
MASTER OUTPUT
AUX, USB OUT
Turns the mute function on/off for the output audio.
VOICE CHANGER SW
AUDIO IN 1, 2
Turns the voice changer on/off.
REVERB (MOMENTARY) ---
Reverb turns on only while the button is pressed.
REVERB (ALTERNATE)
---
Turns reverb on/off.
INPUT SCAN
NORMAL
Each time you press a button, the final output switches from INPUT 1–10
in sequential order.
REVERSE
Each time you press a button, the final output switches from INPUT 1–10
in reverse order.
MEMORY SCAN
NORMAL
Each time you press a button, preset memories 1–30 are recalled in
sequential order.
REVERSE
Each time you press a button, preset memories are recalled in reverse
order from 30 through 1.
REC CONTROL
---
Controls the recorder’s video record start/stop if a recorder that supports
REC control functionality is connected.
GPO (ONE SHOT)
GPO 1–16
Outputs a control signal for 0.5 seconds.
GPO (ALTERNATE)
GPO 1–16
The control signal output is switched on/off while the button is pressed.
CAMERA CONTROL
---
Turns the camera control function on/off. When this is on, the CAMERA
PRESET [1]–[10] buttons can be used to recall the presets.
Bluetooth CONTROL
---
Turns the Bluetooth function on/off. Long-press the button to begin
pairing.
MONITOR SW ASSIGN
ENTER
Displays the MONITOR SW ASSIGN menu.
These settings are for the monitoring video assigned to the MONITOR [1]–[4] buttons.
Menu item
Value
Explanation
MONITOR 1–4 SW
N/A
No video is assigned.
MULTI-VIEW
The final output video, preview output video and the videos allocated
to the cross-point [1]–[8] buttons are shown in sections of the display
(multi-view).
16 INPUT-VIEW
The input video from the HDMI IN connectors and the SDI IN connectors
are shown as 16 separate sections on the screen
16 STILL-VIEW
Shows the loaded still images in 16 separate sections on the screen.
PROGRAM
Shows the final output video.
SUB PROGRAM
Shows the SUB PROGRAM bus video.
PREVIEW
Shows the preview output video.
AUX
Shows the AUX bus video.
LED DIMMER
1–
8
Adjusts the brightness when the buttons or indicators are lit.
LCD DIMMER
1–
8
Adjusts the brightness of this unit’s monitor.
ON SCREEN MENU
UPPER LEFT
, UPPER RIGHT,
LOWER LEFT, LOWER RIGHT Sets where the menu is displayed.
TALLY FRAME
OFF,
ON
Sets whether to display the tally frame or not in the monitor.
