Start up dyno s controller, Default ip network configuration, Stand alone – Grass Valley K2 Dyno S v.3.0 User Manual
Page 31: Dyno-pack default ip addresses, Configure to facility network
Chapter 2 Dyno S Controller Installation
Start up Dyno S Controller
K2 Dyno S Replay Controller
31
Installation & Service Manual
4 December 2012
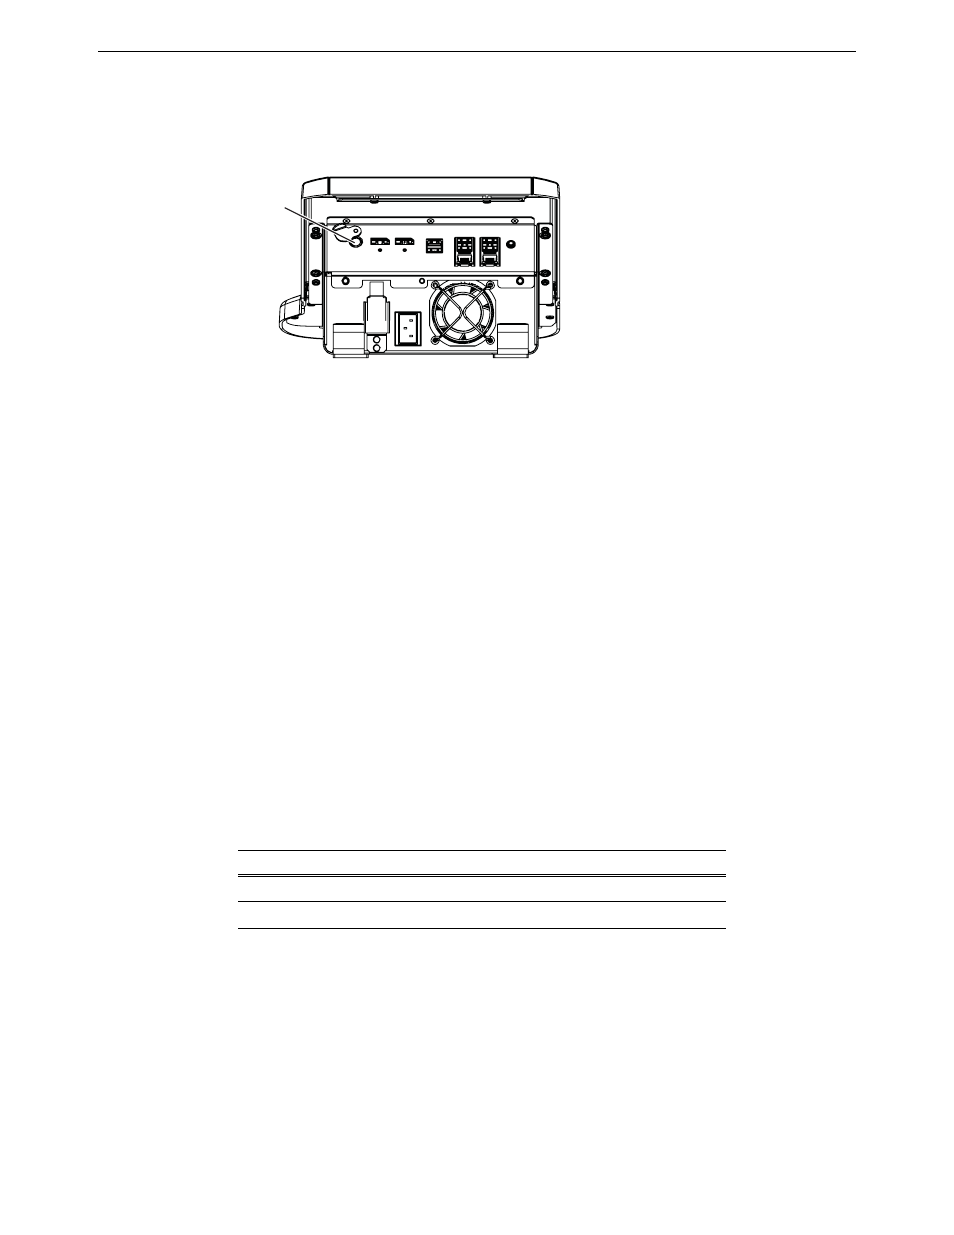
Start up Dyno S Controller
1. Press the Standby button on the rear of the Dyno S Controller to activate the unit.
2. Power up the computer monitor connected to the Dyno S Controller. The Dyno S
Controller does not require a login, and by default will boot to the Dyno UI screen.
If the network configuration is correct, you can follow the standard startup procedures to
connect to the K2 system.
3. Select a Server on the list, or touch
Add Server
and type the name of the Server.
4. Select
Connect
or
Reconnect
.
Default IP Network Configuration
The K2 Dyno S Replay Controller IP network addressing is configured differently,
depending on whether it ships stand alone, or ships paired with a K2 Summit as a
Dyno-Pack.
Stand alone
A stand alone Dyno S Controller is configured by default to use DHCP. This permits
automatic connection to a network that is running a DHCP network address server.
Dyno-Pack Default IP Addresses
A Dyno-Pack, consisting of a Dyno S Controller paired with a K2 Summit(3G)/Solo(3G),
ships with static IP network addressing
Configure to facility network
The Dyno-Pack default IP addresses will work if the K2 Summit and Dyno S Controller
operate on an isolated network. These values will probably need to be changed to be
compatible with your facility’s existing network.
Use standard Windows operating system procedures on both the K2 Summit and the
Dyno S Controller to configure each with a static IP address on the same subnet. You can
also configure a host name if desired.
Device
Default Static IP Address
Subnet
Dyno S Controller
192.168.40.155
255.255.255.0
K2 Summit
192.168.40.156
255.255.255.0
Press
Standby
8681_04