3 carrying handle, 5 lens settings, Carrying handle – Grass Valley DMC 1000 v.12.4 User Manual
Page 41: Lens settings
DMC 1000 Digital Media Camcorder User’s Guide (v4.0)
41
Chapter 3 - General set-up
3.4.3 Carrying handle
3.5 Lens settings
Back focus
When you first connect a lens to the camcorder you need to check and, if necessary, adjust
the back focus. Refer to the lens manufacturer's instructions to find out how to do this. The
SYSTEM
>
HARDWARE
>
LENS
menu allows you to choose and adjust other parameters to suit
your lens type and your personal preferences.
Lens type
In the SYSTEM
>
HARDWARE
>
LENS
menu, select the lens type from two predefined settings;
standard (Std) or wide angle (WA). This gives you the optimum shading settings for either a
standard or wide angle lens.
Lens interface
When using a lens with a digital interface, make sure that the lens interface is set to digital.
Zoom control is only enabled when the lens interface is set to digital.
Auto iris
If required, switch on the auto iris function in the SYSTEM
>
HARDWARE
>
LENS
menu. In this
menu, you can also set the parameters associated with the auto and the momentary iris.
Lens indicators
The ND/RE indicator in the viewfinder lights when a lens range extender is selected or when
the camcorder’s ND filter is selected.
The Iris indicator in the viewfinder shows the value of the iris opening (when enabled in the VF
submenu of the viewfinder menu).
The Zoom indicator in the viewfinder shows the degree to which the lens has been zoomed
out or in ranging from 0 (wide angle) to 99 (tele). It shows 50 if the lens does not support this
feature.
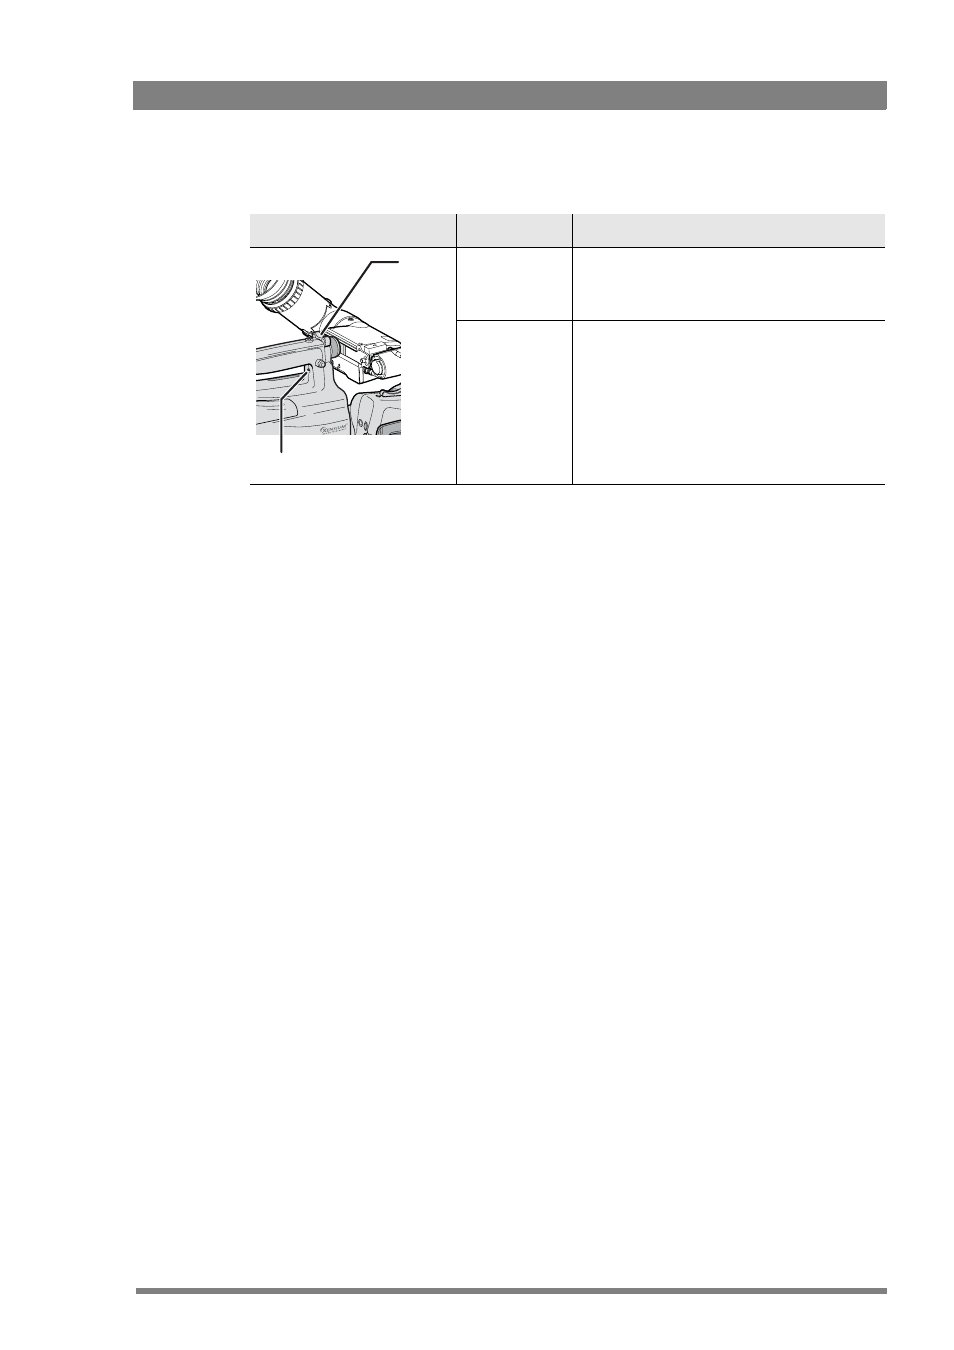
Location
Control
Possible assignments
Zoom control
(only available
with digital
lenses)
• Disabled - default
• Enabled
Record switch
• Disabled - default
• Enabled
Record
Zoom