3 - inspection mode testing, Inspection mode testing 3, Launch ez-ndt – Measurement Computing eZ-NDT version 6.0.9 User Manual
Page 17: Open the ez-ndt project, Turn on analyzer
eZ-NDT
938691
Inspection Mode Testing 3-1
Inspection Mode Testing
3
Analyzer …… 3-1
4. Test Parts …… 3-2
Reviewing NDT
A feasibility test and setup of the test parameters must be completed prior to starting
production testing.
1.
Launch eZ-NDT.
To run eZ-NDT, double-click the eZ-NDT icon or use your Windows desktop Start button to navigate to
the program file.
2.
Open the eZ-NDT Project.
Select Open Project on the File Menu. Find the project of interest and double-click on it. This will open
the project and set up the test parameters.
3.
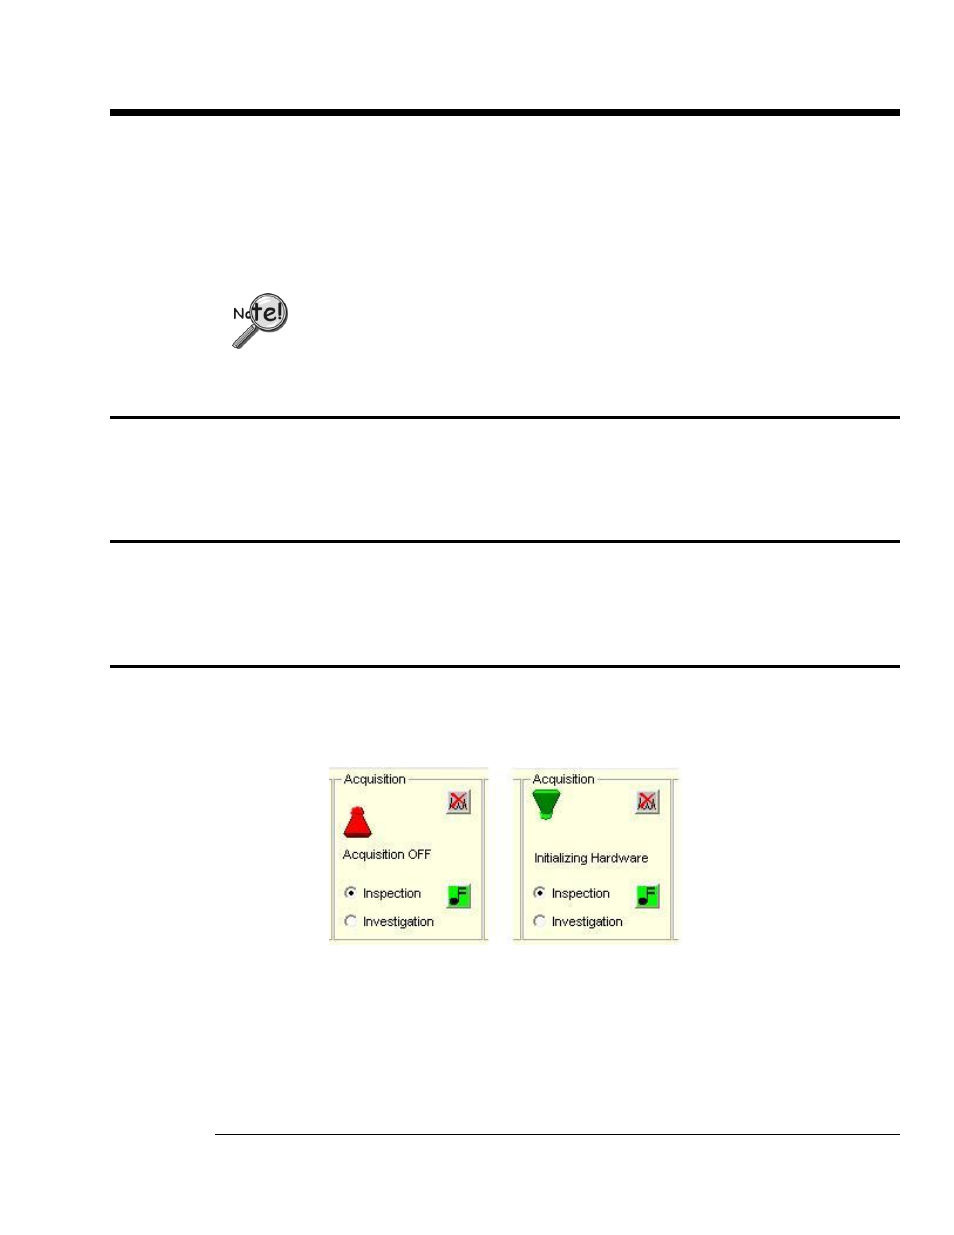
Turn on Analyzer.
Click the Red toggle switch in the Acquisition panel of the Main window. This will initialize the hardware,
for example a ZonicBook/618E, 640, or 650, as applicable. Wait for the Ready status.
Acquisition (Off)
Acquisition (On)