2 routing | ipv6 routing table screen – Comtech EF Data turboIP-G2 User Manual
Page 88
turboIP-G2 Performance Enhancement Proxy
Revision 2
Management via the CLI or Web Server GUI
CD-TURBOIP-G2
5–14
5.2.3.3.2
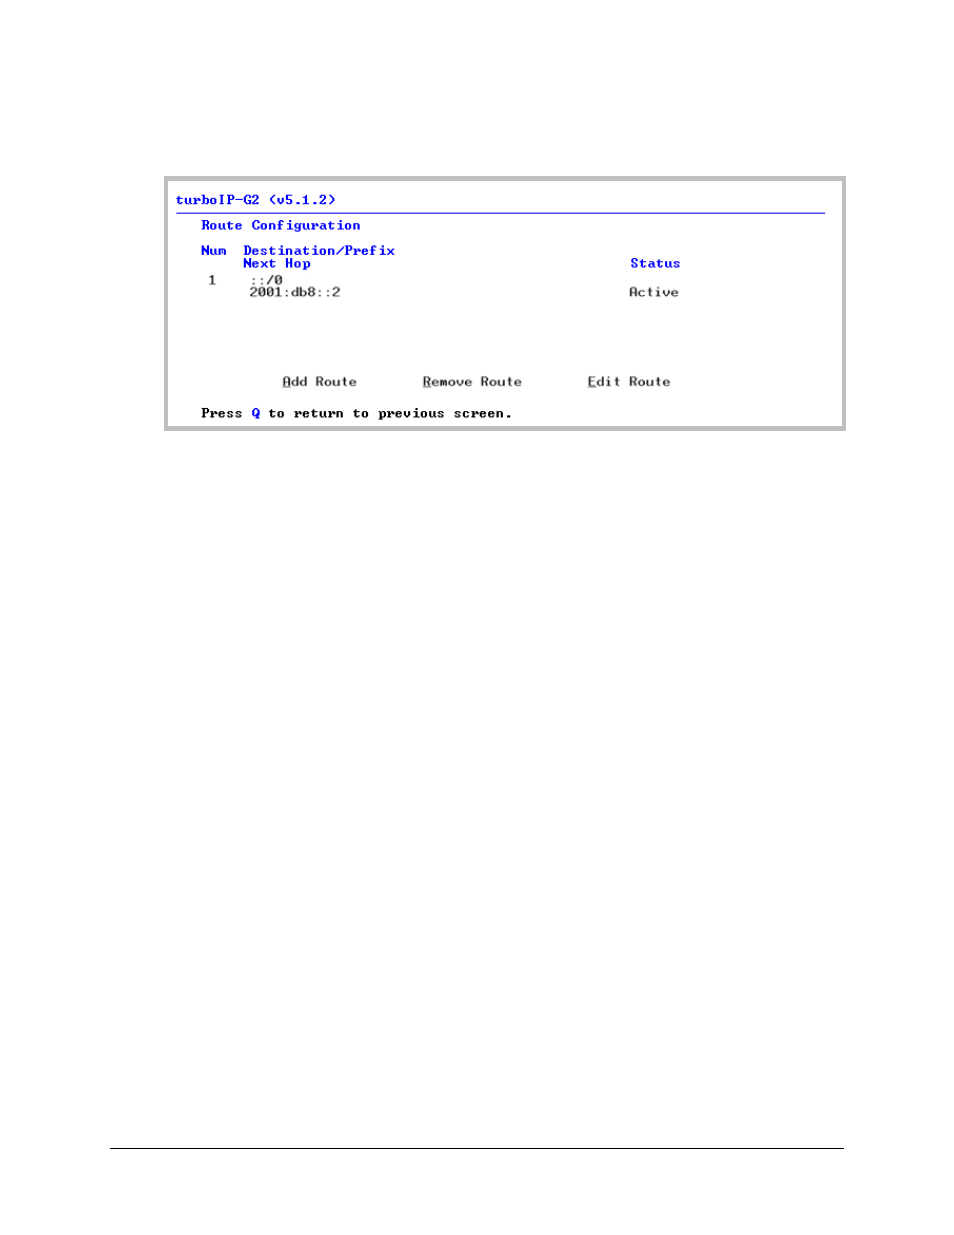
Routing | IPv6 Routing Table Screen
Per the example here, the Destination is set to all IP Addresses, the Prefix is set to all Prefixes,
and the Next Hop address is 2001:db8::2.
• To add an IPv6 route, press ‘A’ – the user will first be prompted to enter the Dest Address,
Routing Prefix, and Net Hop address; press ENTER when done. The user will next be
prompted to specify the Route Status: Select as Active or Not in Service using the ▲▼
keys, and then press ENTER to save. IPv6 route numbers are automatically assigned in the
order they are created.
• To remove an IPv6 route, press ‘R’ – the user will be prompted to specify the Route Num;
press ENTER to execute removal of that route.
• To edit an IPv6 route, press ‘E’ – the user will first be prompted to specify the Route Num
to edit; then, edit the Dest Address, Routing Prefix, and Next Hop address as desired.
Finally, edit the Route Status as Active or Not in Service. Press ENTER to save any
changes made.