8 force variable control, 9 fill control, Force variable control – CIRCUTOR PowerStudio Series User Manual
Page 50: Fill control
PowerStudio
50 User Manual
Here the appearance of the control on the SCADA screen is
specified. Select ‘button’, ‘image’ or ‘text’.
6.2.1.8
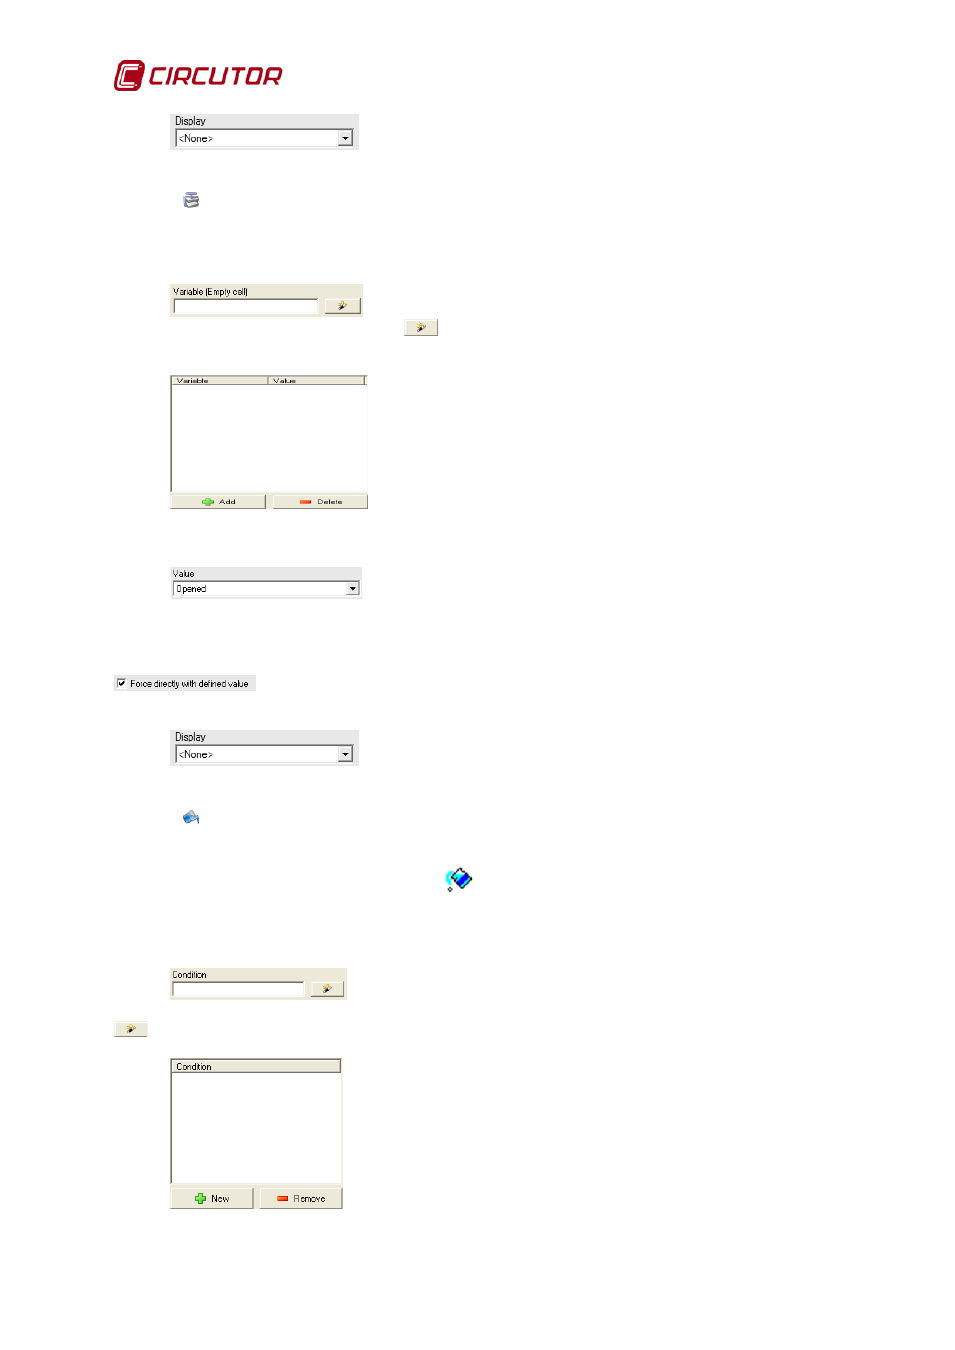
Force Variable Control
Use this tool to force variable values that can be forced, as in equipment with digital outputs.
The properties than can be configured from this control are:
Here the variable whose value will be forced is specified. It can be
entered manually or using the “wizard”
button (see11.1.1 Expressions and Conditions Creation
Wizard).
Once the variable has been specified, click the ‘New’ button to this
variable to the list of forced variables. To delete a variable from the list just select it click ‘Delete’. All
variables on the list at the moment the control is clicked from the client will be forced to the status
established in each of them, which is defined below.
Specify what action to take when the control is enabled from the
client (open or close). This selector will appear if there is a specific value list for the variable values to
that are possible to force, (e.g., for digital output the options will be open or close). If on the contrary,
the variable may be forced to any value (for example a counter) a field will appear to permit manual
entry of that value. This selector will only be enabled when the following box is checked
. if this box is not checked the value that will appear in the control will be that
defined by the user from the screen in the Java Client
Here the appearance of the control on the SCADA screen is
specified. Select ‘button’, ‘image’ or ‘text’.
6.2.1.9
Fill Control
Fill control allows color changes to homogeneous backgrounds, or background images, (with
all the same color pixels) regular or irregular.
mark the pixel point where fill area will begin in edit
mode. Chang the color of the area starting with the pixel marked by the point during the creation of the
control. It will not be displayed from the client. The properties than can be configured from this control
are:
Here the condition that has to be met is specified so that the
application paints the area with the chosen color. It can be entered manually or using the del “wizard”
(see Expressions and Conditions Creation Wizard).
Once the condition has been specified, click the ‘New’ button and the
condition will be added to the condition list. To delete a condition from the list just select it or press the