Handling, Compressor maintenance checklist, steps 1-13, 0 compressor maintenance and replacement (cont'd) – Reznor MAPSII Series REDA Users Manual User Manual
Page 12
Form O-MAPS II, P/N 209179 R7, Page 12
Handling
Compressor
Maintenance
Checklist,
Steps 1-13
NOTE:
Compressors for
RDCA and RECA
are the same as
for Model RCA.
Compressors for
RDDA and REDA
are the same as
for Model RDA.
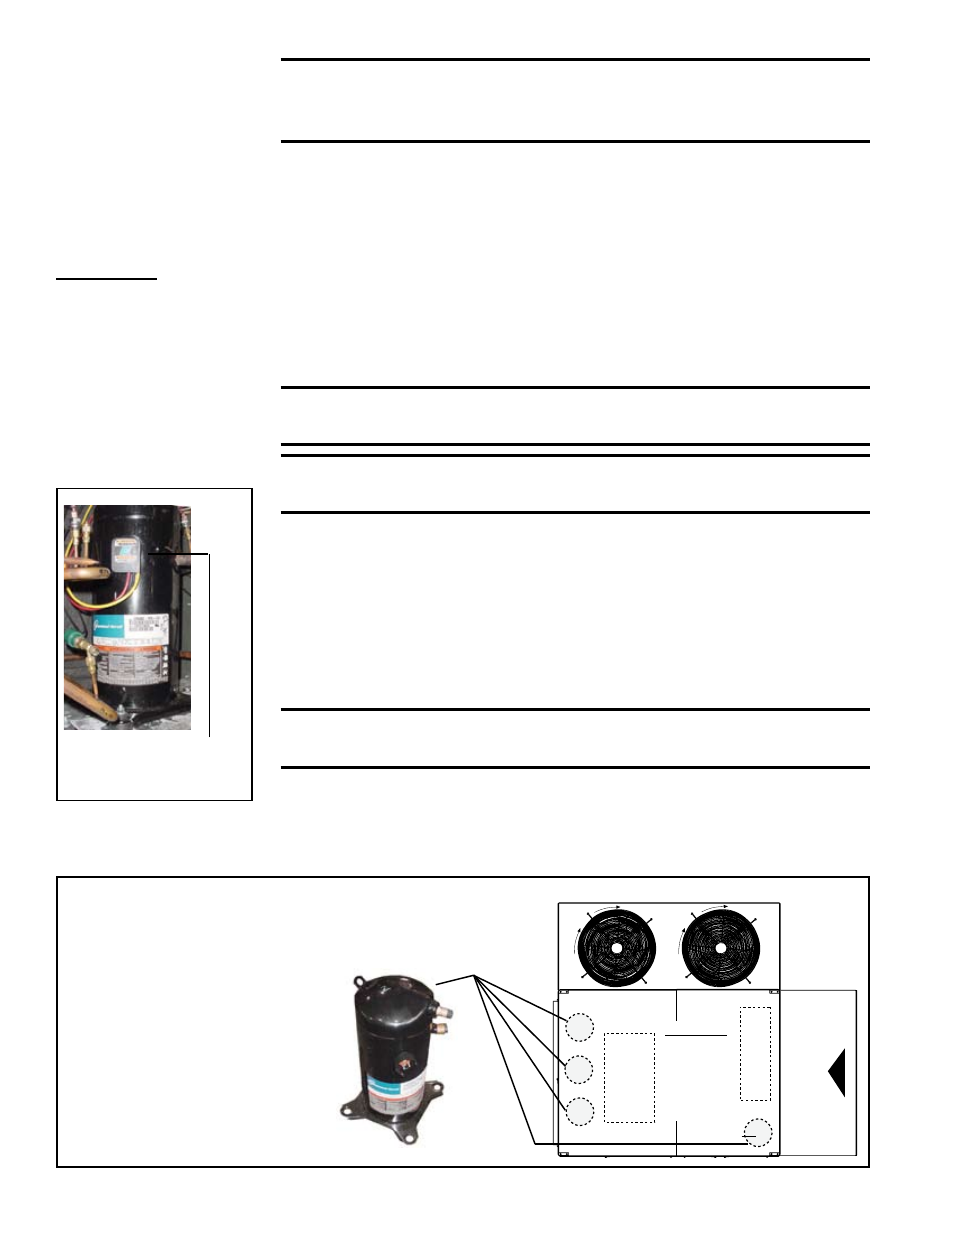
FIGURE 6 - With
disconnect switch
off, remove the
plug to disconnect
compressor wiring.
Molded plug with
wires attached
FIGURE 7 - Compressor Locations and P/N's
��������
�������
����������
���������
����������
�������
����������
�������������
���
�����
��������
���������������
�����������
������
�����������
�������������������������
�
�
�
�������
�������
DANGER: To avoid electrical shock, power to the com-
pressor(s) MUST REMAIN OFF during performance of Steps 1
through 9 below. LOCK DISCONNECT SWITCH OFF (open).
Step 1. Verify Proper Application
Verify that the replacement compressor is identical to the model being
replaced. All system components are matched to the compressor. Replac-
ing a compressor with a model other than the Thomas and Betts (Reznor)
specified replacement will void the product warranty. See part numbers for
R22 and R407C compressors on page 13.
Step 2. Determine Cause of Initial Failure and Remove the
Compressor
In order to prevent a second failure, the cause of the original failure must
be determined. Identify the cause and make the necessary repairs. Check
fuses/breakers for correct sizing.
CAUTION: DO NOT LIFT compressor by copper tubing; dam-
age will occur. Compressor must remain upright.
WARNING: Wear eye protection and gloves when handling
refrigerant or oil and when brazing.
a) BEFORE REMOVING THE FAULTY COMPRESSOR, remove refrigerant
charge using proper recovery procedures. Call 1-800-441-9450 for the
name of the nearest Dupont authorized distributor or 1-800-ASK-KLEA
(IGI) for information on their refrigerant reclaim programs.
b) Disconnect wires. All compressor wiring is connected using a black molded
plastic plug. Remove the plug from the compressor.
c) Open access ports so that pressure does not build up in the system.
Before unbrazing stubs from the compressor, cut suction and discharge
tubing with a tubing cutter.
WARNING: Have a fire extinguisher near. The compressor
contains oil. There is a risk of fire when unbrazing stubs.
Use a high temperature torch to disconnect the suction line and the dis-
charge line from the compressor.
d) Remove the mounting bolts and the compressor. Save the mounting
hardware to attach the grommets and sleeves shipped with the replace-
ment compressor.
7.0 Compressor
Maintenance
and
Replacement
(cont'd)