Potter Releasing Systems User Manual
Page 32
32
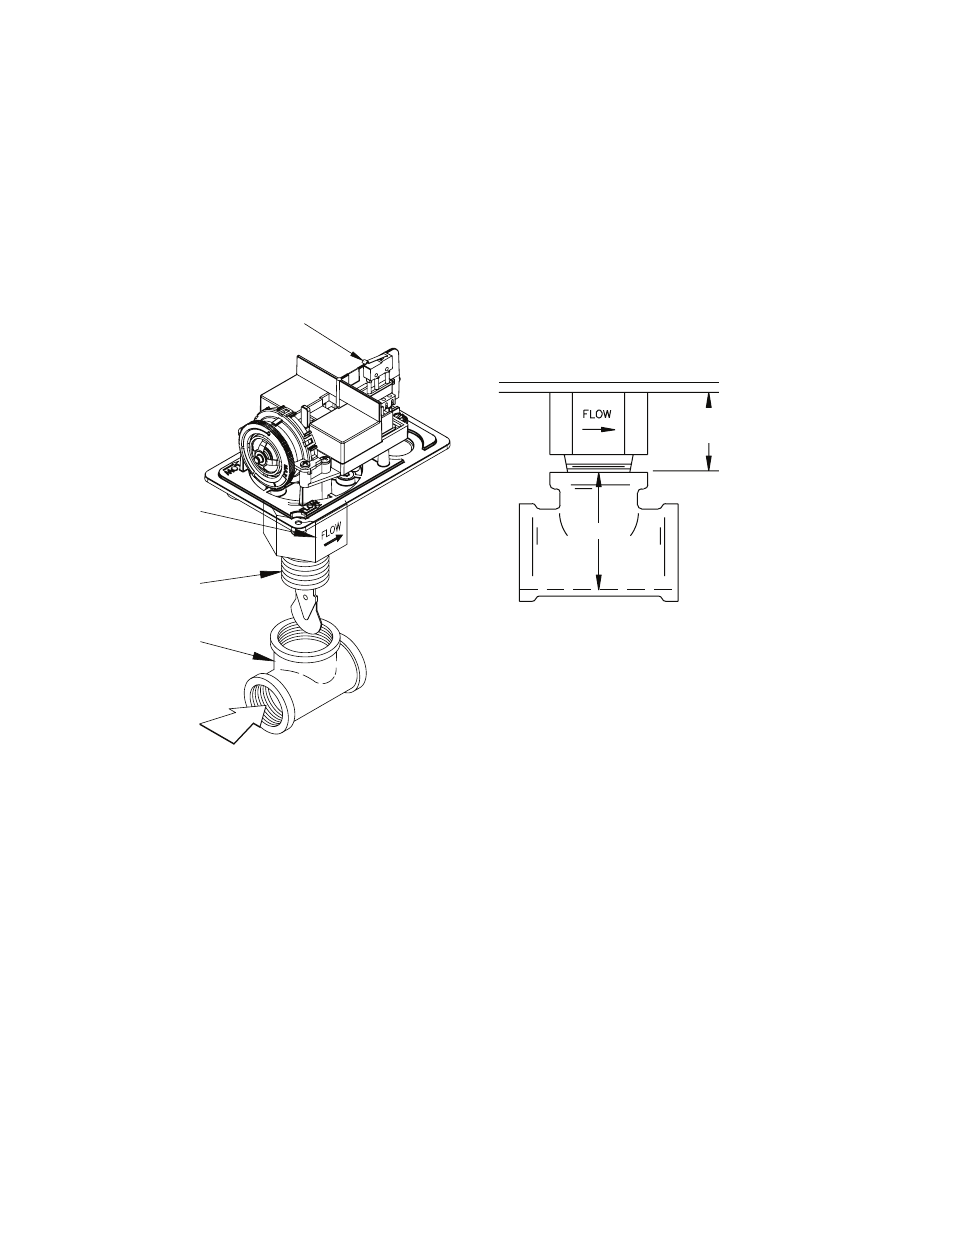
When installing the smaller flow switches that screw into a tee fitting, the proper size tee must be used. Never
use a reducing bushing to make the switch fit the tee. Bushings prevent the paddle from being in the proper
location in the tee. Also make certain that the correct paddle for the size and type of piping is being used and
that the paddle is on the stem tight. The flow switch must be screwed into the tee the proper depth.
After the installation is complete, slowly open the water control valve and open the inspector’s test valve
located at the far end of the system. This will help prevent air from being trapped in the system.
Screw the device into the TEE fitting as shown. Care
must be taken to properly orient the device for the
direction of the waterflow.
Fig. 12
Fig. 13
COVER TAMPER SWITCH
MOUNT SO
ARROW ON
BUSHING POINTS
IN DIRECTION OF
WATERFLOW
1” NPT
THREADED
FITTING ON
ALL SIZES
RUN OF THE TEE
MAY BE
THREADED OR
SWEAT PIPE
DIRECTION OF
WATERFLOW
DWG# 802-30A
4,3MM
(1 11/16”)
APPROX.
DEPTH
DWG# 735-33