Scale build, Calibration by test weights, Zero adjustment – Flintec MCS-08 User Manual
Page 19

MCS-08 Technical Manual, Rev. 1.04 December 2012
Page 19 of 52
Weighing Mode:
Unipolar weight data in calibrated weighing unit will be transmitted. This mode is
compatible to OIML R76 and EN 45501.
Force Mode:
Bipolar or unipolar force measurement data in calibrated force unit will be transmitted.
Select the scale operation mode and the polarity. Then click the “Write to Instrument” button to save your mode
selection. The default calibration of MCS-08AD modules is Count Mode and 10 mV unipolar input signal range.
If you select the Count Mode, there is no scale build and instrument calibration. Each MCS-08AD module is
adjusted for high accuracy during the production. The MCS-08AD input signal ranges and their external
resolutions are shown in Table 5.1.
Input signal range
Input Signal level
Polarity
External resolution
0 to 5 mV
5 mV
Unipolar
1 million counts
-5 to 5 mV
Bipolar
2 million counts
0 to 10 mV
10 mV
Unipolar
1 million counts
-10 to 10 mV
Bipolar
2 million counts
0 to 15 mV
15 mV
Unipolar
1 million counts
-15 to 15 mV
Bipolar
2 million counts
0 to 18 mV
18 mV
Unipolar
1 million counts
-18 to 18 mV
Bipolar
2 million counts
Table 5.1 - Count Mode, Input Signal Ranges and External Resolution
Select the input signal level and polarity for high external resolution. Write your mode selection to the
instrument by clicking “Write to Instrument” button. Jump to the chapter 5.6.
Scale Build
The scale capacity, the increment and the unit have to be introduced to the MCS-08AD module before you can
perform a calibration in Weighing or Force mode.
Capacity:
To select a new value for the scale capacity, click in the text box.
Use the keyboard to enter a new value, or use the drop-down menu.
Increment:
Use the drop-down menu to select the increment.
Unit:
Select the unit
The scale calibration can be performed by using test weights or by electronic calibration (eCal).
Calibration by Test Weights
This calibration method performs zero and span calibrations using test weights. For accurate calibration the test
weight value should not be less than 1/10 of the scale capacity.
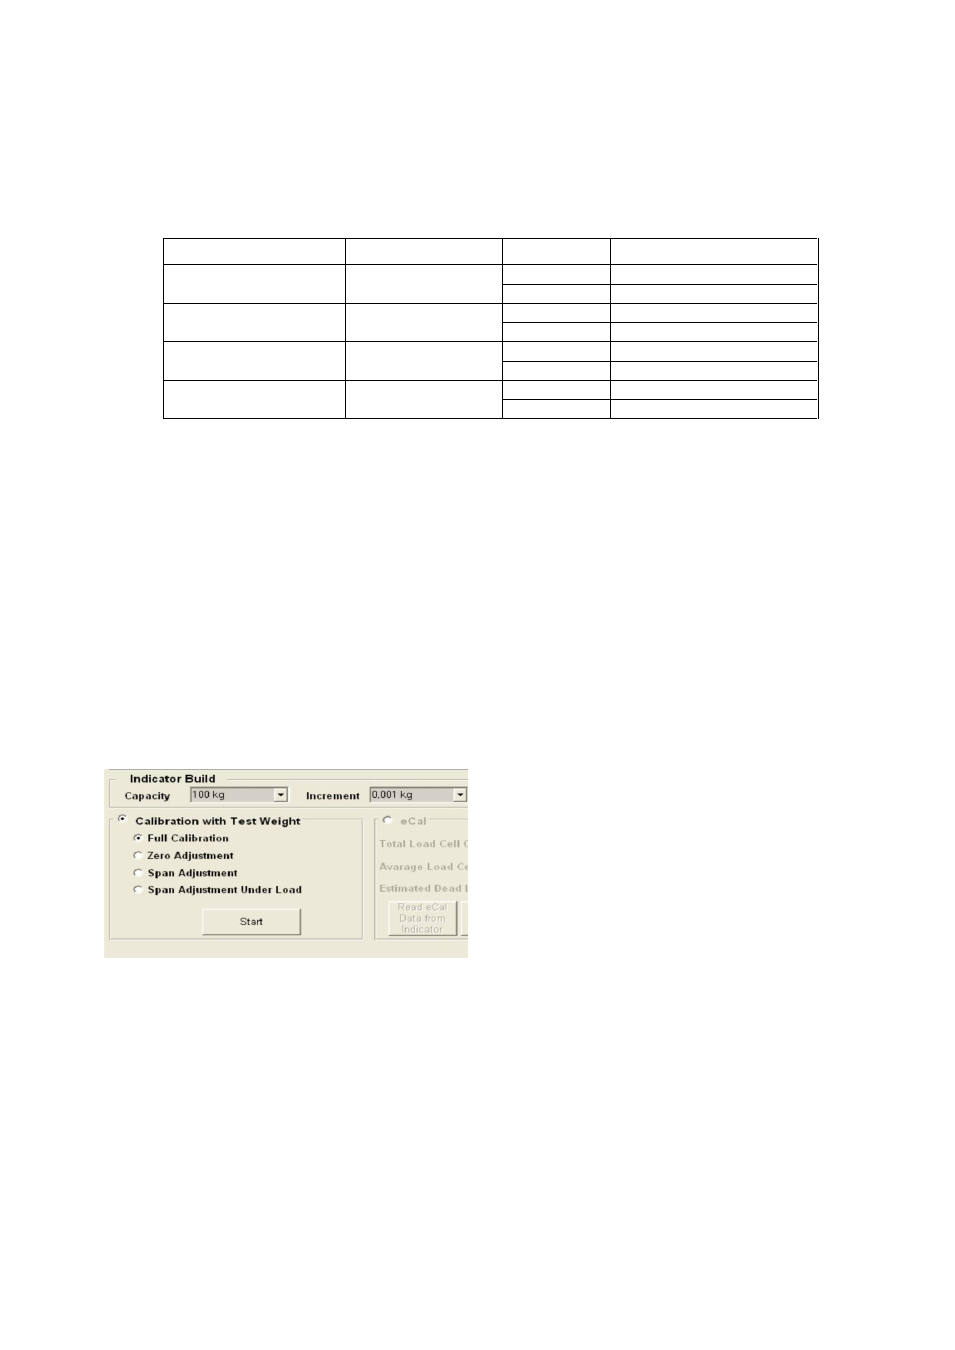
Figure 5.8
– Calibration by test weights
Please note that the scale build values should be entered before you start the calibration.
Select “Full Calibration” for performing a complete scale calibration. Click the “Start” button. Unload the scale
for performing the zero calibration and click the “Yes” button. The virtual display will show the [WAIT] message
during the zero calibration. During the zero calibration the scale must be stable. Approximately 5 seconds later
the span calibration window will be displayed. Load the scale and enter the loaded test weight value, then click
the “OK” button. The scale must be stable during the span calibration. Approximately 5 seconds later the new
calibration settings are saved automatically.
If any error occurs during the calibration an error message warns you. Click the “Yes” button to reload the
previous values or click the “No” button to use the new settings.
You can adjust the zero or the span of your
scale without performing a full calibration. Additionally the “span
calibration to the unloaded scale” feature is another tool of MCS-08AD modules for after-sale services.
Zero Adjustment
If your scale has a residual zero drift you may perform a zero adjustment only.
Select “Zero Adjustment” and
press the “Start” button. Then the zero calibration window will be displayed. Unload the scale and click the “OK”
