Comtrol ES7510-XT User Manual
Page 23
RocketLinx ES7510-XT User Guide: 2000571
Rev. D
Configuring the Network Settings - 23
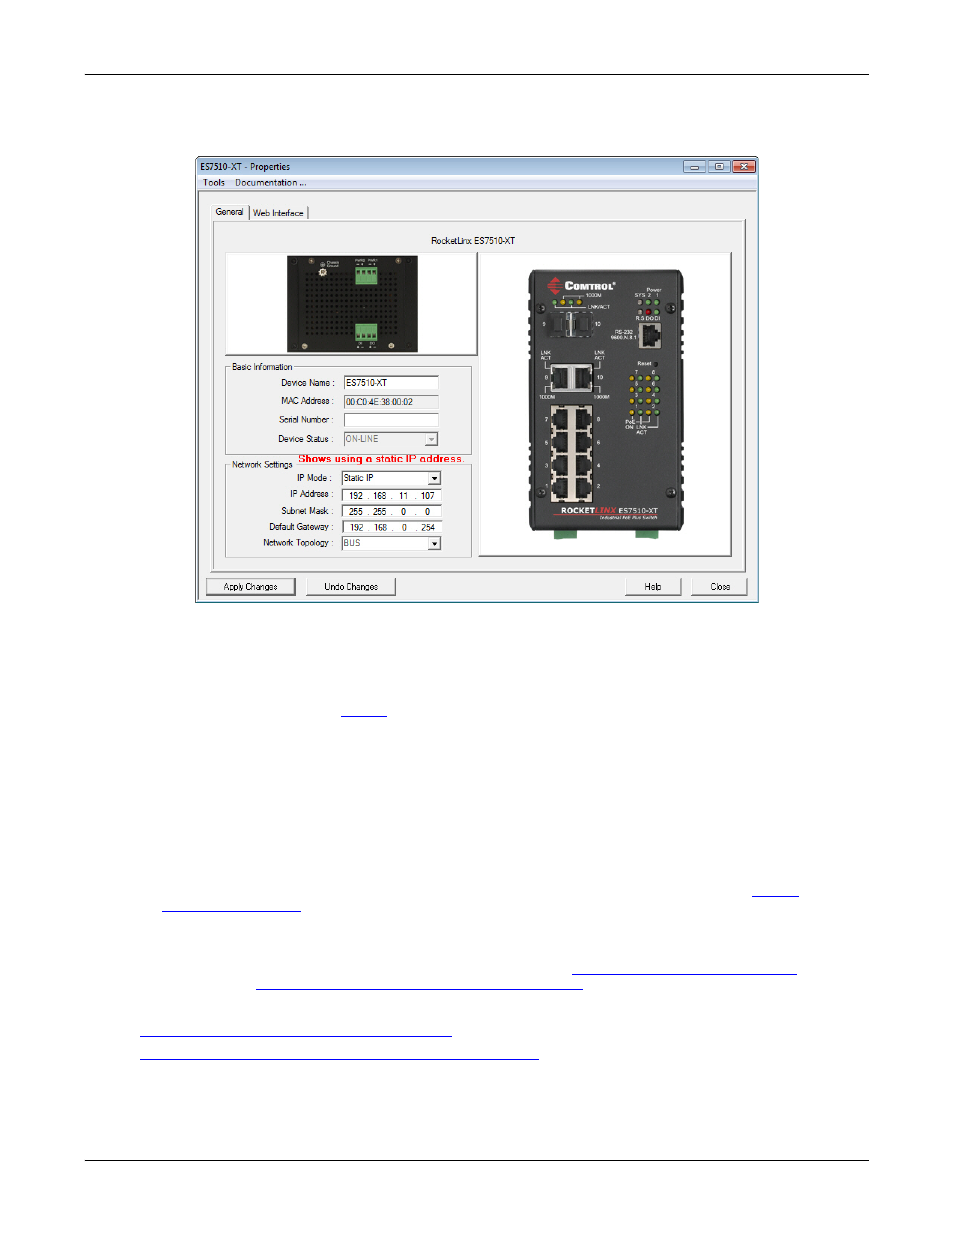
Using PortVision DX
5.
Optionally, rename the ES7510-XT in the Device Name field for a PortVision DX friendly name. The
default name displays as Device and the last three sets of hex numbers from the MAC address.
Note: The MAC address and Device Status fields are automatically populated and you cannot change
these values.
6.
Optionally, enter the serial number, which is on a label on the ES7510-XT.
7.
Select DHCP IP or Static IP for the IP Mode.
•
•
If you select Static IP:
-
Enter a unique IP address as required for your site.
-
Enter a valid Subnet Mask value for your network.
-
Enter a valid Default Gateway value for your network.
8.
Optionally, select the Network Topology type, which is an informational field.
9.
Click Apply Changes to update the network information on the ES7510-XT.
Note: If you are deploying multiple ES7510-XT switches that share common values, you can save the
configuration file and load that configuration onto other ES7510-XT switches. See
on Page 28 for more information.
10. Click Close to exit the Properties window.
11. You should verify that you have the latest firmware loaded on the ES7510-XT because a newer version
typically includes feature enhancements and bug fixes. Refer to
Uploading the Latest Firmware or Bootloader
12. If you have the latest firmware, you can begin feature configuration, see one of these sections:
•
Configuration Using the Web User Interface
•
Configuration Using the Command Line Interface (CLI)
•
Right-click the ES7510-XT in the Device List pane and click Webpage in the popup menu.
Note: The default User Name and Password are both admin.