Checkline TI-UMX2 User Manual
Page 16

– 16 –
5.0 PrInCIPles of ulTrasonIC MeasureMenT
5.1 Time versus thickness relationship
Ultrasonic thickness measurements depend on measuring the length of time it takes for
sound to travel through the material being tested. The ratio of the thickness versus the
time is known as the sound velocity. In order to make accurate measurements, a sound
velocity must be determined and entered into the instrument.
The accuracy of a thickness measurement therefore depends on having a consistent
sound velocity. Some materials are not as consistent as others and accuracy will be
marginal. For example, some cast materials are very granular and porous and as a result
have inconsistent sound velocities.
While there are many different ultrasonic techniques to measure thickness, which will
be discussed below, all of them rely on using the sound velocity to convert from time to
thickness.
5.2 suitability of materials
Ultrasonic thickness measurements rely on passing a sound wave through the material
being measured. Not all materials are good at transmitting sound. Ultrasonic thickness
measurement is practical in a wide variety of materials including metals, plastics, and
glass. Materials that are difficult include some cast materials, concrete, wood, fiberglass,
and some rubber.
5.3 range of measurement and accuracy
The overall measurement capabilities, based on the wide variety of materials, is
determined by the consistency of the material being measured
The range of thickness that can be measured ultrasonically depends on the material as
well as the technique being used and the type of transducer. Thickness measurements
canbemadefromaminimumof0.010inchto9.999”insteel.However,themaximum
attainable thickness is much less for more attenuative materials (materials that absorb
sound).
Accuracy, is determined by how consistent the sound velocity is through the sound path
being measured, and is a function of the overall thickness of the material. For example,
the velocity in steel is typically within 0.5% while the velocity in cast iron can vary by
4%.
5.4 Couplant
All ultrasonic applications require some medium to couple the sound from the
transducer to the test piece. When the TI-UMX2 is used underwater as intended, the
wateritselfactsasacouplant.HoweverwhentheTI-UMX2isusedabovewater,it
couplant will be required. Typically a high viscosity liquid is used as the medium.
– 41 –
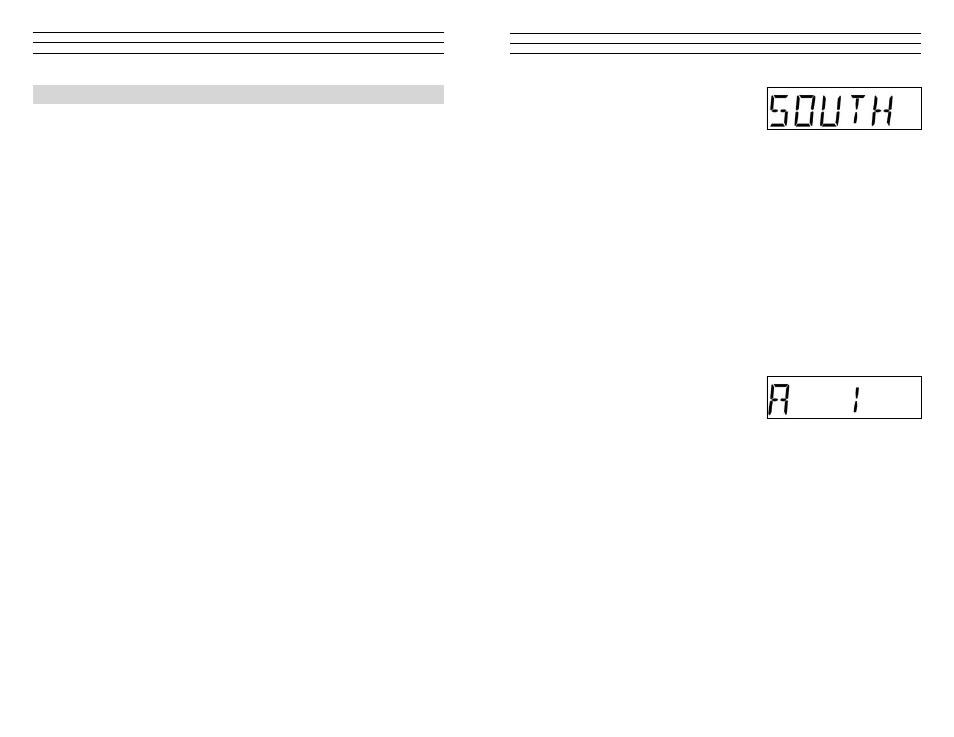
3. When the desired direction is displayed,
immediately press and release the button to
set the option in the TI-UMX2. For this
example,SOUTHhasbeenselectedasthe
increment direction.
noTe
:Iftheuserwantsto‘fast’incrementthroughavarietyofstoragelocations,
followstep3above,andcontinuously‘pressandrelease’tomovethroughstorage
locations. Example: current grid cell location is A1, and user needs to move to A5.
Repeata‘pressandrelease’whenSOUTHappears,ivetimesrepetitively.
4. Press and hold the button to escape out of the sub menu options at any time.
11.7 storing a Measurement
Now that a grid or sequential log has been created and uploaded to the TI-UMX2, and
the user is familiar with moving around through the log file, it’s time to take and store a
measurement. The following procedures outline this process:
noTe: This section assumes the TI-UMX2 is powered up and ready to go. Also, the
TI-UMX2 will always return to the left most top level menu item, or the current
log file location. This was done to make it convenient for the operator to store
measurements without having to scroll through directories.
1. Press and release the single TI-UMX2
button, located on the top end cap, to store a
measurement, and auto increment to the next
storage location. Example: current grid cell
location is A1, and auto increment is set to south. Once the reading is stored, the
cursor will automatically advance to A2.
2. It’s as simple as that!
IMPorTanT noTe: If the TI-UMX2 is currently in a stored location, the gauge will
notmeasure.Themeasurementmustbeclearedirst,ortheusermustbeinan‘empty’
storage location.
11.8 Clearing a stored Measurement
The following procedure outlines the steps to clear a cell or log location, where the user
has opted to make and store another measurement for that specific location:
noTe: This section assumes the TI-UMX2 is powered up, and the user has navigated to
the storage location that will be cleared.
1. Press and hold the single TI-UMX2 button, located on the top end cap, until the top
level menu options begin scrolling on the alpha display. Once this occurs, the button
can now be released. The menu options will scroll one to the next in a time delayed
sequence, and will display all the menu options in a continuous loop.
