Checkline TI-UMX2 User Manual
Page 10
– 10 –
4.0 Menu & ConneCTor referenCe
4.1 Menu options
sTore: This menu displays the current storage location of the TI-UMX2. This location
canrefertoeithera‘grid’celllocation,likeanExcelspreadsheet,orasequentialformat
location, depending on which file format was uploaded into the gauge. If the storage
facility has been turned off, the menu label will read “MEMOFF”. The TI-UMX2 will
beshippedfromthefactorywithapreloaded‘grid’ilestructure.Refertosection11.1
for a detailed explanation.
dIreCT: This menu item is also part of the data storage facility. It specifies which
direction to advance the cursor, after a measurement is stored. If a two-dimensional
gridformatisbeingused,alldirectionoptionscanbeused.Howeverifa‘sequential’
file format is used, only north and south are applicable. This menu item will not appear
if data storage has been disabled by the user. Refer to section 11.6 for a detailed
explanation.
Clear: Again, this menu item is also part of the data storage facility. If a measurement
is stored by mistake, or in the wrong location, the measurement can be cleared from
memory using this option. The direction menu would be used to advance to the location,
andthe‘clear’optionwouldbeusedtoerasethestoredmeasurement.Ifdatastorage
has been disabled by the user, this menu item will not appear as an option. Refer to the
section 11.8, for a detailed explanation.
– 47 –
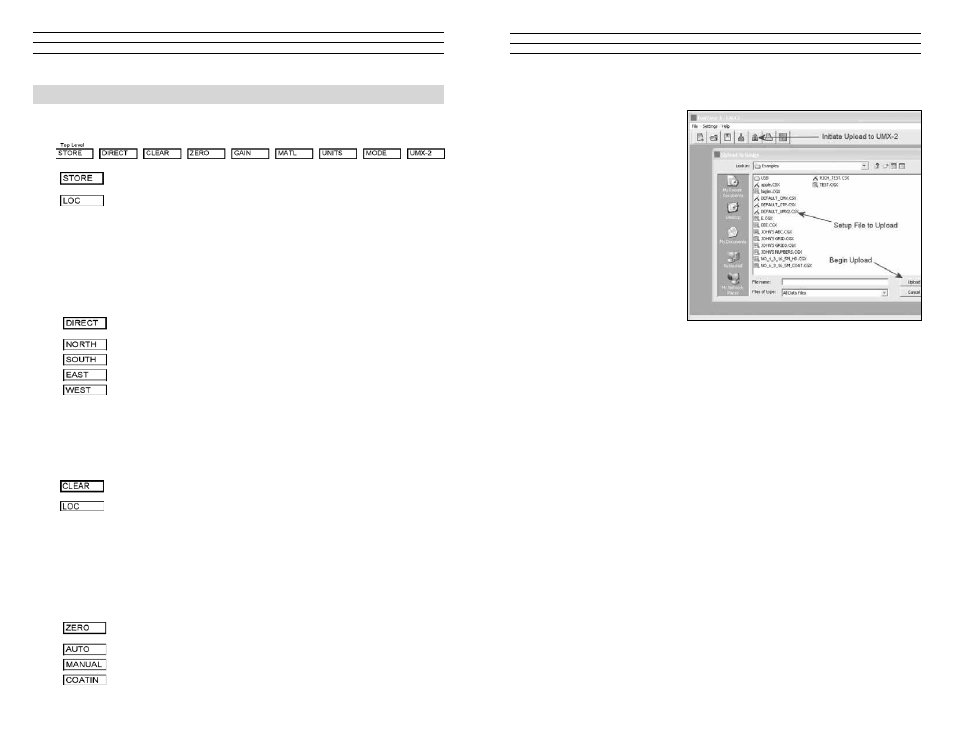
6. Power on the TI-UMX2, and give it a minute to fully boot up.
7. Click the UP ARROW
icon to initiate the file
transfer. A dialog box will
appear, displaying the
examples folder created
by DataComm on your
desktop. Alternatively, the
upload can be initiated from
the menus by clicking the
FILE menu option, followed
by clicking the UPLOAD
TO GAUGE option.
8. Select the file to be
uploaded to the TI-UMX2.
9. Finally, click the UPLOAD button in the dialog box to start the transfer. A progress
bar will appear on the screen during the transfer process, and disappear once the
transfer has completed.